

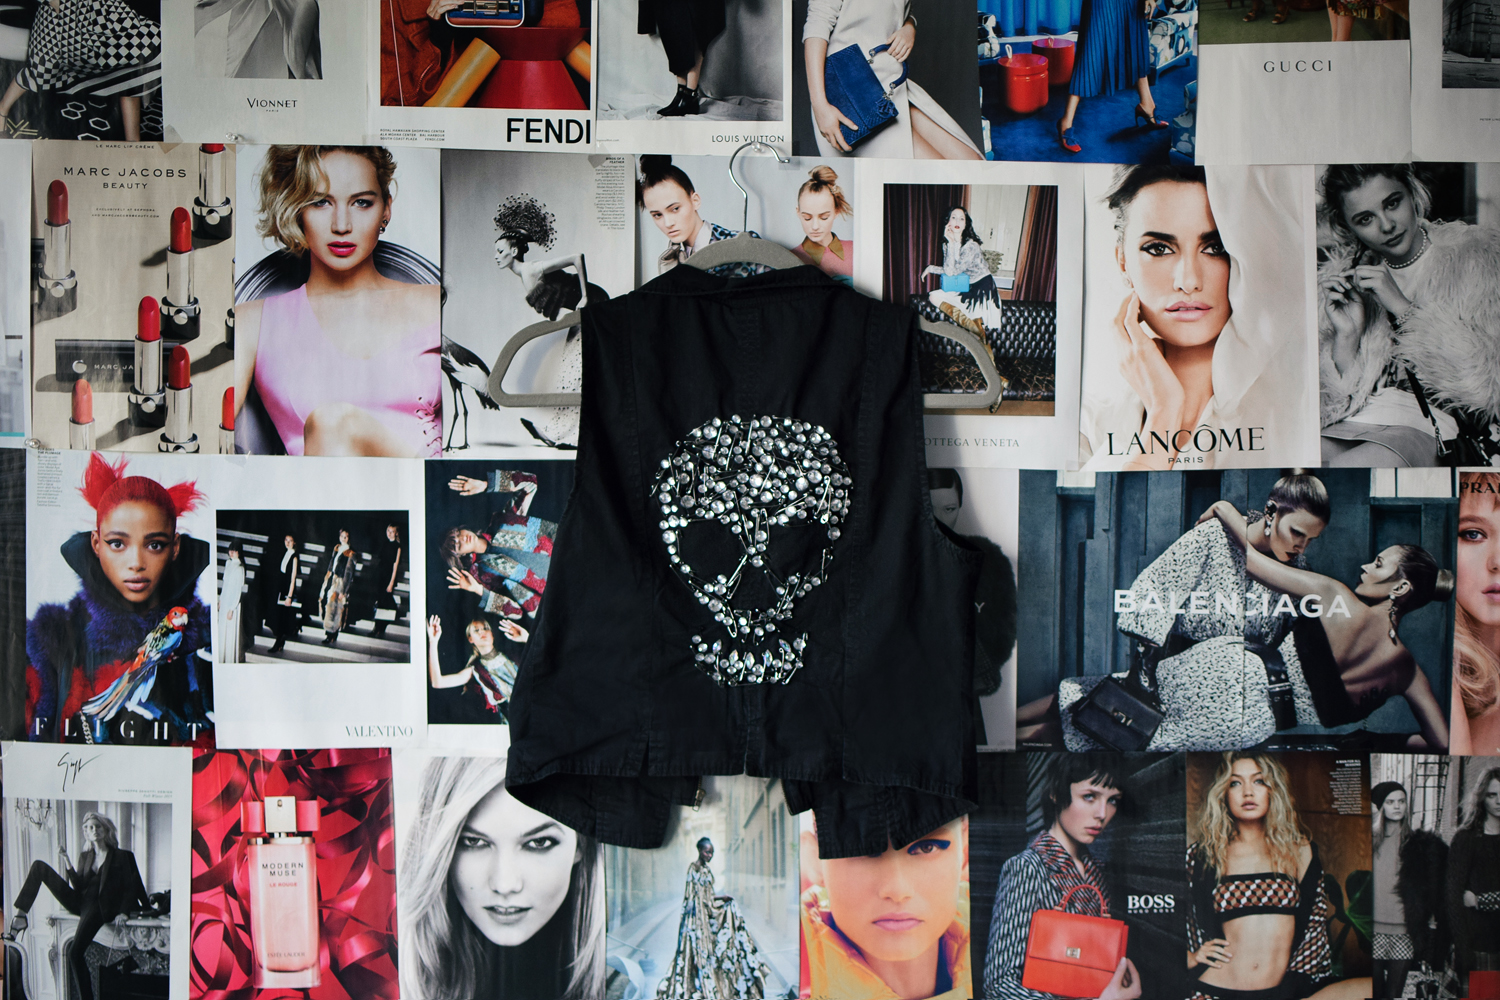
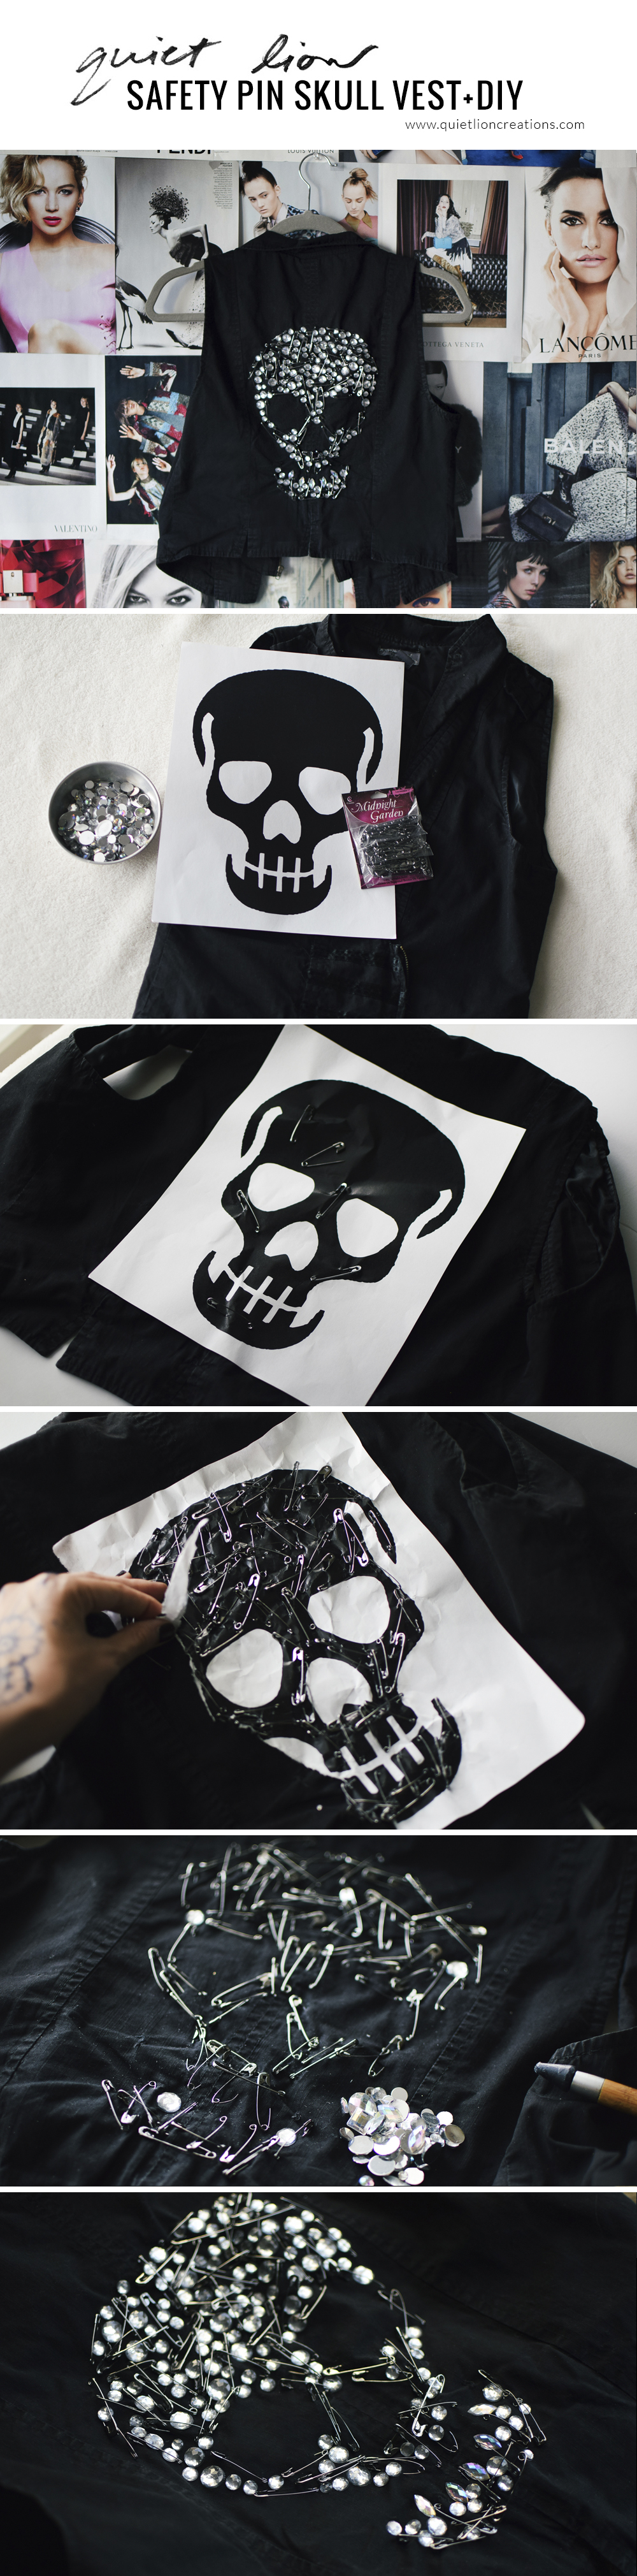
It’s all about easy upcycling with this DIY safety pin skull vest…… Have a plain sweater, vest or jacket that could use some extra sparkle? Give it some punk-rock love with the addition of safety pins and crystals for a totally cool transformation!
I chose a skull (of course) for an edgy look - but feel free to add any sort of icon you’d like. If you’re not feeling the skull, other symbols like an angel wing, lightning bolt or heart work well too. Follow my steps below to recreate the look!
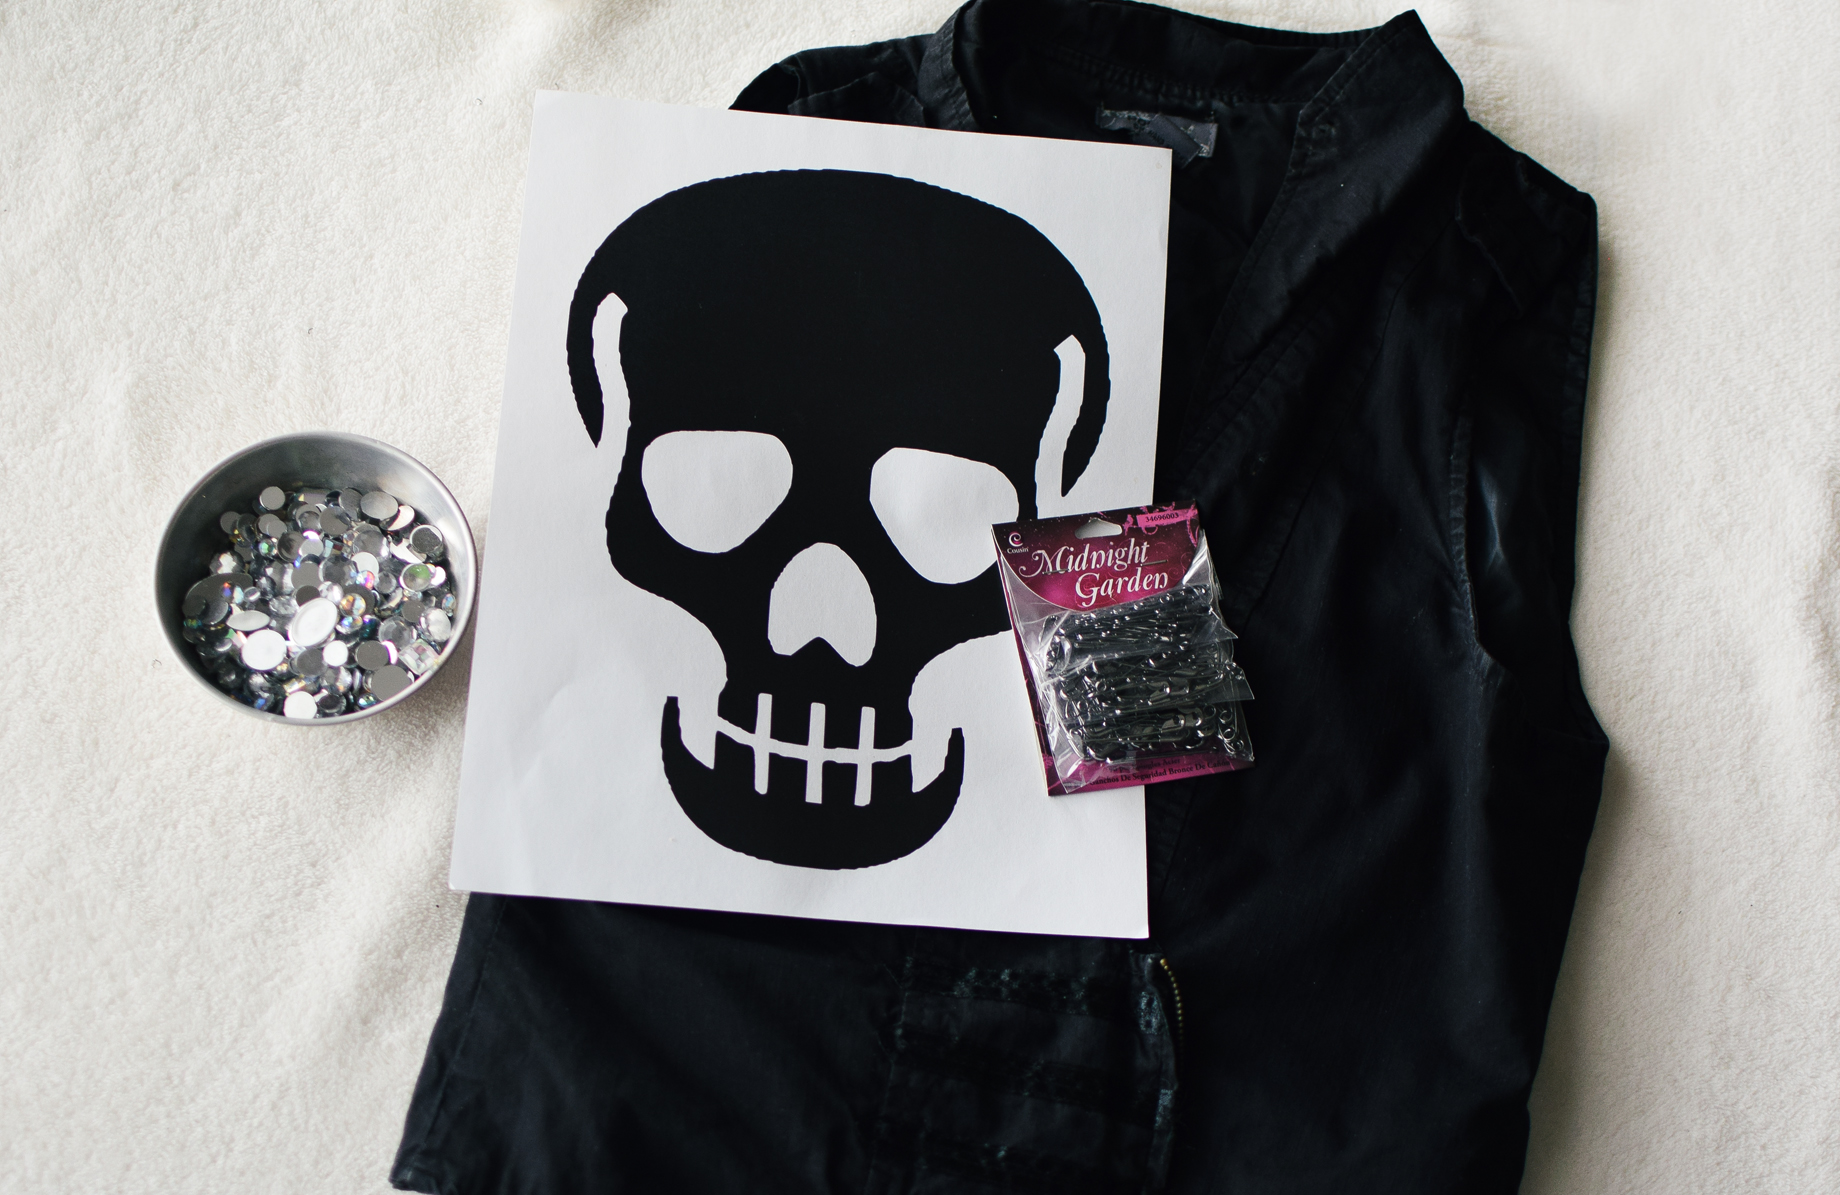
Step 1: Gather materials. You’ll need a vest or jacket, safety pins, a printout of a skull (or other stencil you want to trace), flatback gems and GemTac or fabric glue.

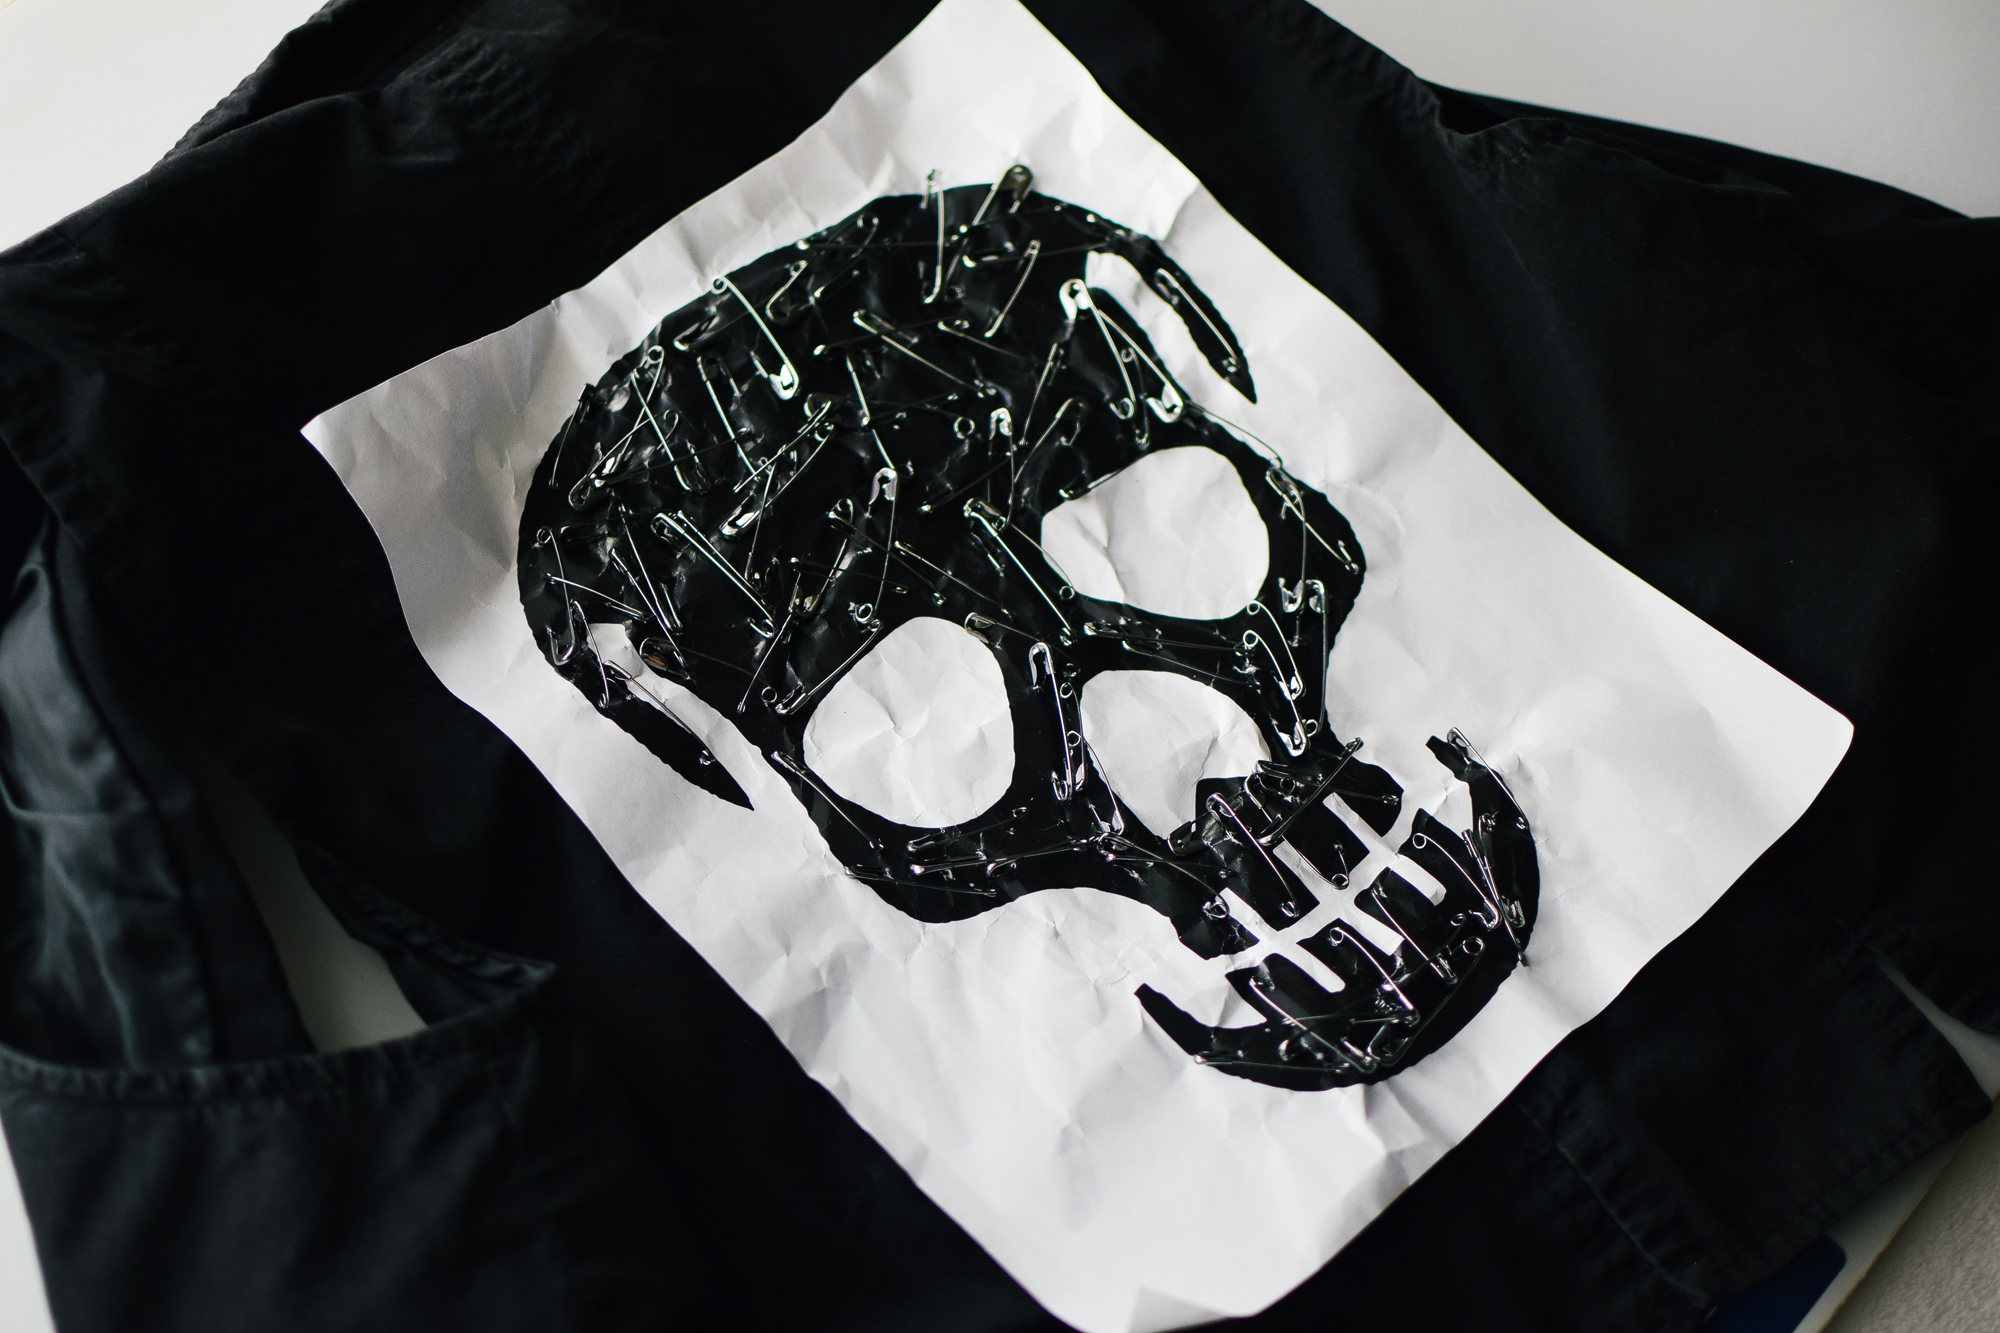
Step 2: Lay out the stencil flat over the part of the vest to be decorated. Make sure you have a foam board under your clothing item - you don’t want to scratch or poke your surface.
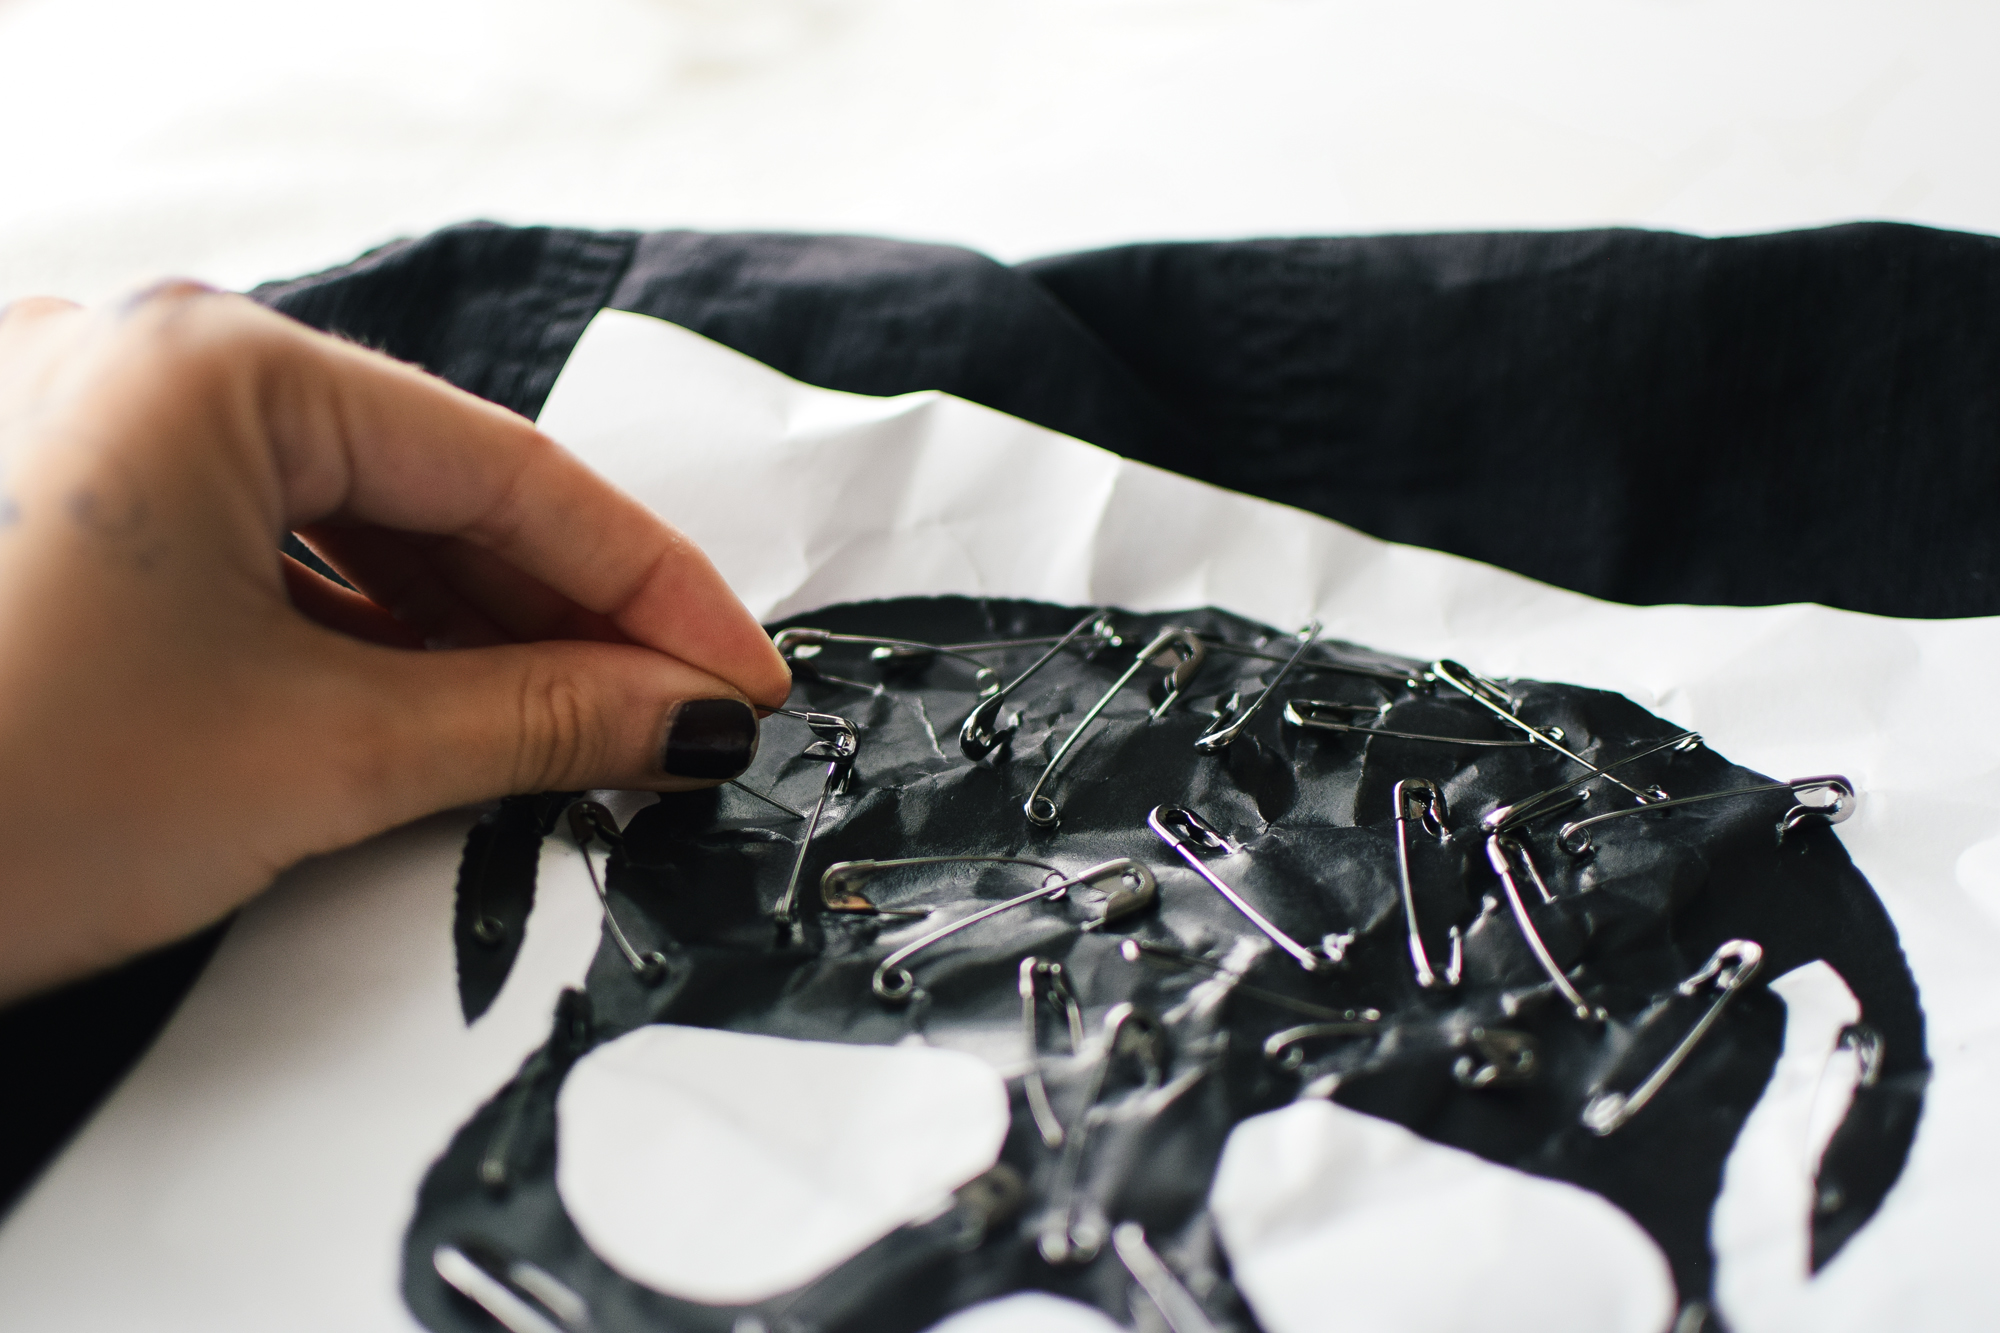
Step 3: Continue adding safety pins around the skull, filling in all the gaps. Use large, medium and small size pins
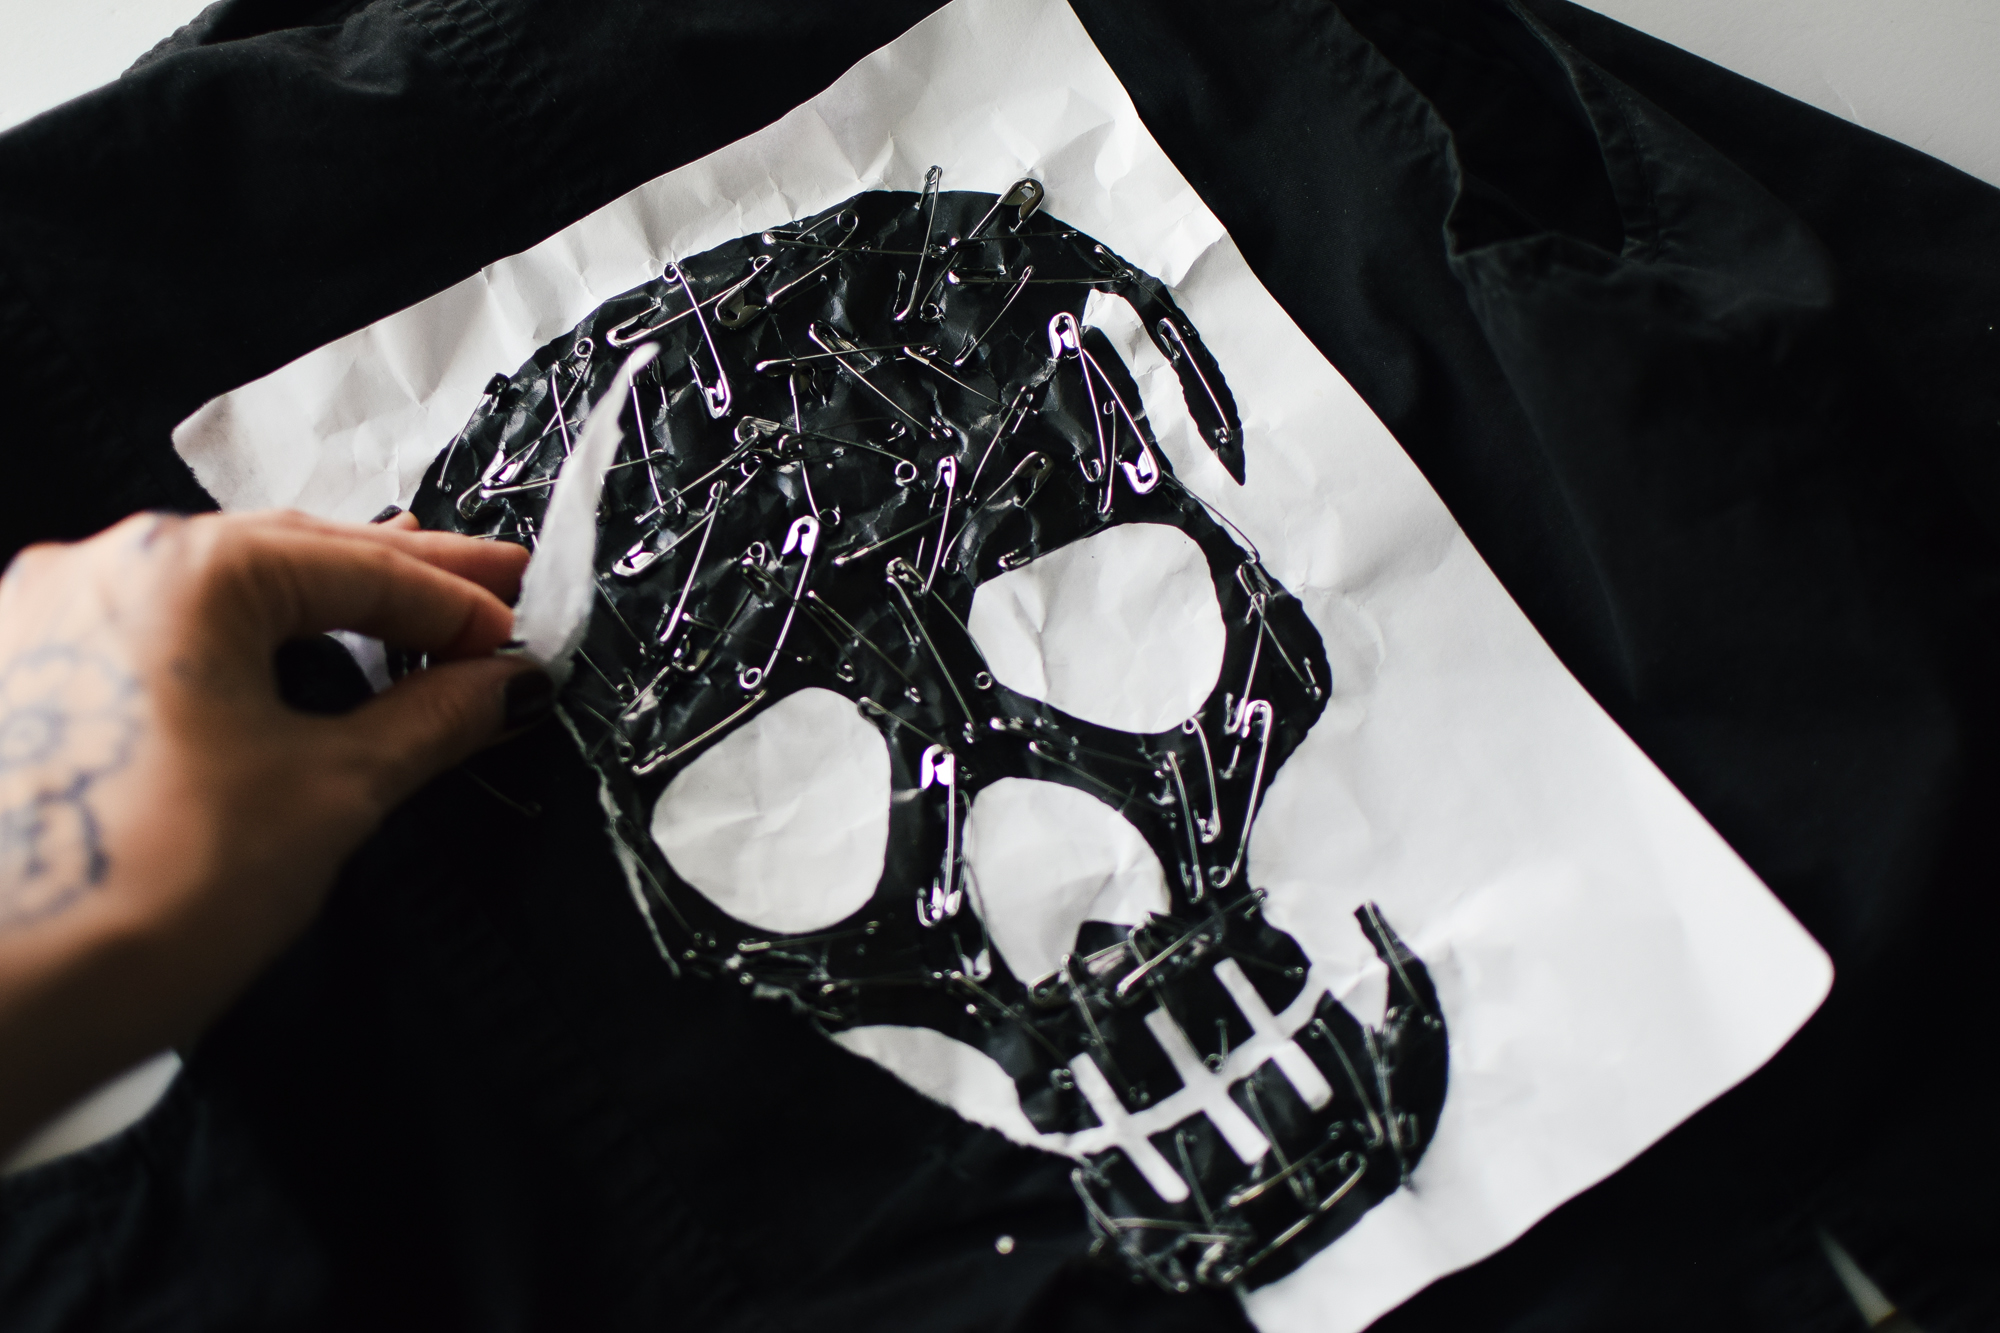
Step 4: Gently peel off the paper transfer once all safety pins have been applied. GENTLY being the key word…..
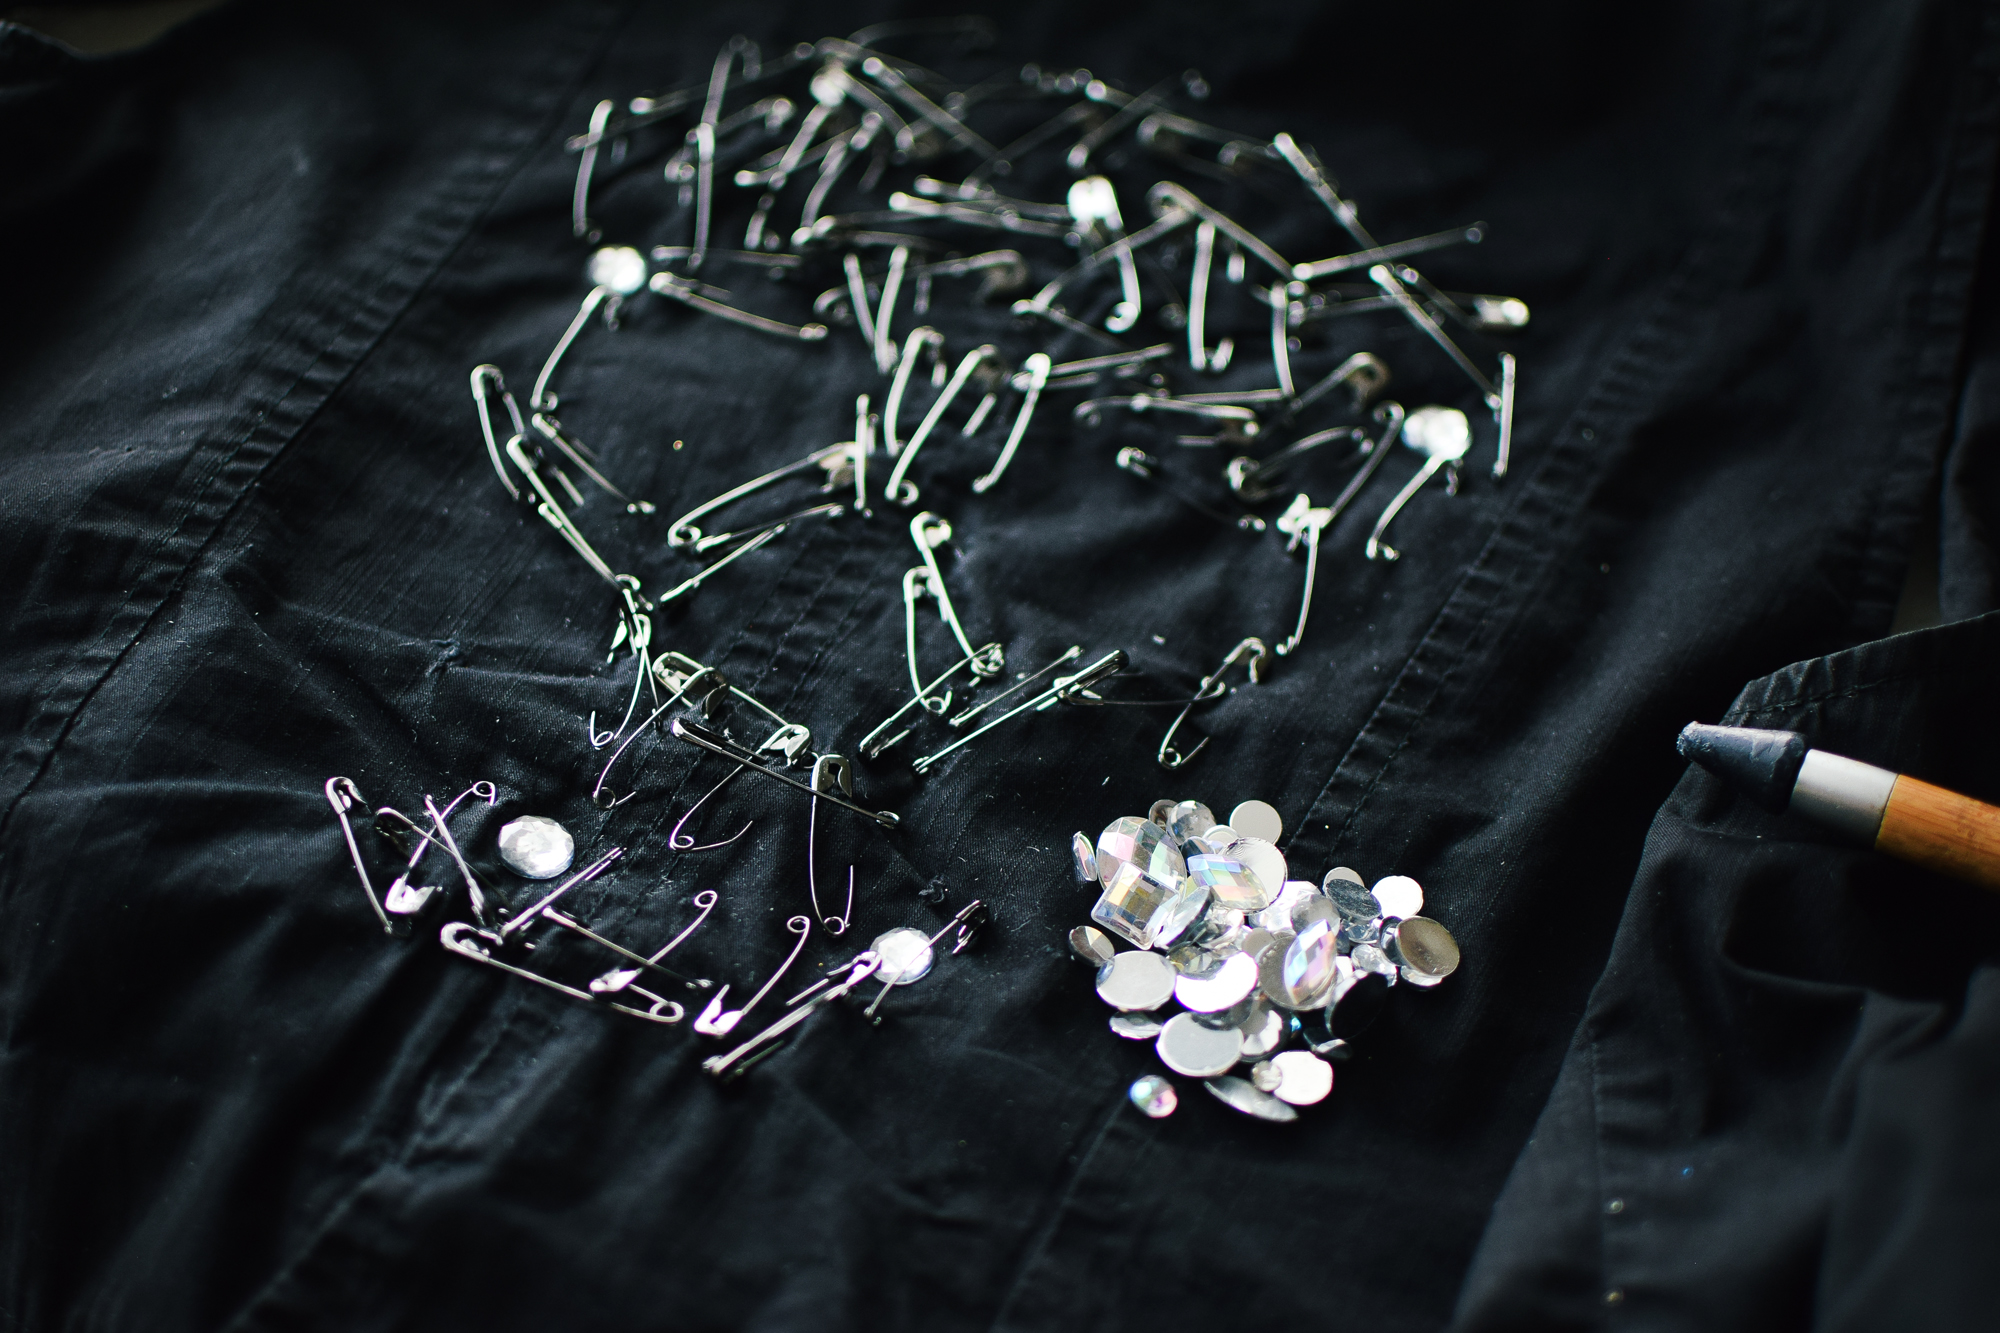
Step 5: To fill in the gaps of your skull, use fabric glue or GemTac to carefully place flatbacks- I love the Crystal Katana Multimedia Pickup Tool![]() tools for easy pickup (a thousand times better than tweezers)…..
tools for easy pickup (a thousand times better than tweezers)…..
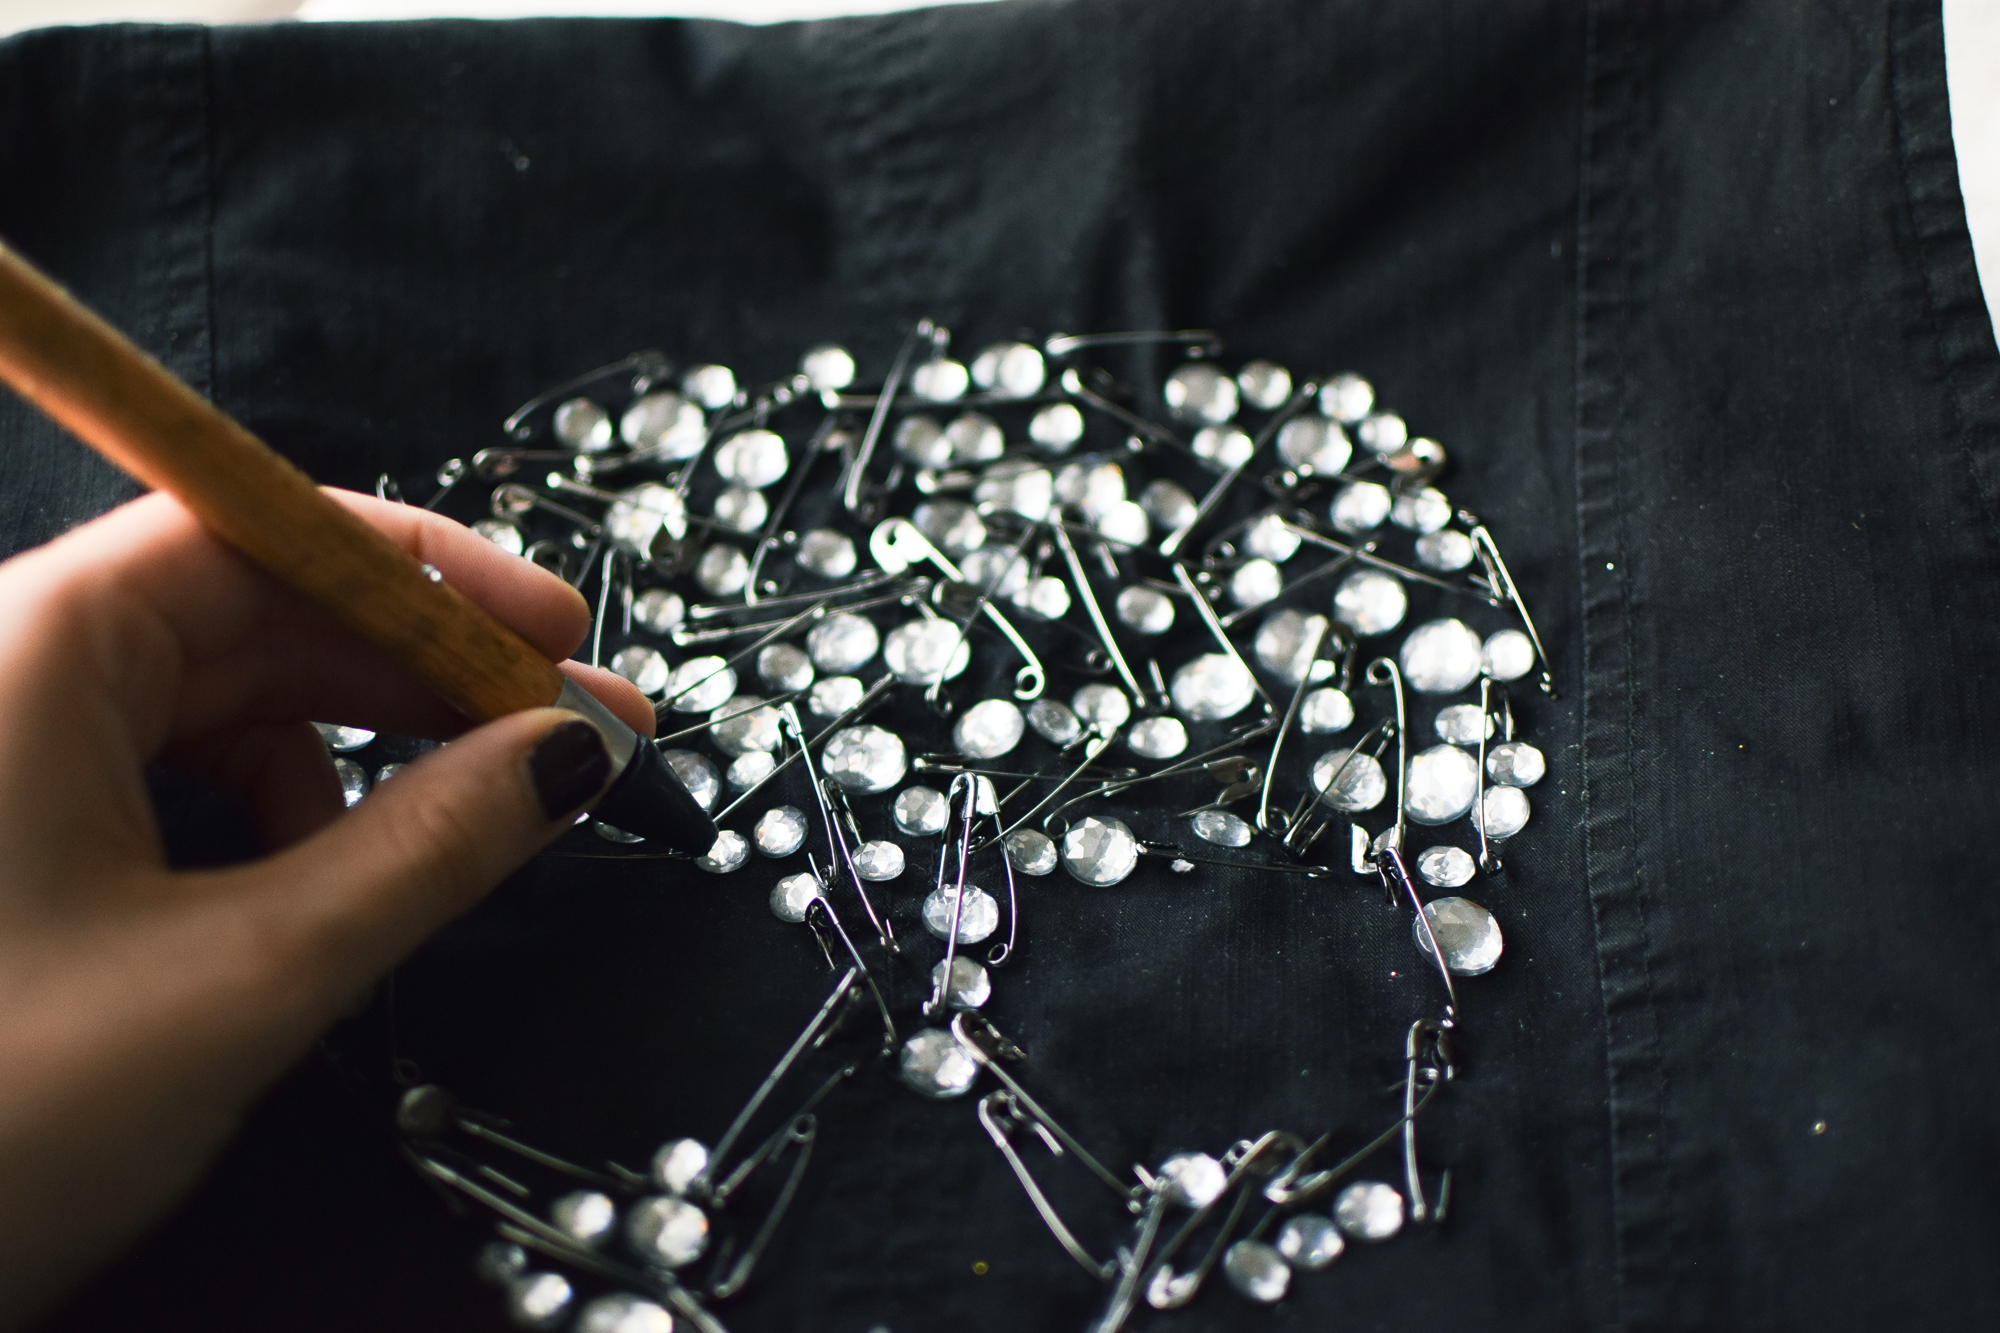
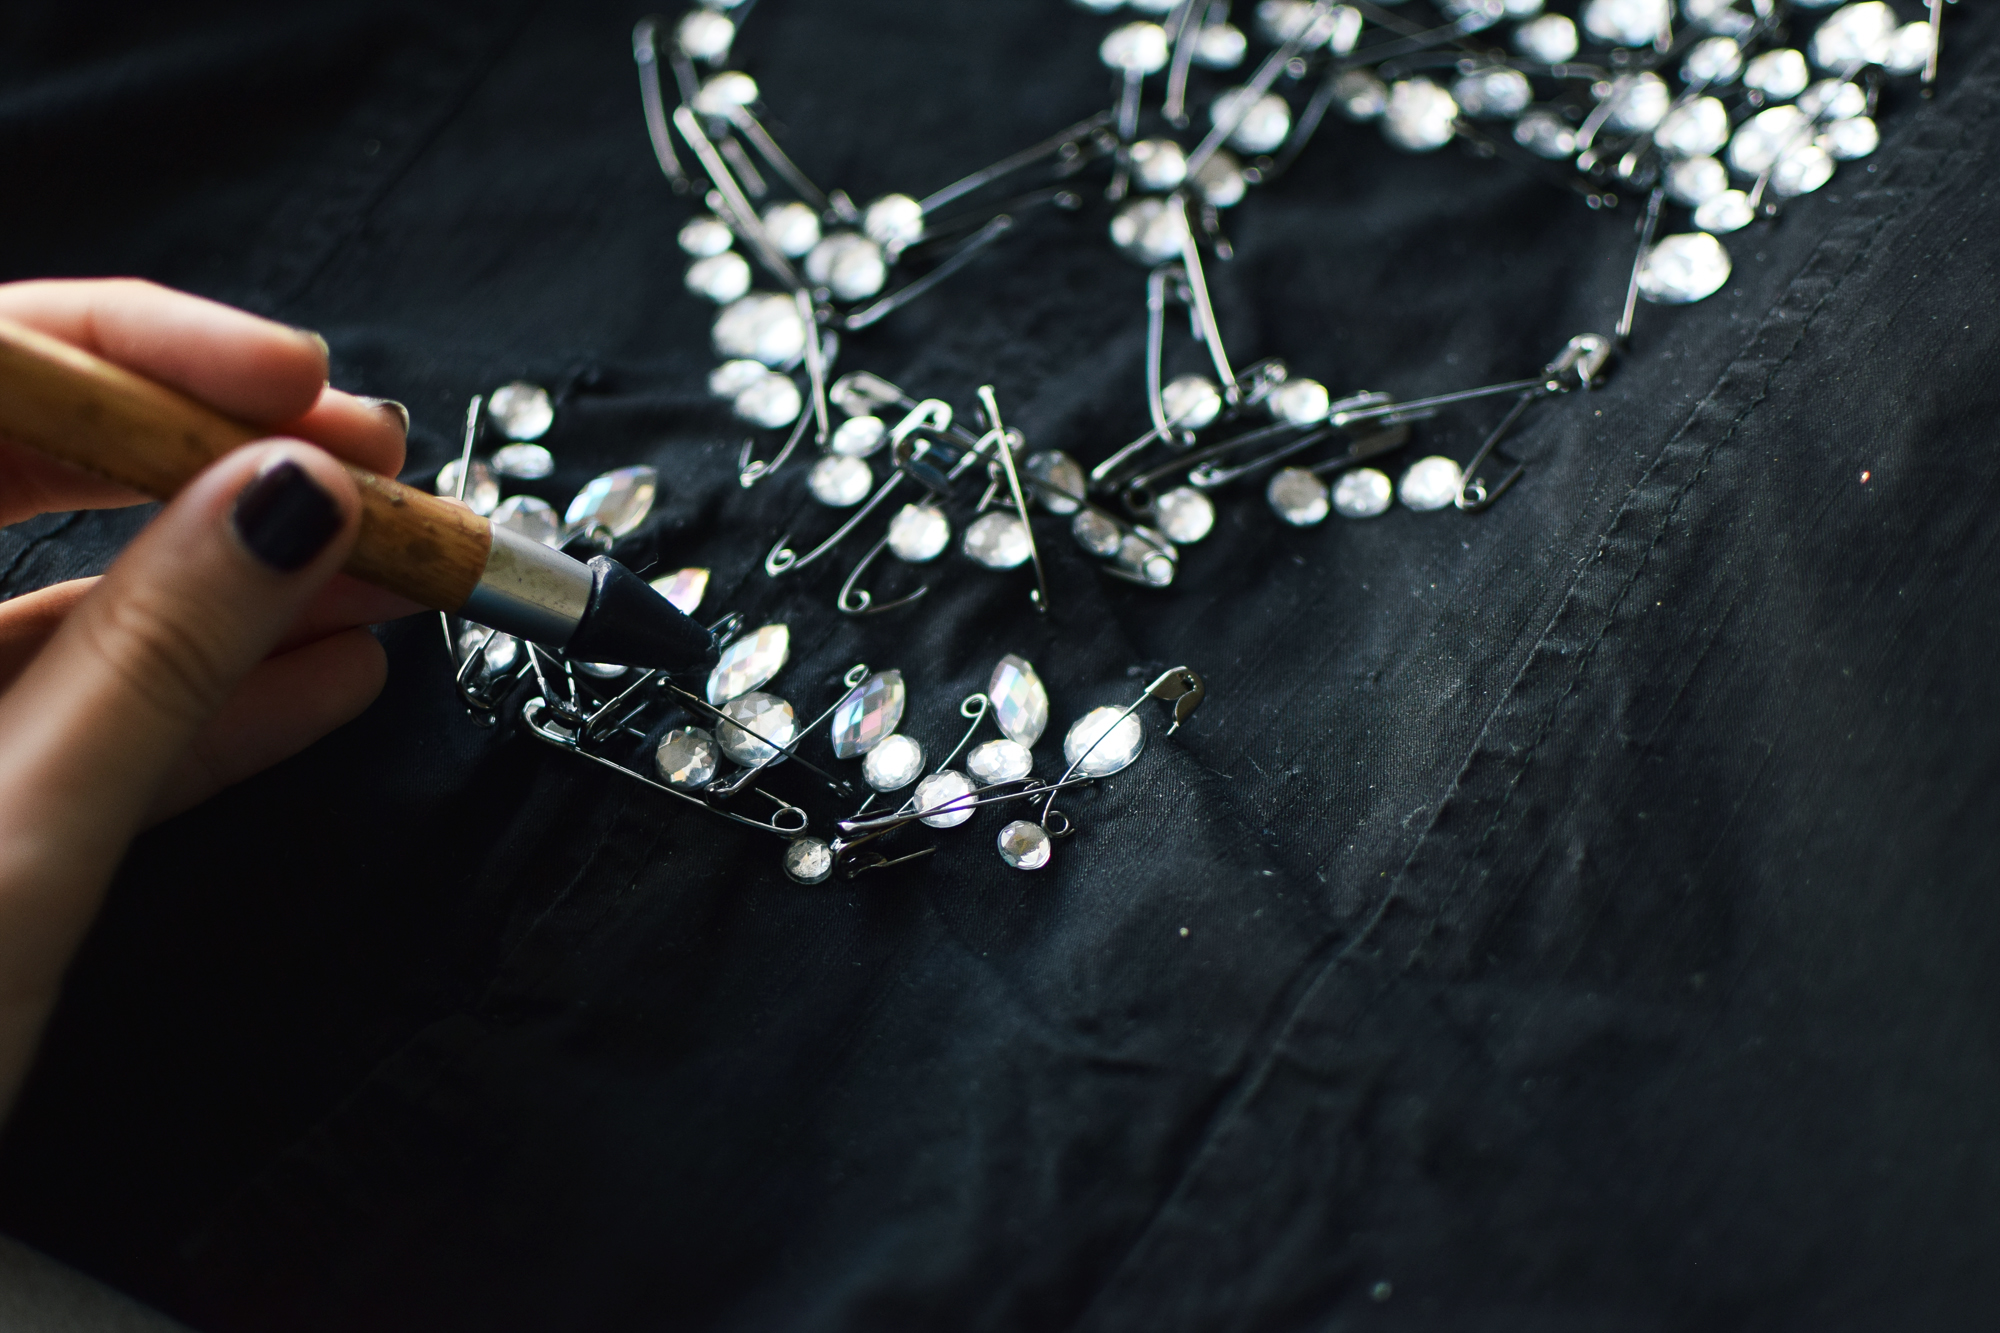
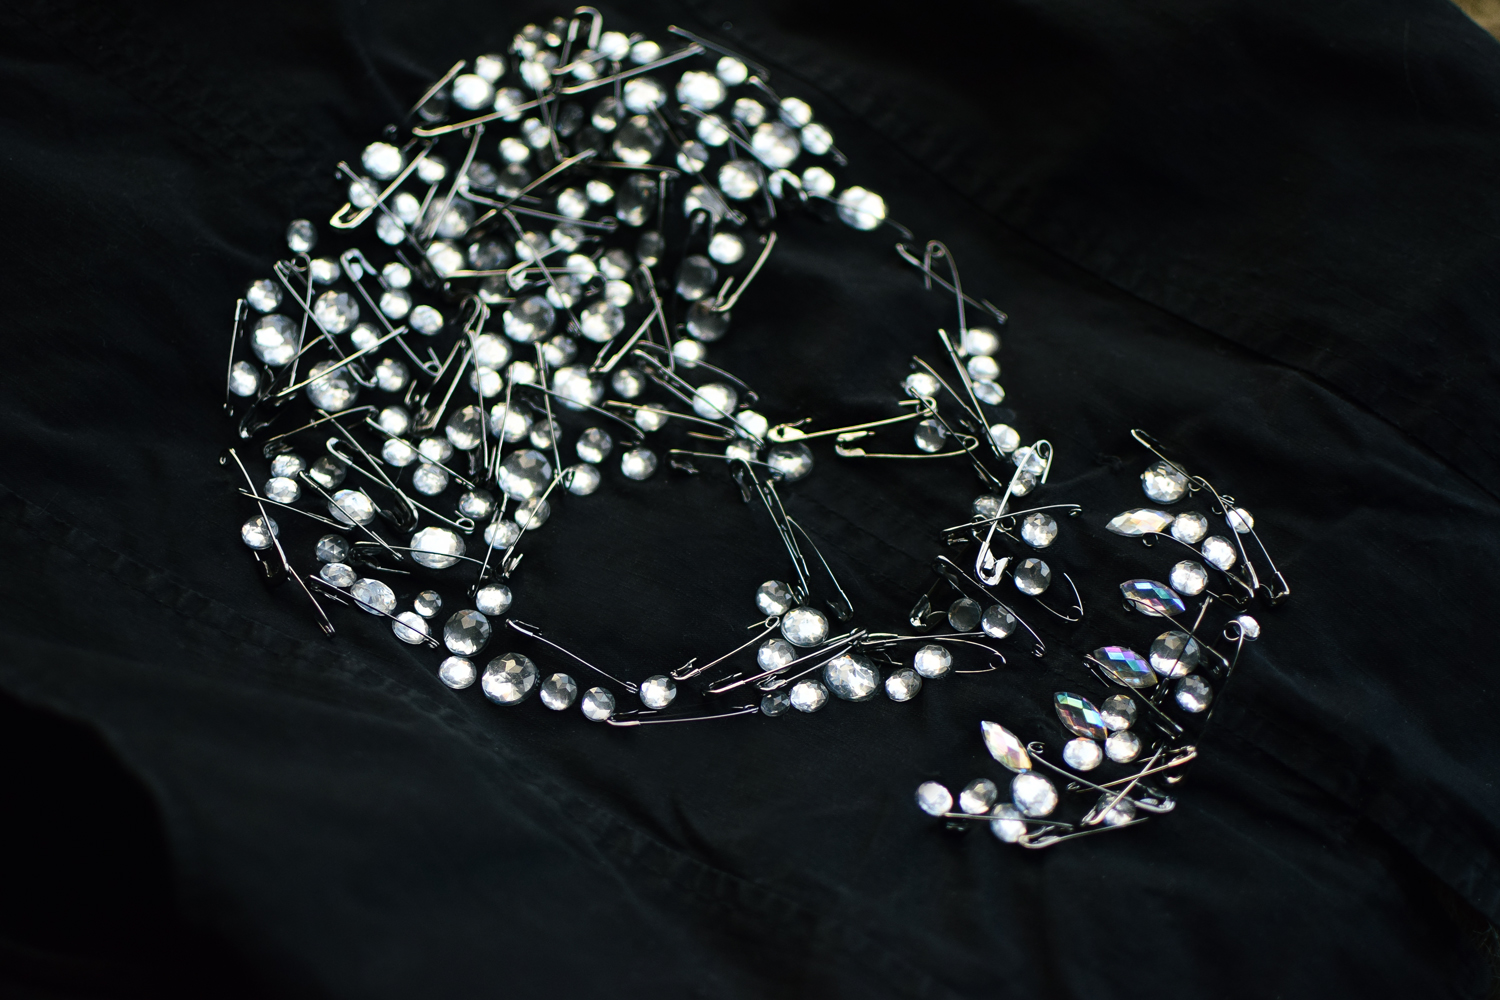
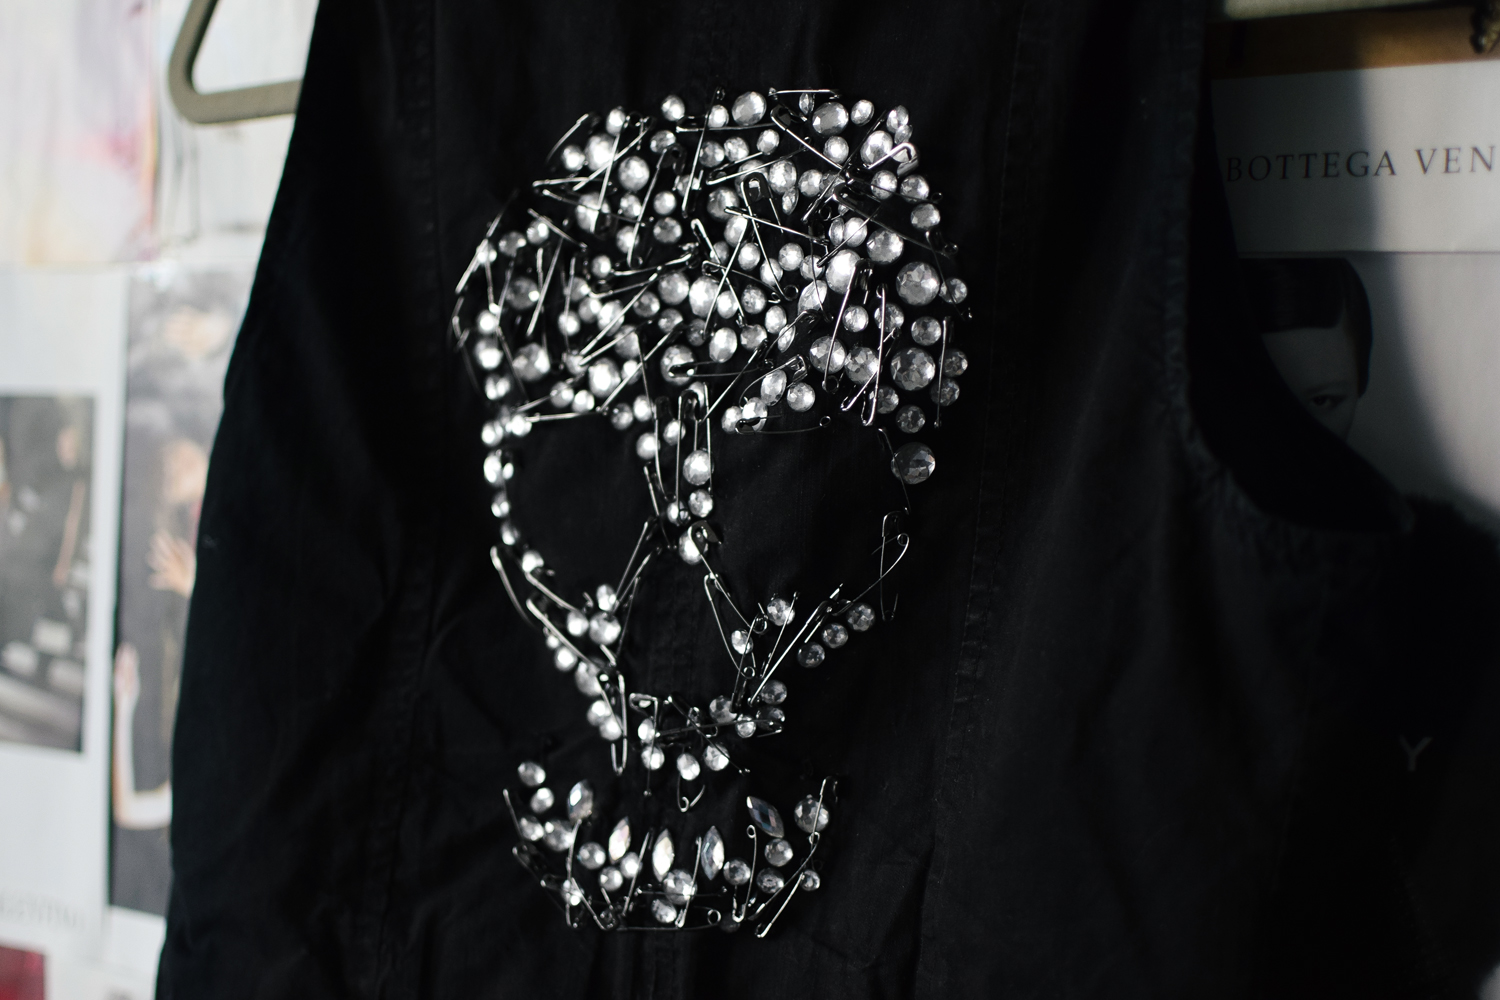
Keep filling until the space is evenly balanced with crystals. Make sure to let the glue fully dry before wearing.
All photos copyright Quiet Lion Creations. Email me at [email protected] for permission to use or re-post.
Don’t steal them, it’s bad karma ☺.


 clever curiosities, shiny sparklies, delightful discoveries, overall good vibes.
☽ crafty in Chicago since 2011 ☆
clever curiosities, shiny sparklies, delightful discoveries, overall good vibes.
☽ crafty in Chicago since 2011 ☆ 


