


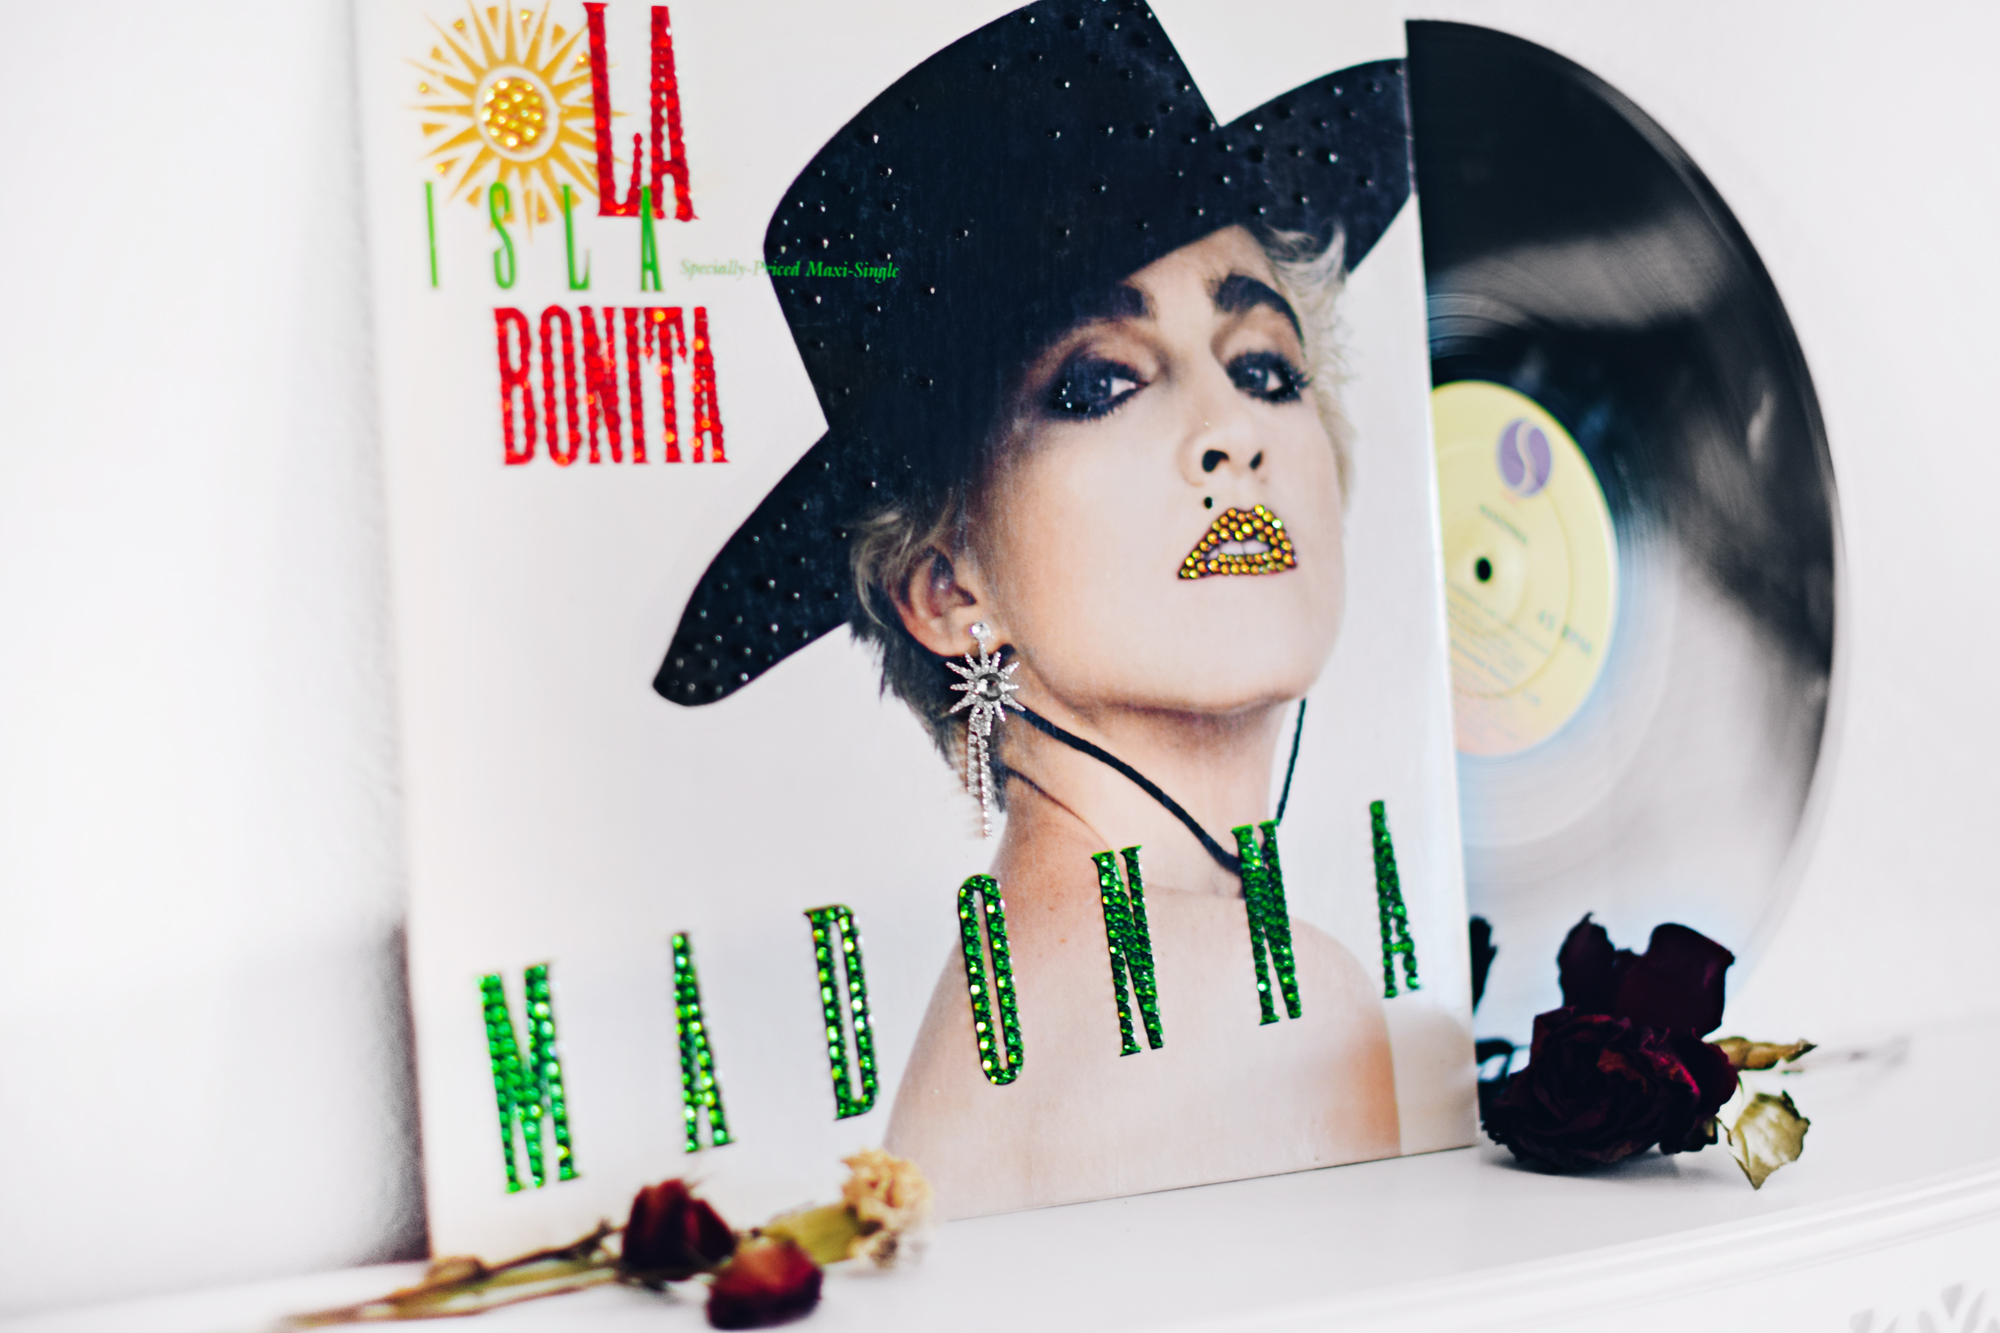
For all my record enthusiasts out there, or really anyone who loves stylish home decor, this DIY crystallized album cover is THE statement piece you need in your apartment, your dorm or house - NOW. I simply took the cover and accented it with crystal flatbacks for serious sparkle - I chose Madonna for obvious reasons, but feel free to choose any album or band you like!
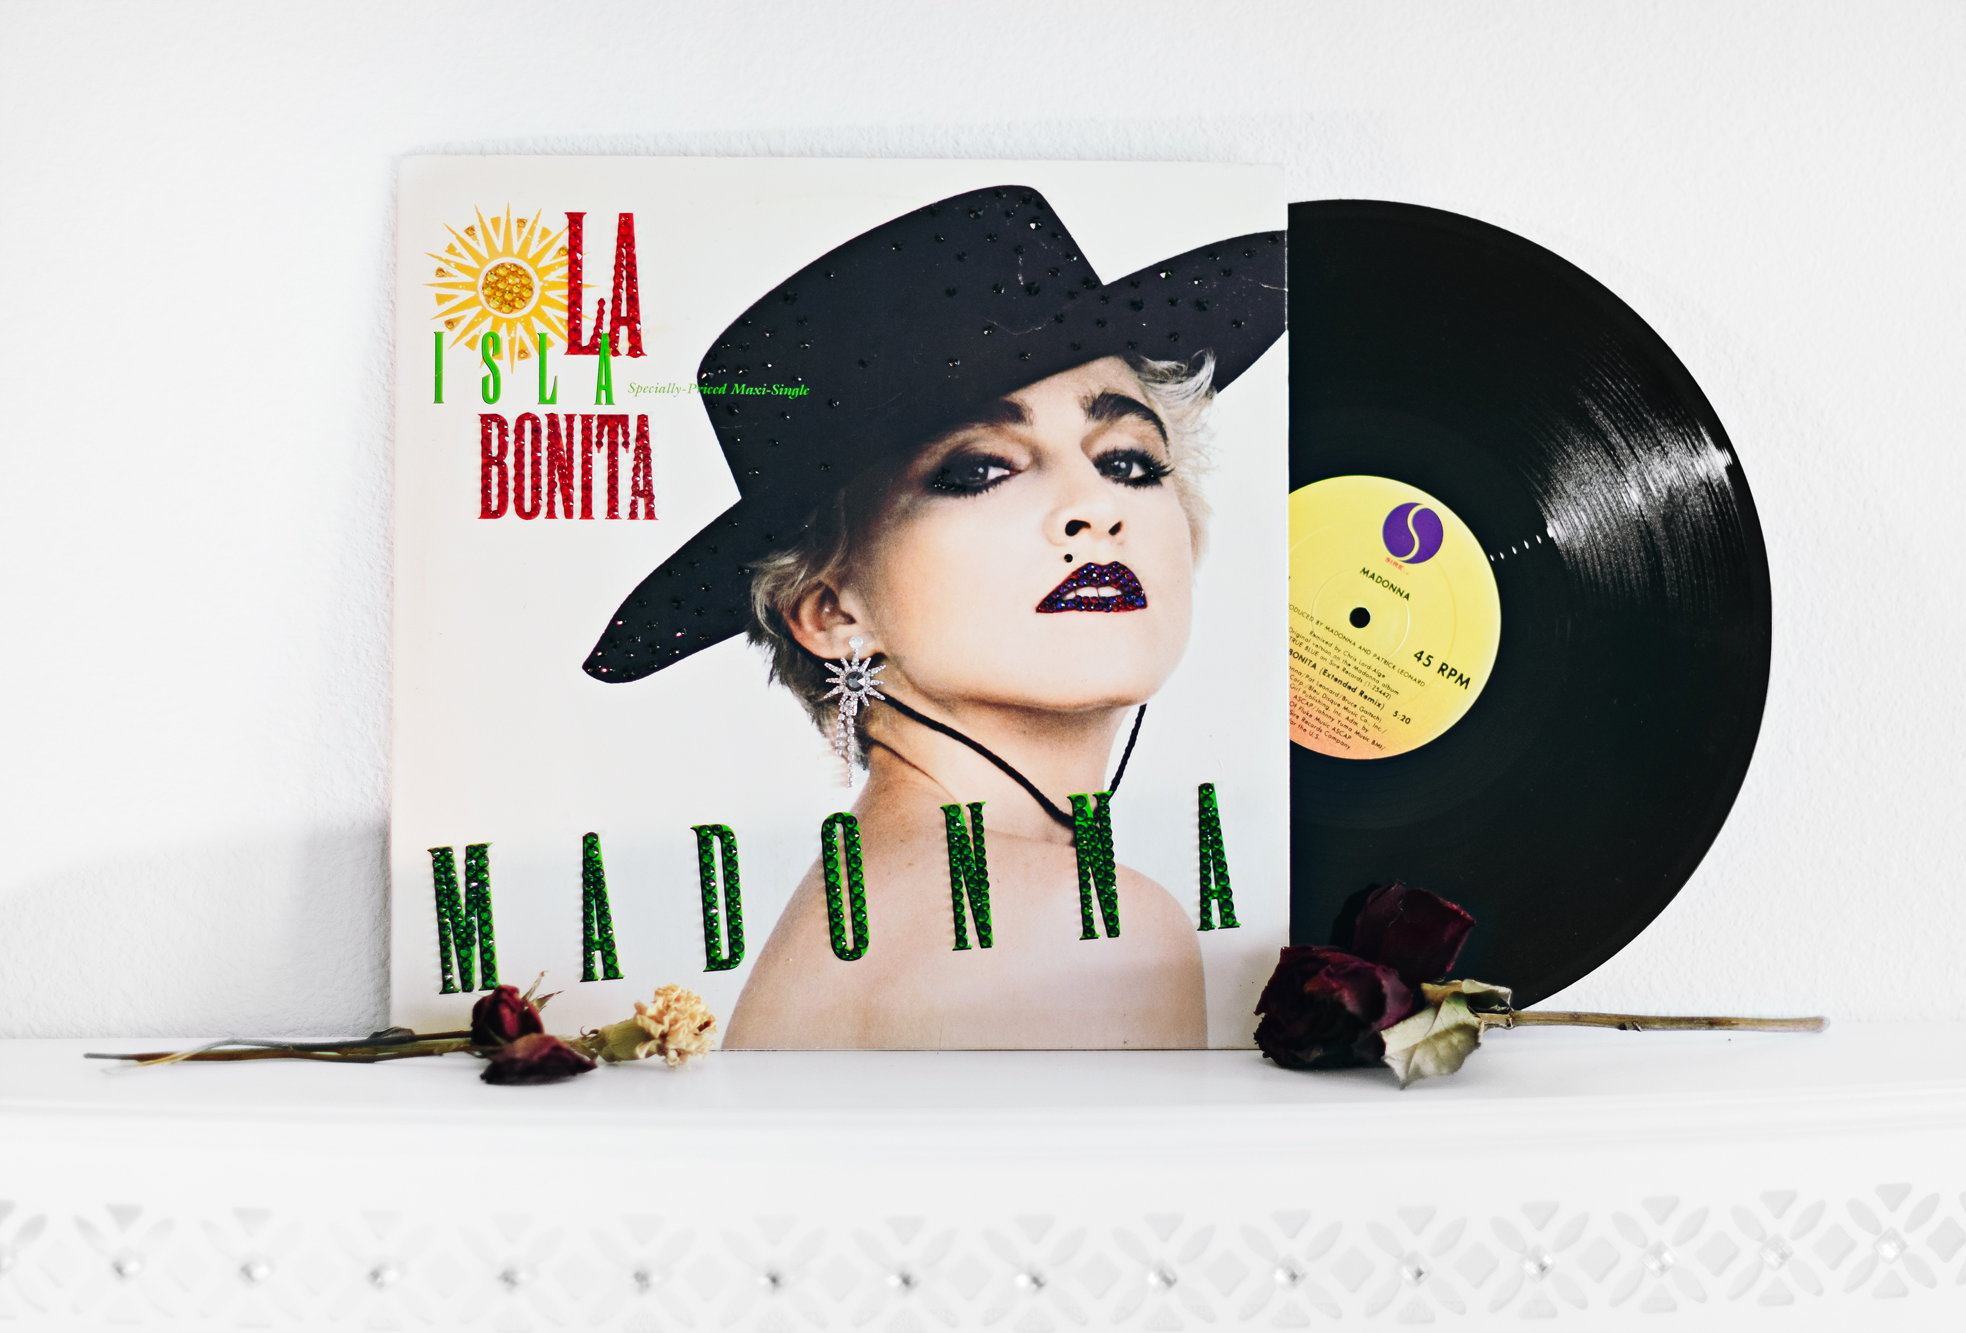
Display as is on a shelf or tabletop, or you can also frame it for hanging on the wall itself. If you do frame, make sure whatever you glue onto the cover doesn’t have too much depth - I used a crystal star accent for her earring, and I don’t think this would fit flat in a frame.
Let’s get started!
Step 1
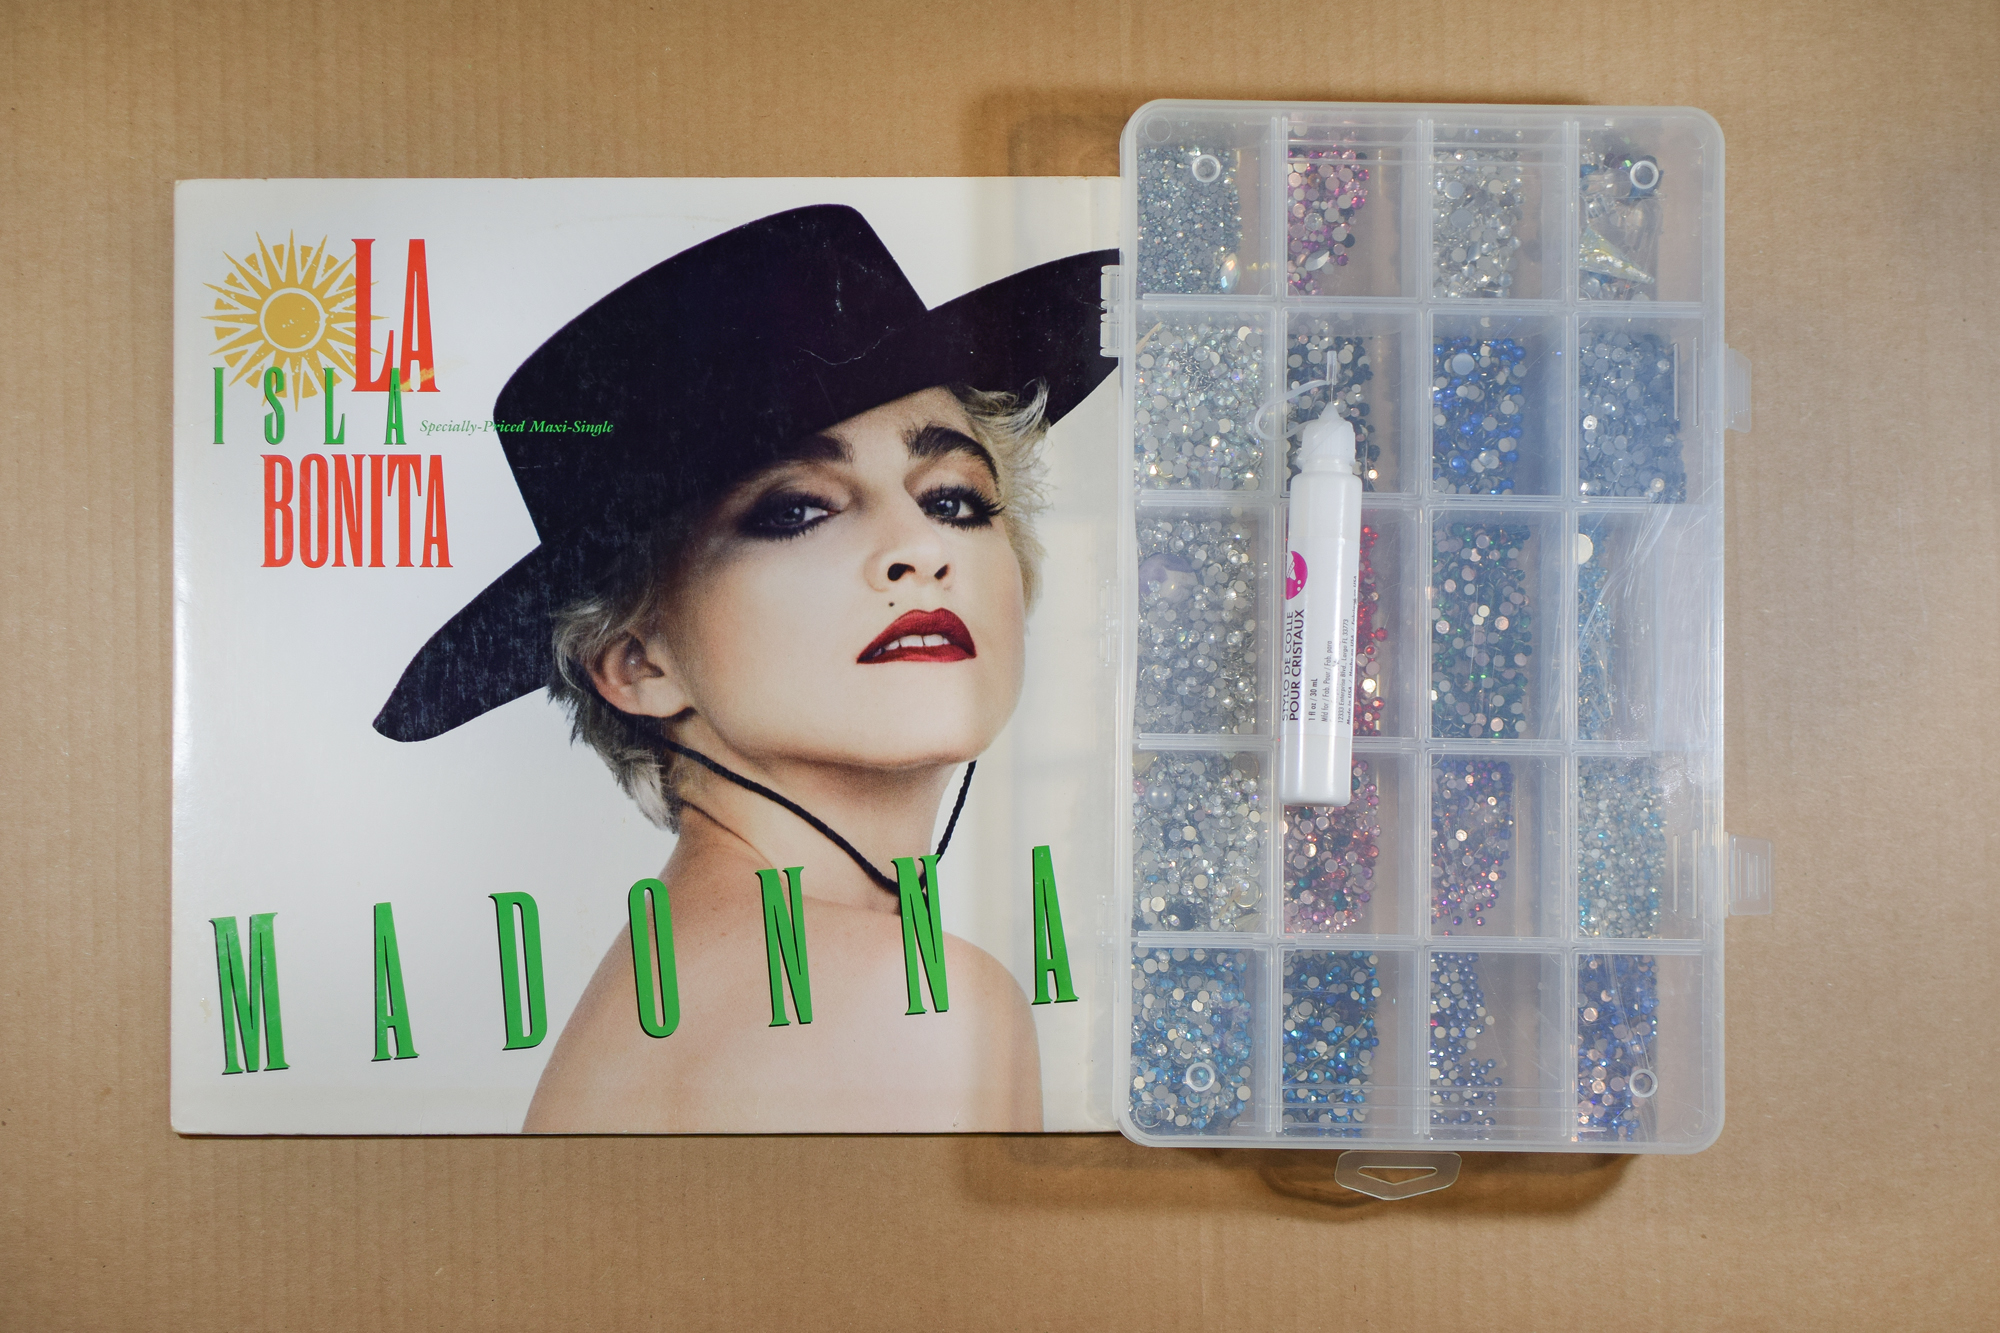
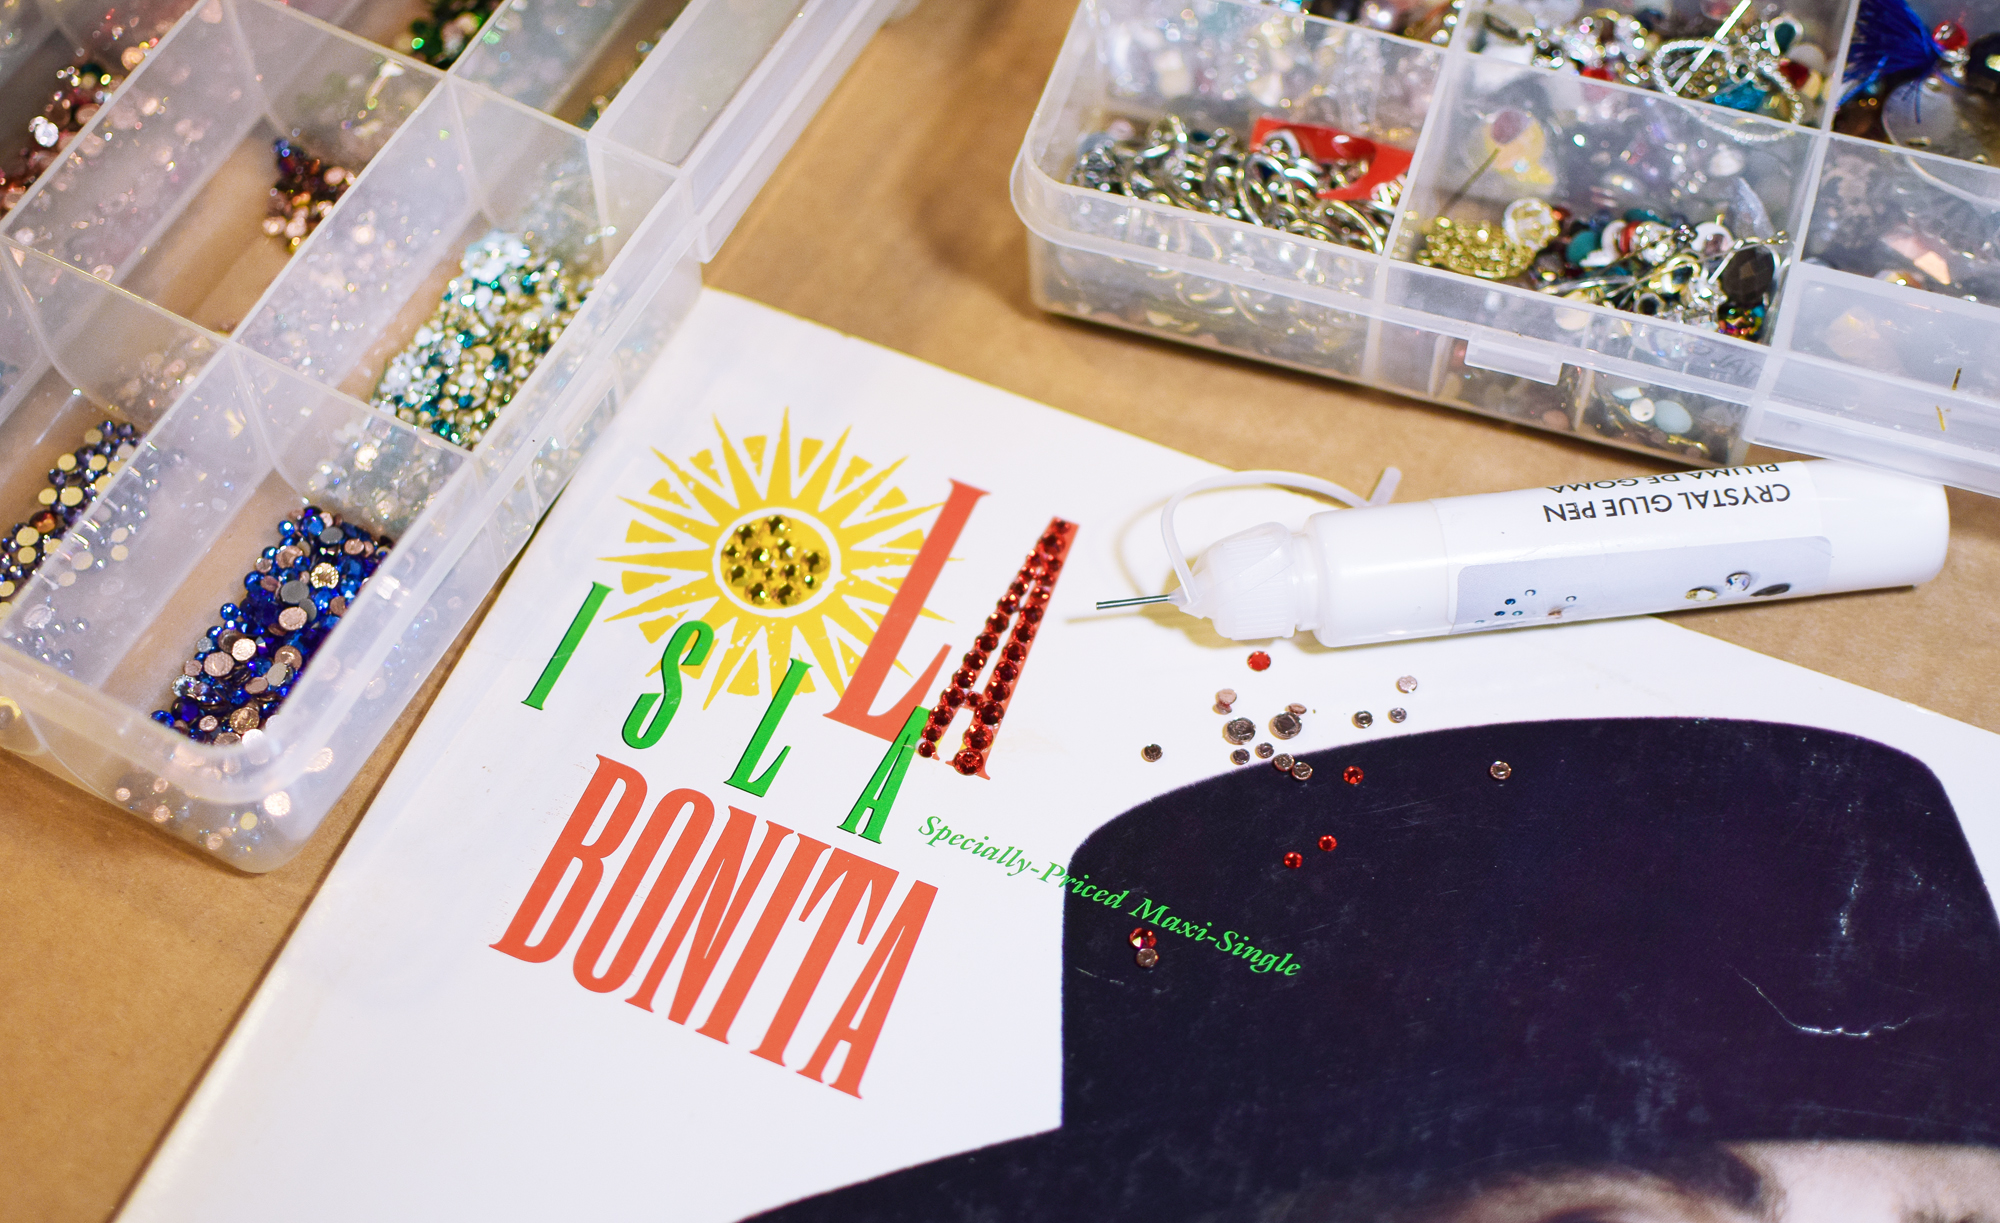
Gather materials. You’ll need an album cover (I got mine from St. Pete Records) choose one with a great design, or one with your favorite band! You’ll also need a variety of crystal flatbacks (find some packs on Amazon here![]() ), a crystal glue pen (you can get this at Michaels craft stores, by the Swarovski stones), and a wax stick or Crystal Katana tool for picking up the stones (find it on Amazon here
), a crystal glue pen (you can get this at Michaels craft stores, by the Swarovski stones), and a wax stick or Crystal Katana tool for picking up the stones (find it on Amazon here![]() ). I also used a larger crystal accent and rhinestone cup chain for her earring.
). I also used a larger crystal accent and rhinestone cup chain for her earring.
Step 2
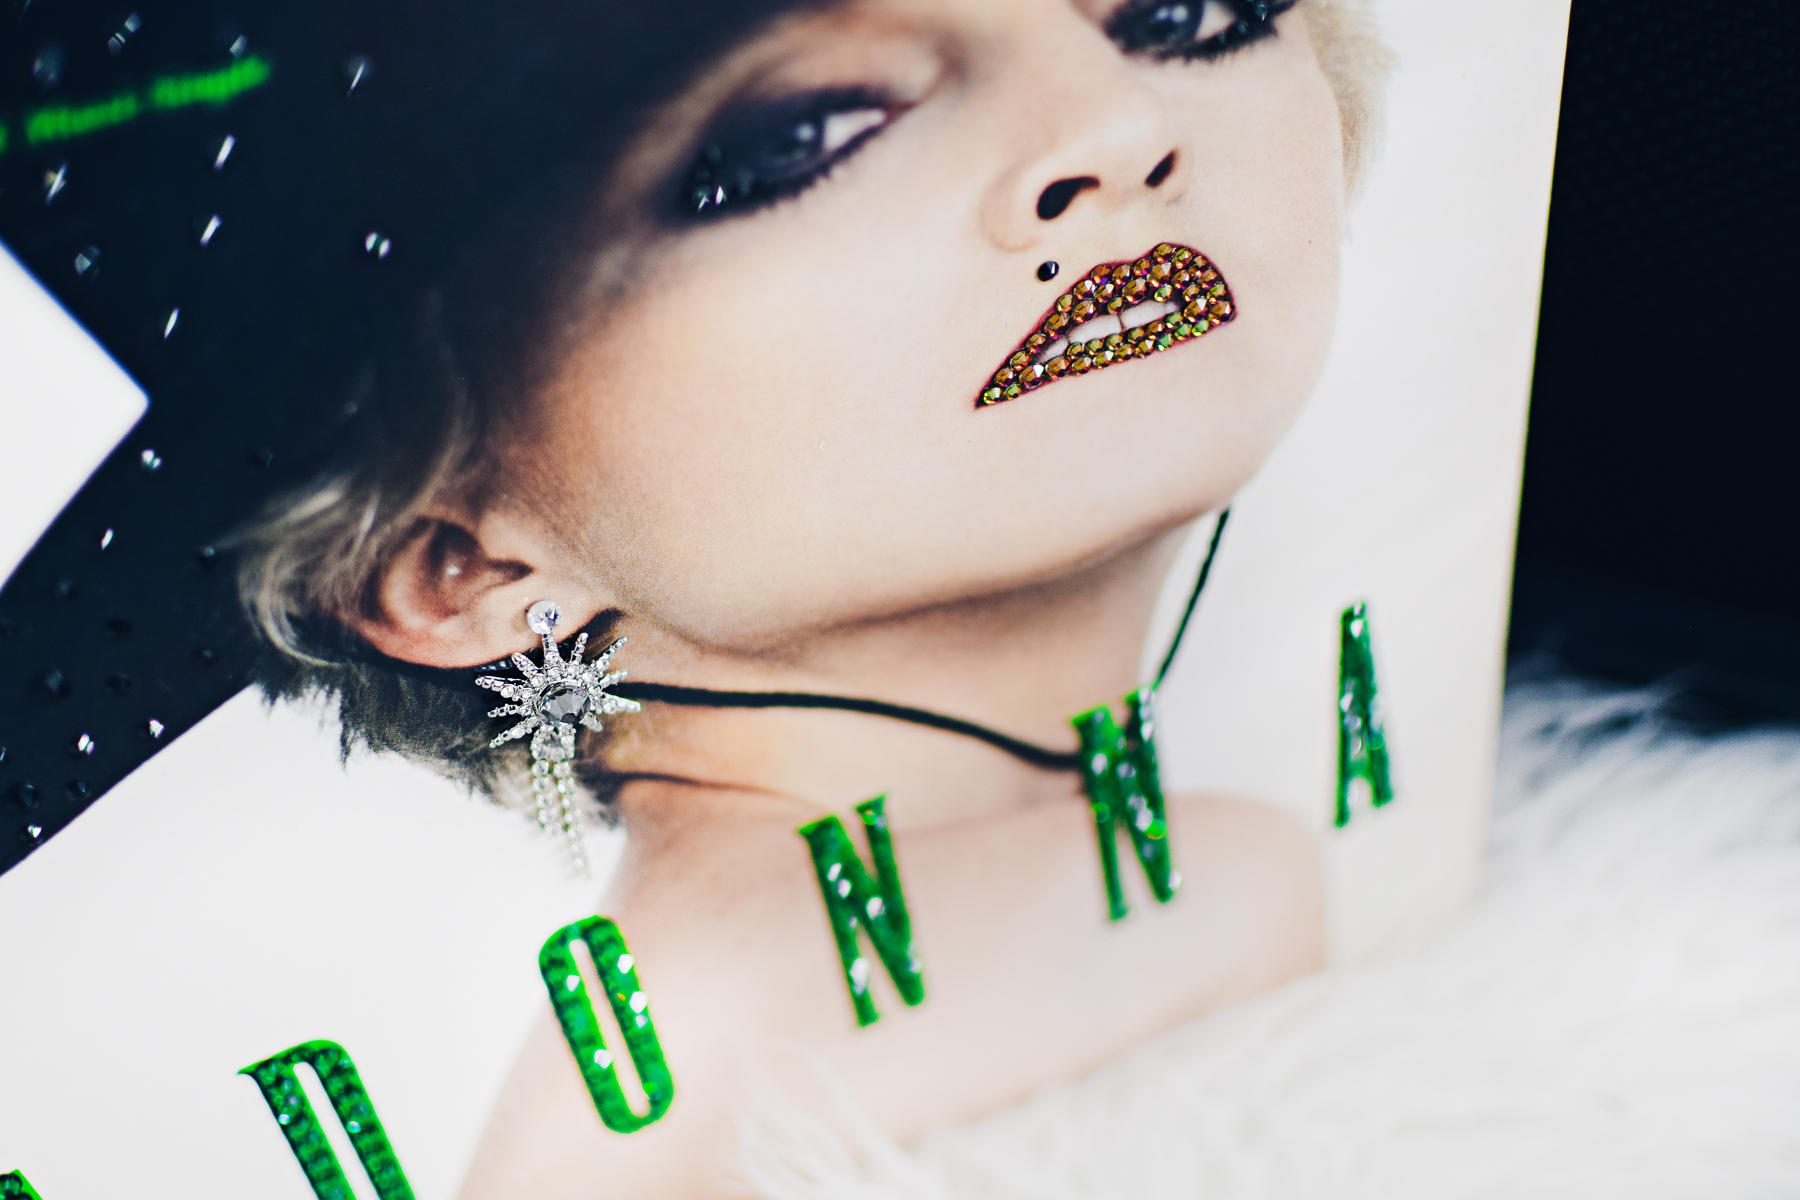
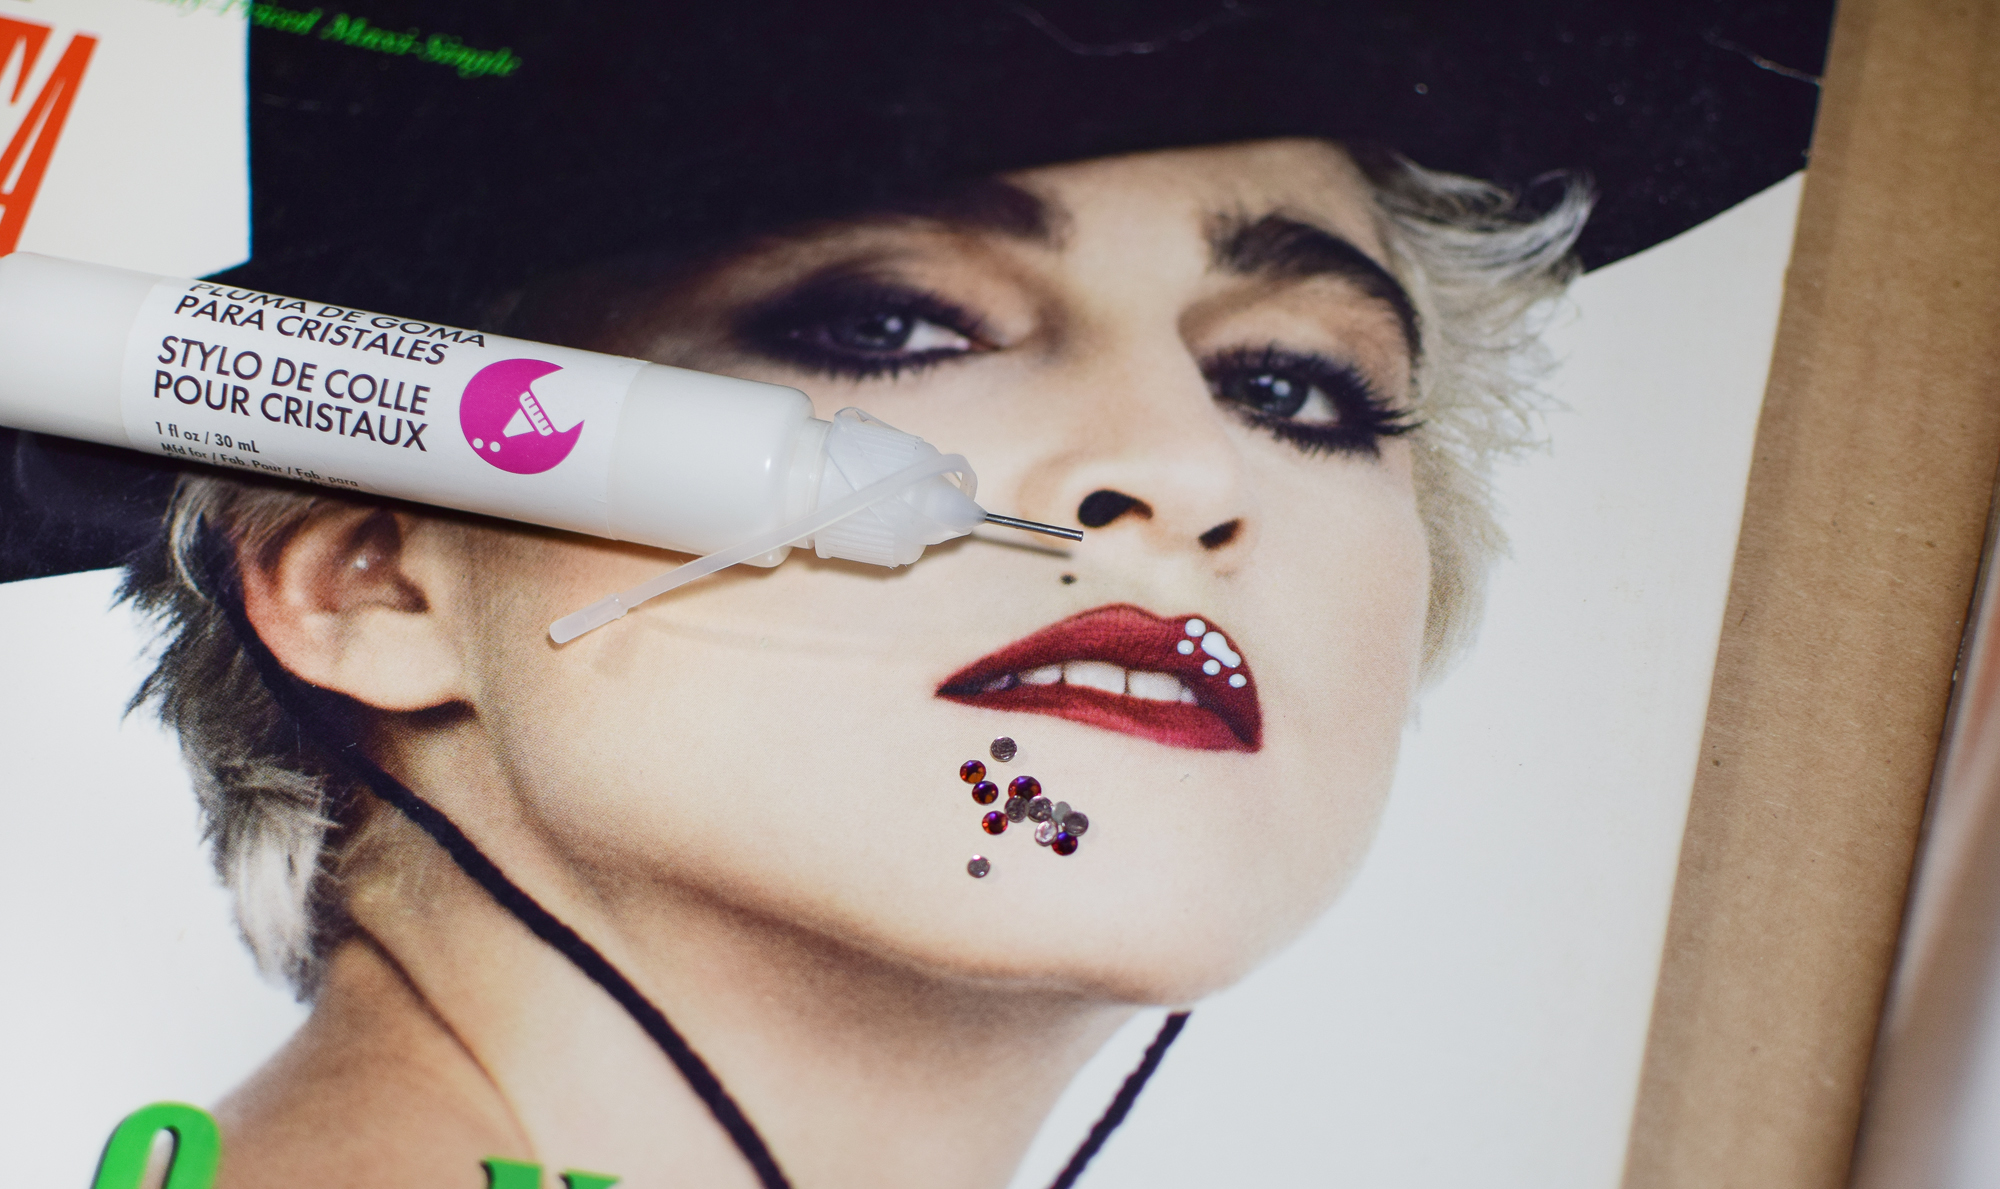
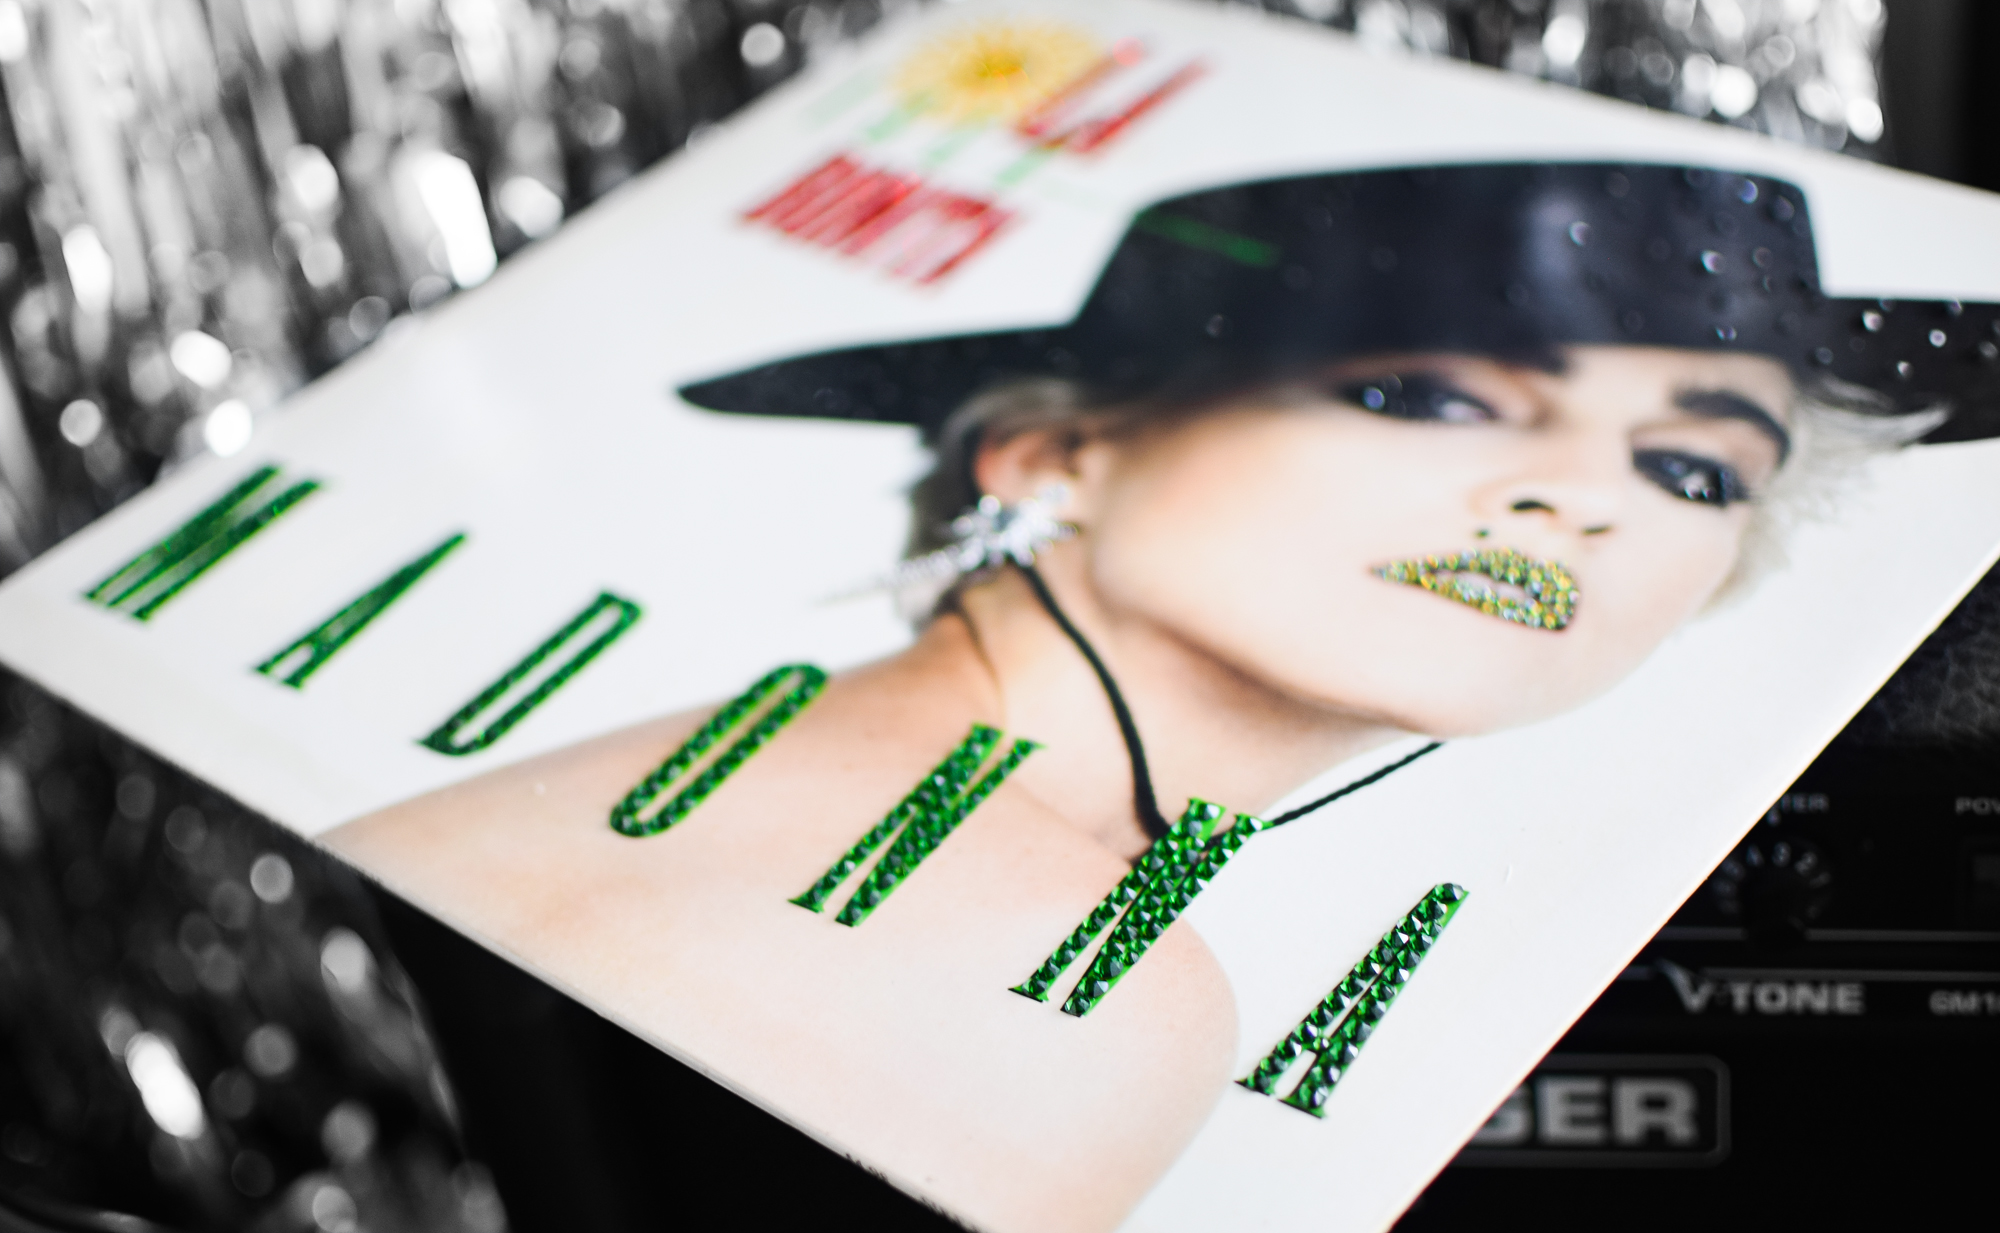
Start adding small glue dots to select areas in the album cover. I definitely wanted to add shine to her lips, hat, and text. Depending on your cover, you might want to add a little or a lot of sparkle - take in to account how many flatbacks you have BEFORE you start gluing, so you don’t run out at the end! The crystal glue pen makes it super easy to add little dots of glue. Especially for the small crystals, you don’t want large areas of glue - it pools up too much.
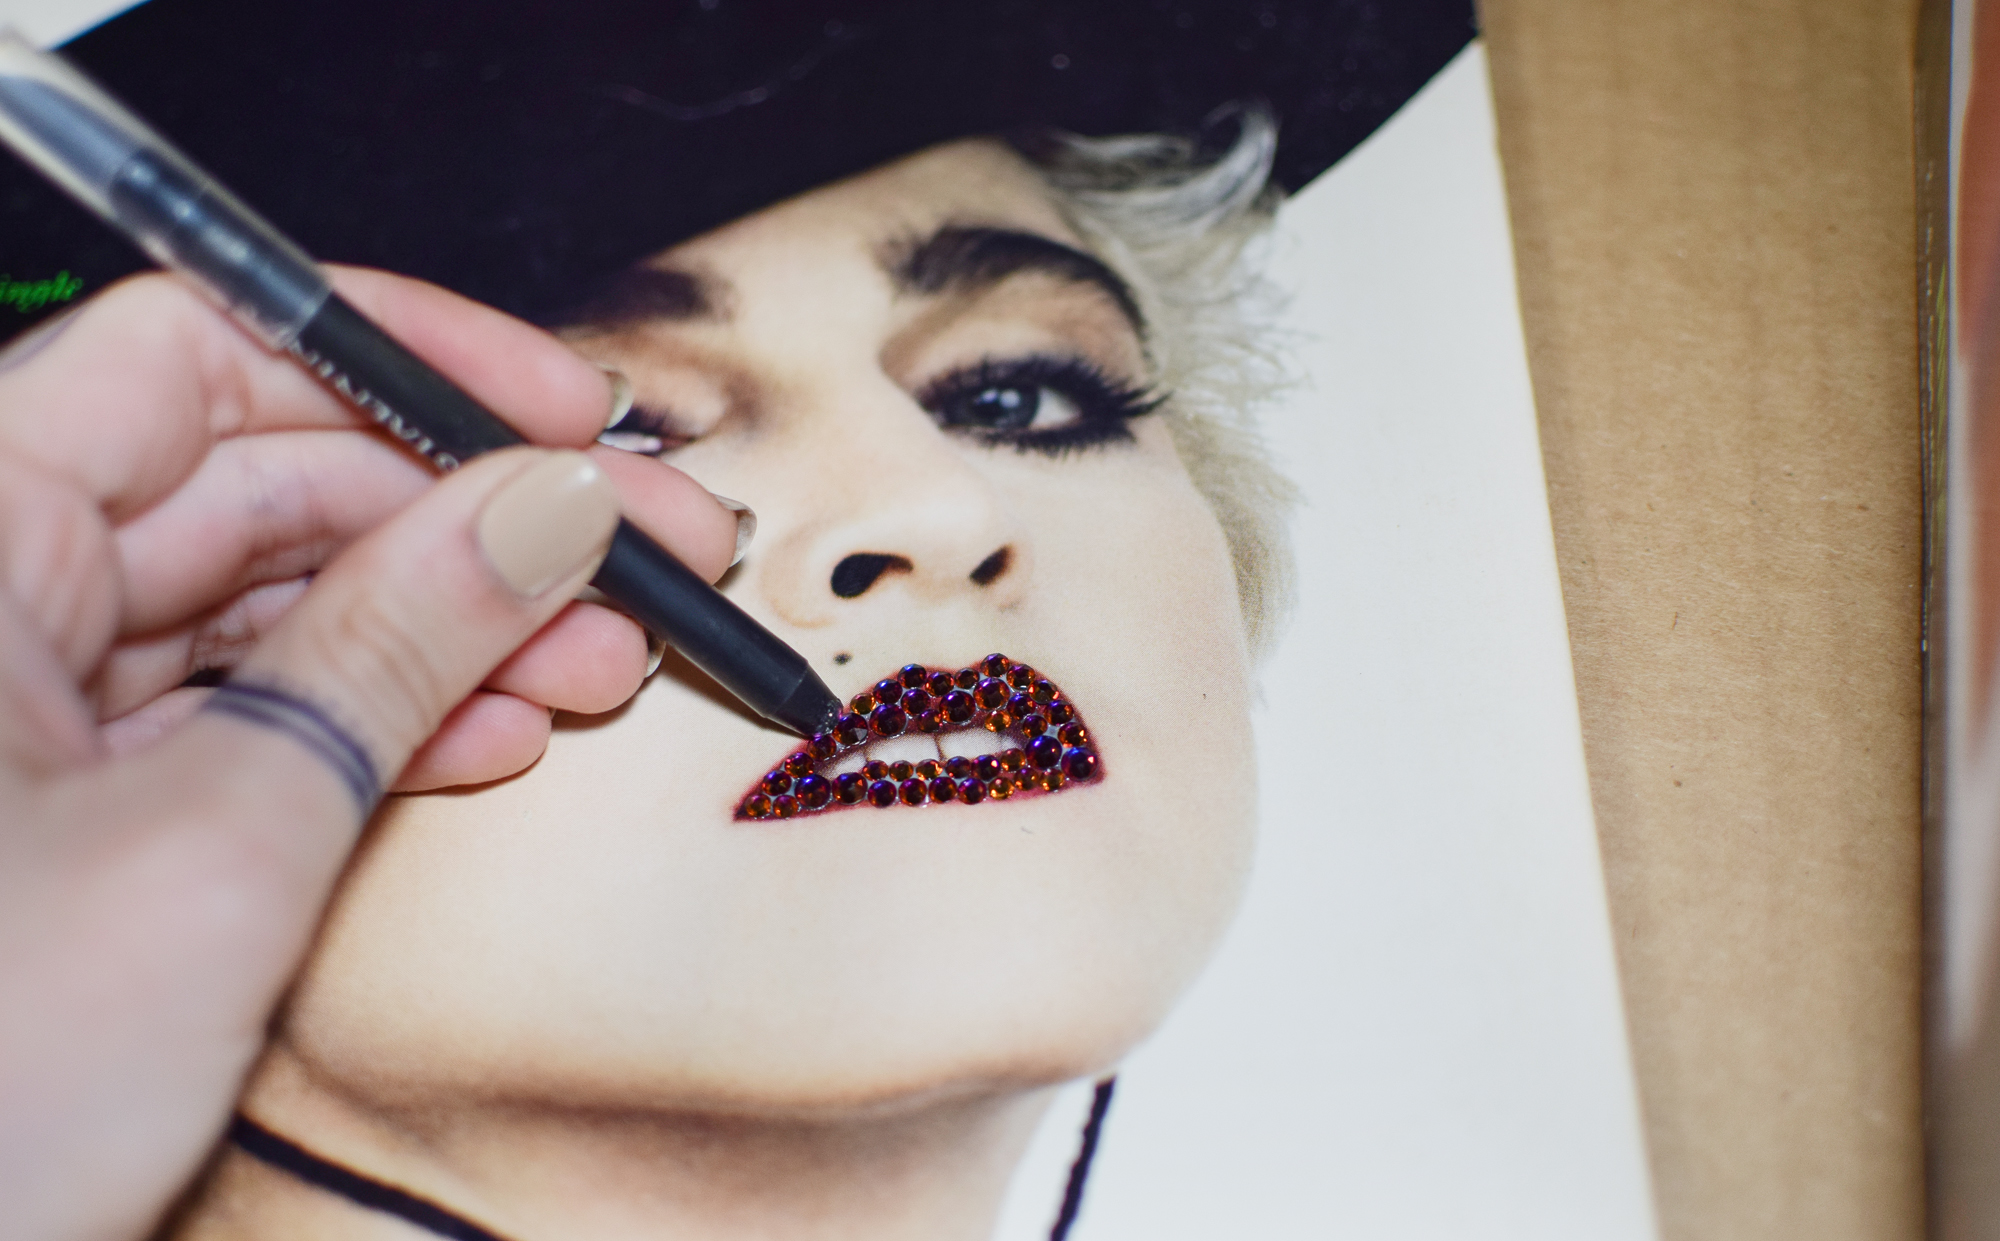
Use the wax stick to place crystals on the glue dots. Use a mix of crystal sizes to fill in small gaps. It always helps to use crystals that match the background color of where you are applying them - the look is more seamless and realistic.
Step 3
Continue filling in areas with crystal flatbacks….. There will be some areas where it’s just too small to add crystals (I couldn’t really add them to the “Isla” font), which is ok. Pick a few accent spots to highlight!
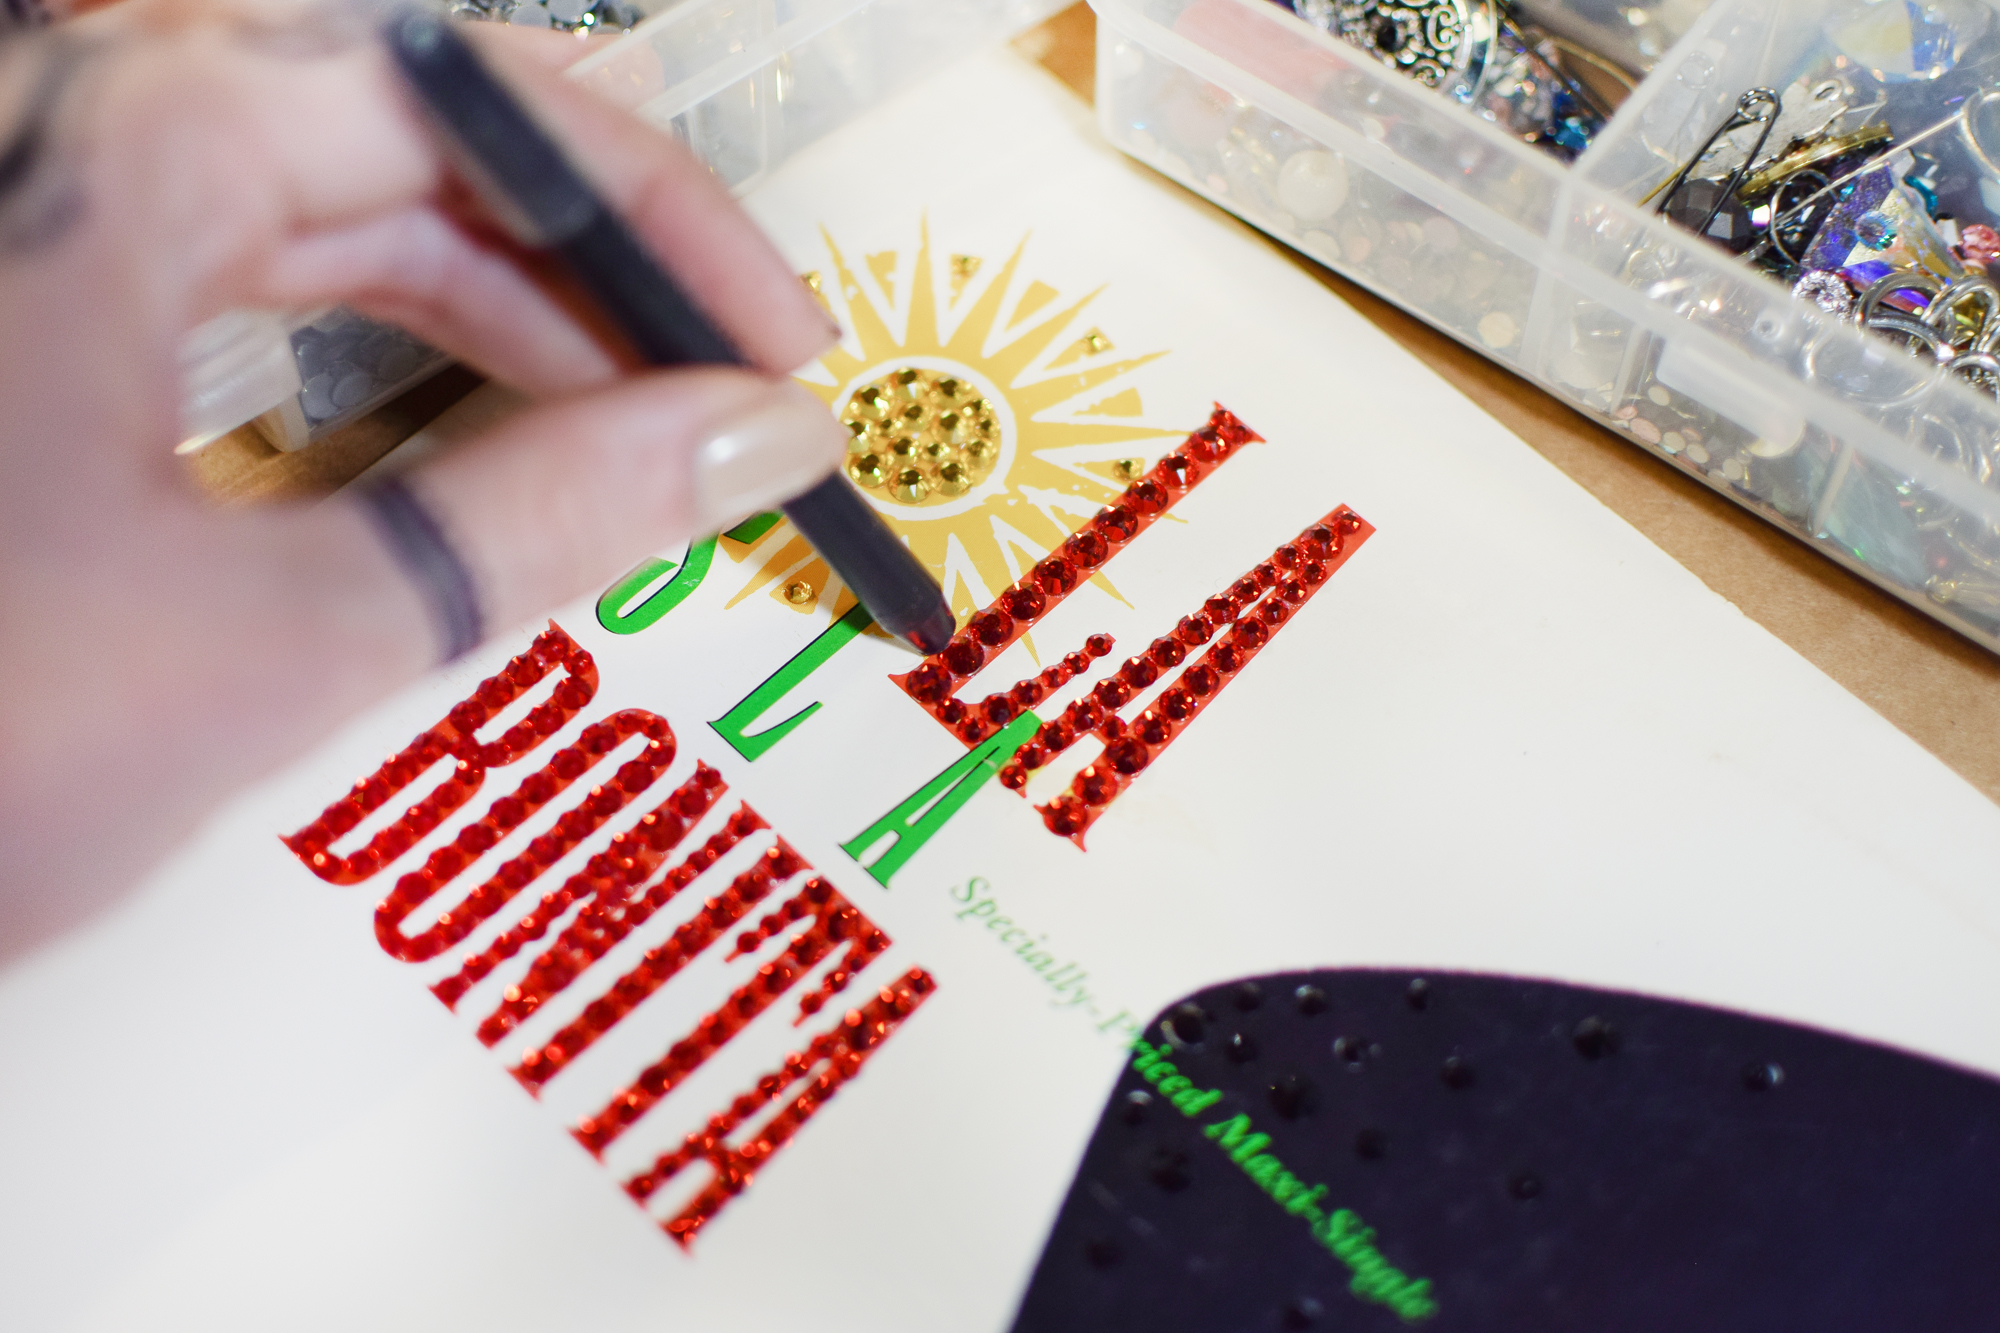
Again, this is where color matching is key - it helps hide small gaps where crystals won’t really fit (top of the “A”), so the look is definitely more seamless.
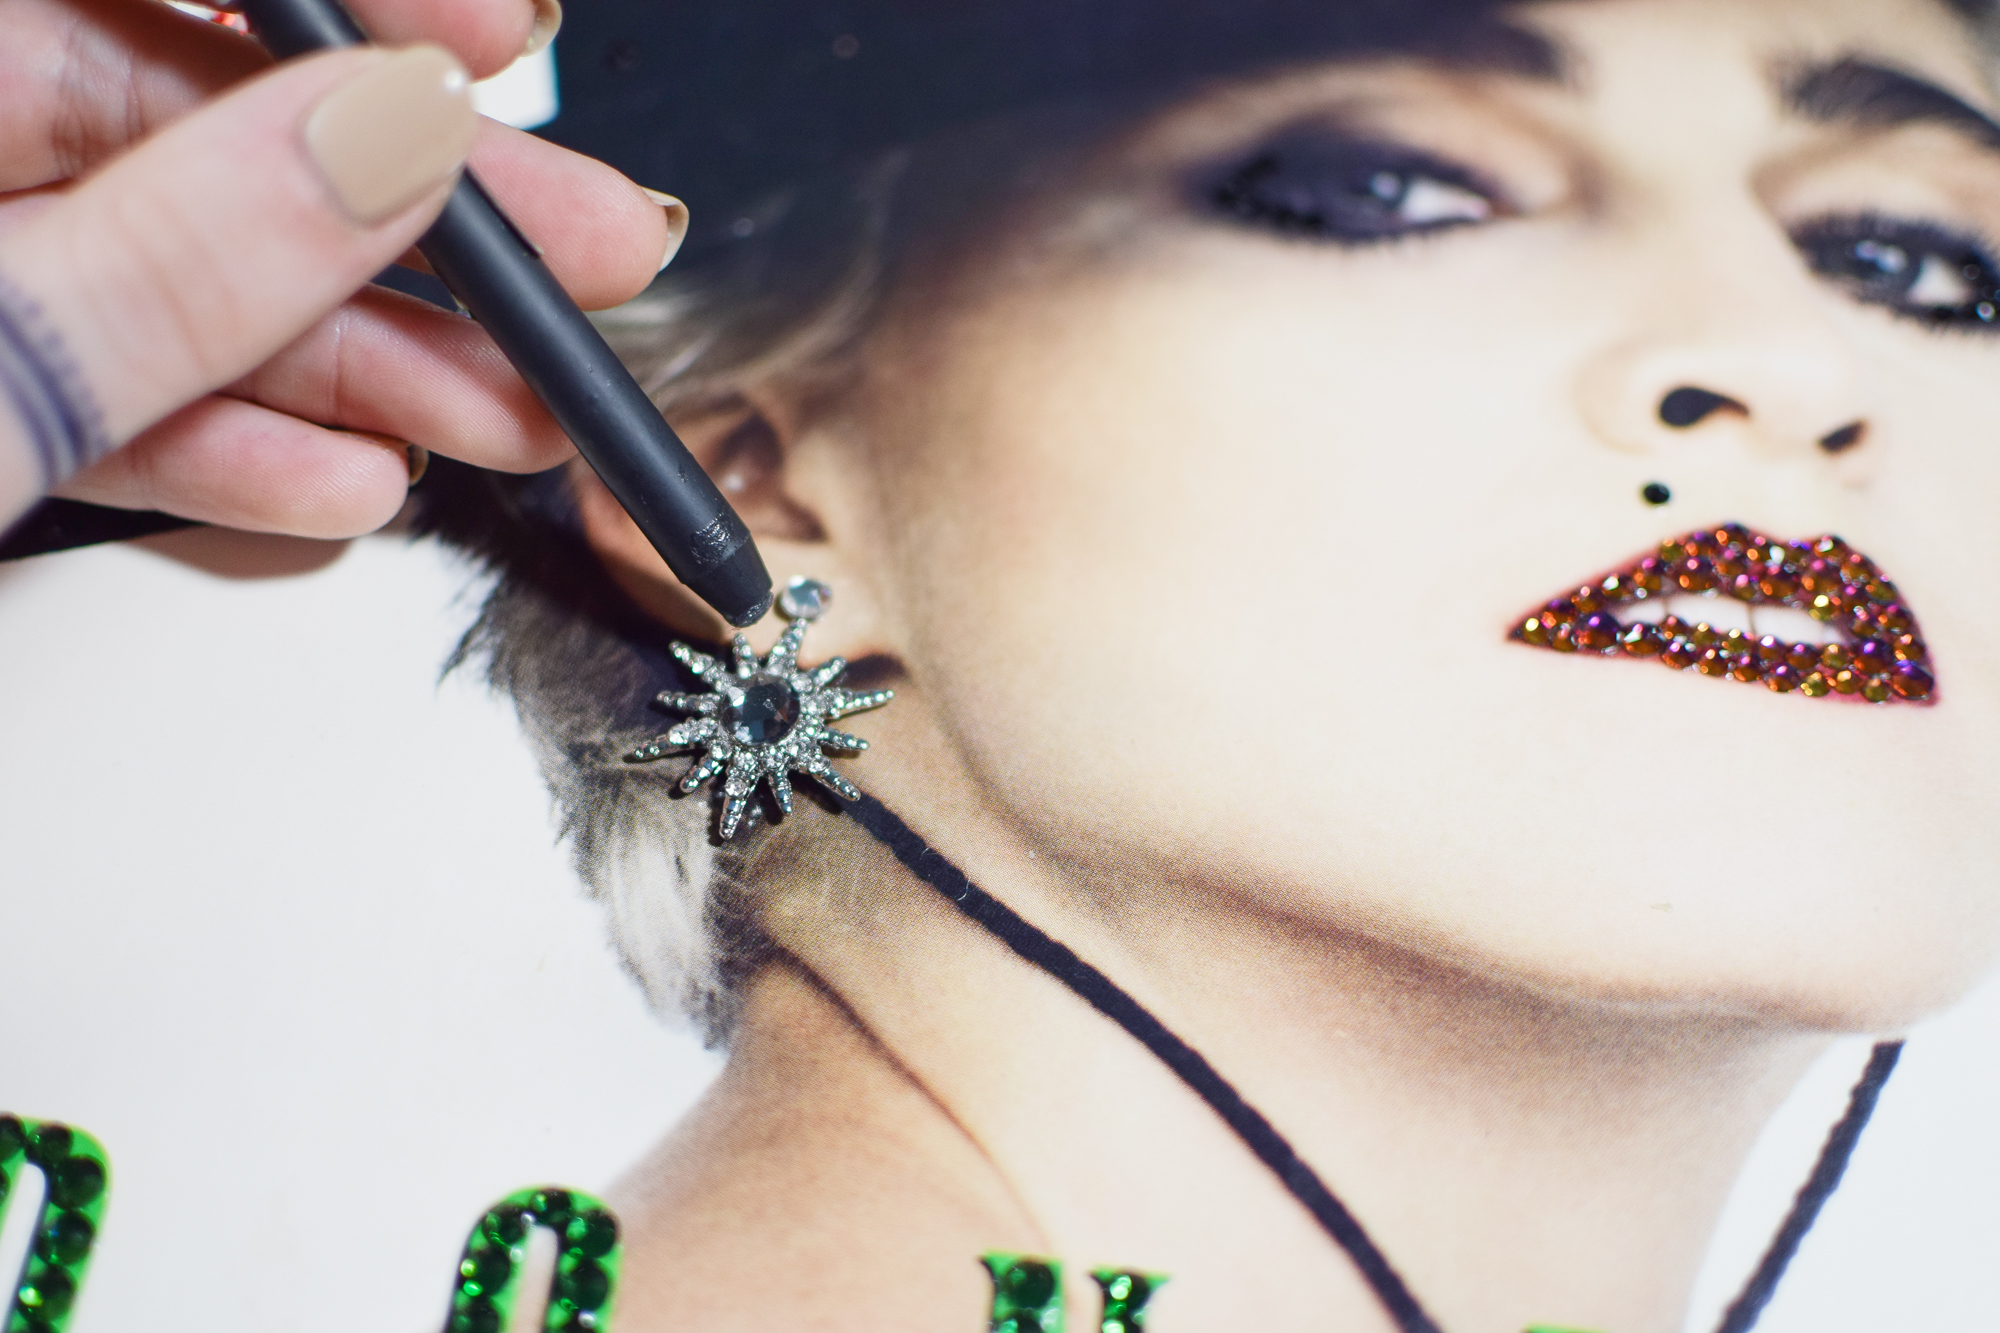
Step 4
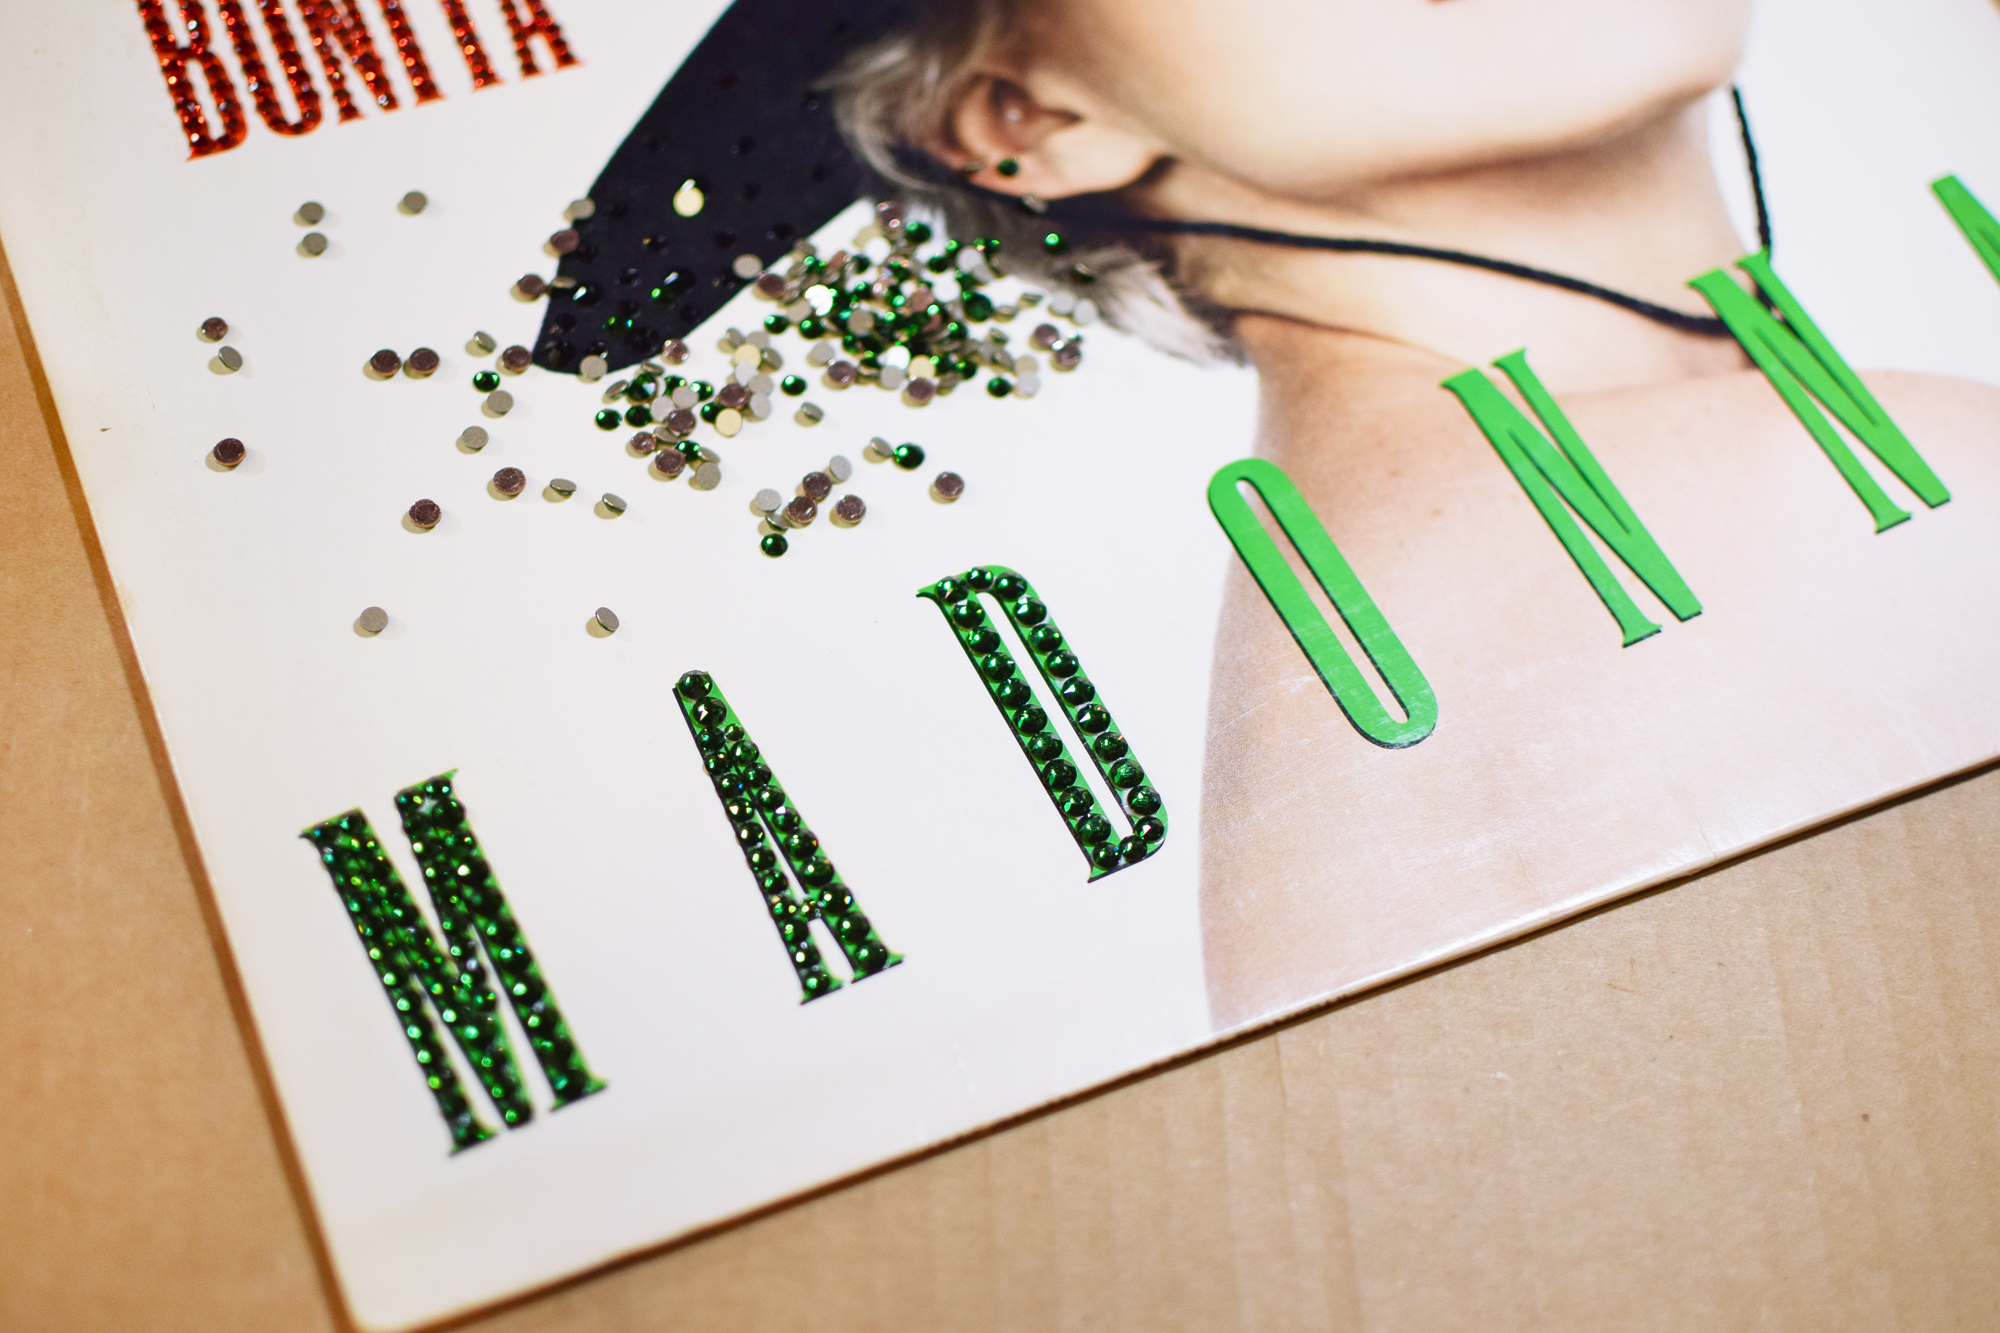
Finish off by adding any larger accents at the end. I used a small charm and crystal flatback for her earring. I then cut two small lengths of rhinestone cup chain and glued them below the charm. Depending on how large your accents are, you might want to use E6000 glue for a stronger hold.
Let everything FULLY dry before displaying!
Don’t worry, the record is still fully playable. I was really tempted to add black crystals to the plastic, but stopped short - that probably would have been somewhat sacrilegious!
My next DIY piece will hopefully be Journey’s Captured album (seriously dope graphic), or Pink Floyd’s Dark Side of the Moon. What album will you DIY?! Let me know in the comments!

All photos copyright Quiet Lion Creations. Email me at [email protected] for permission to use or re-post.
Don’t steal them, it’s bad karma ☺.

 clever curiosities, shiny sparklies, delightful discoveries, overall good vibes.
☽ crafty in Chicago since 2011 ☆
clever curiosities, shiny sparklies, delightful discoveries, overall good vibes.
☽ crafty in Chicago since 2011 ☆ 


