No, this tutorial does not have you making any type of designer DIY!
It's a simple tutorial to make cool the-dye friendship braided bracelets. I came up with this idea when trying to get a more dainty tie-dye effect, instead of just using those thick strands of embroidery floss. This tutorial is simple, but just a bit tedious. The results are very pretty though! And you can add any kind of charms you want, which is the best part!
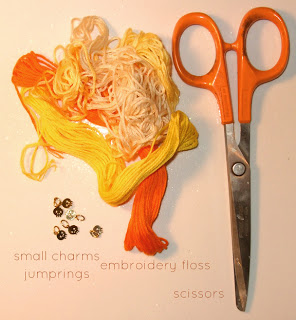
Step 1: Gather materials. Needed are scissors, small charms, and embroidery floss. Use as many colors as you want. Each color combination will have different results!
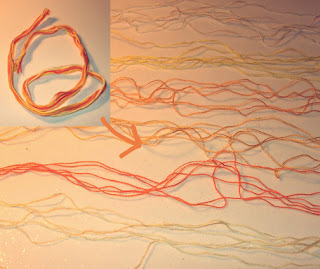
Step 2: Cut your embroidery floss. I used about 1 foot of the floss, but my wrists are small. It's better to cut more than less. I used about 11 strands of my floss. Now, separate the floss into it's individual threads (tedious!!) and lay out on your table, careful not to tangle them.
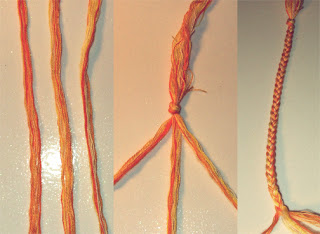
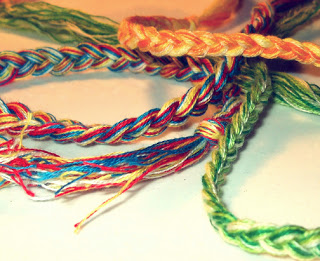
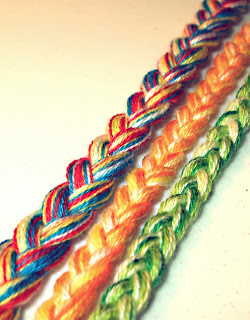
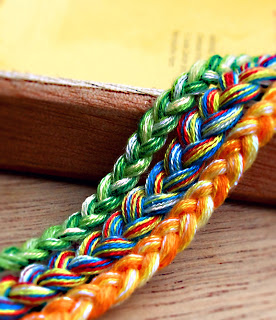
Step 3: Group all of your individual threads into 3 big groups, making sure you get a variant amount of colors in each group. Knot at the top, and braid. You should get a nice tie-dye effect!
Knot at the end, when it's long enough to tie on your wrist.
Make them in a variety of colors! Also, vary the amount of strands you use (more, less) to make thinner and thicker bracelets.
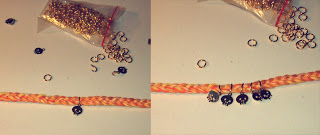
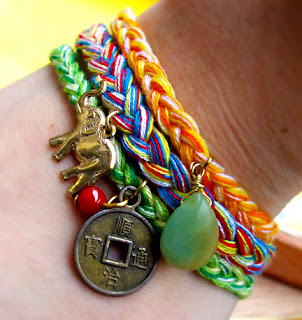
To add charms, simply place charms on a jumping and add in the middle of your braid.
You are finished! Add as many or as little as you want!
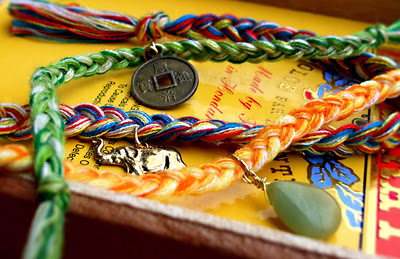
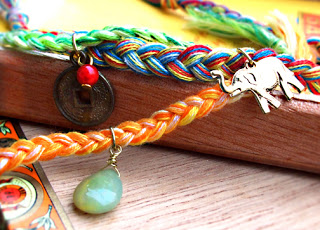
I made a set out of my three friendship bracelets, with coordinating charms. Here are the photos!
If you share/use/post this tutorial, please link back to me. It is much appreciated :)



Never thought of that before. I'll give it a shot today! :)
ReplyDeleteThese are adorable! Thank you. I followed a Pinterest post to your blog.
ReplyDeletecould u please take a photo of the way u tie the bracelets? thanks. :D
ReplyDeleteyou just tie them in a knot on the back, like a regular friendship bracelet!
ReplyDeleteomg the mustache following my mouse :O
ReplyDeleteThese are gorgeous! I didn't add any charms but I have made MANY of these and I am sooooo happy with them! Thanks for such a great tutorial!
ReplyDelete-Madi
www.acreativeadventure.blogspot.com
good, that's what I like to hear!
ReplyDeletei had a hard time getting the yarn aapart before it fell apart.. maybe mine is just old hahha
ReplyDelete