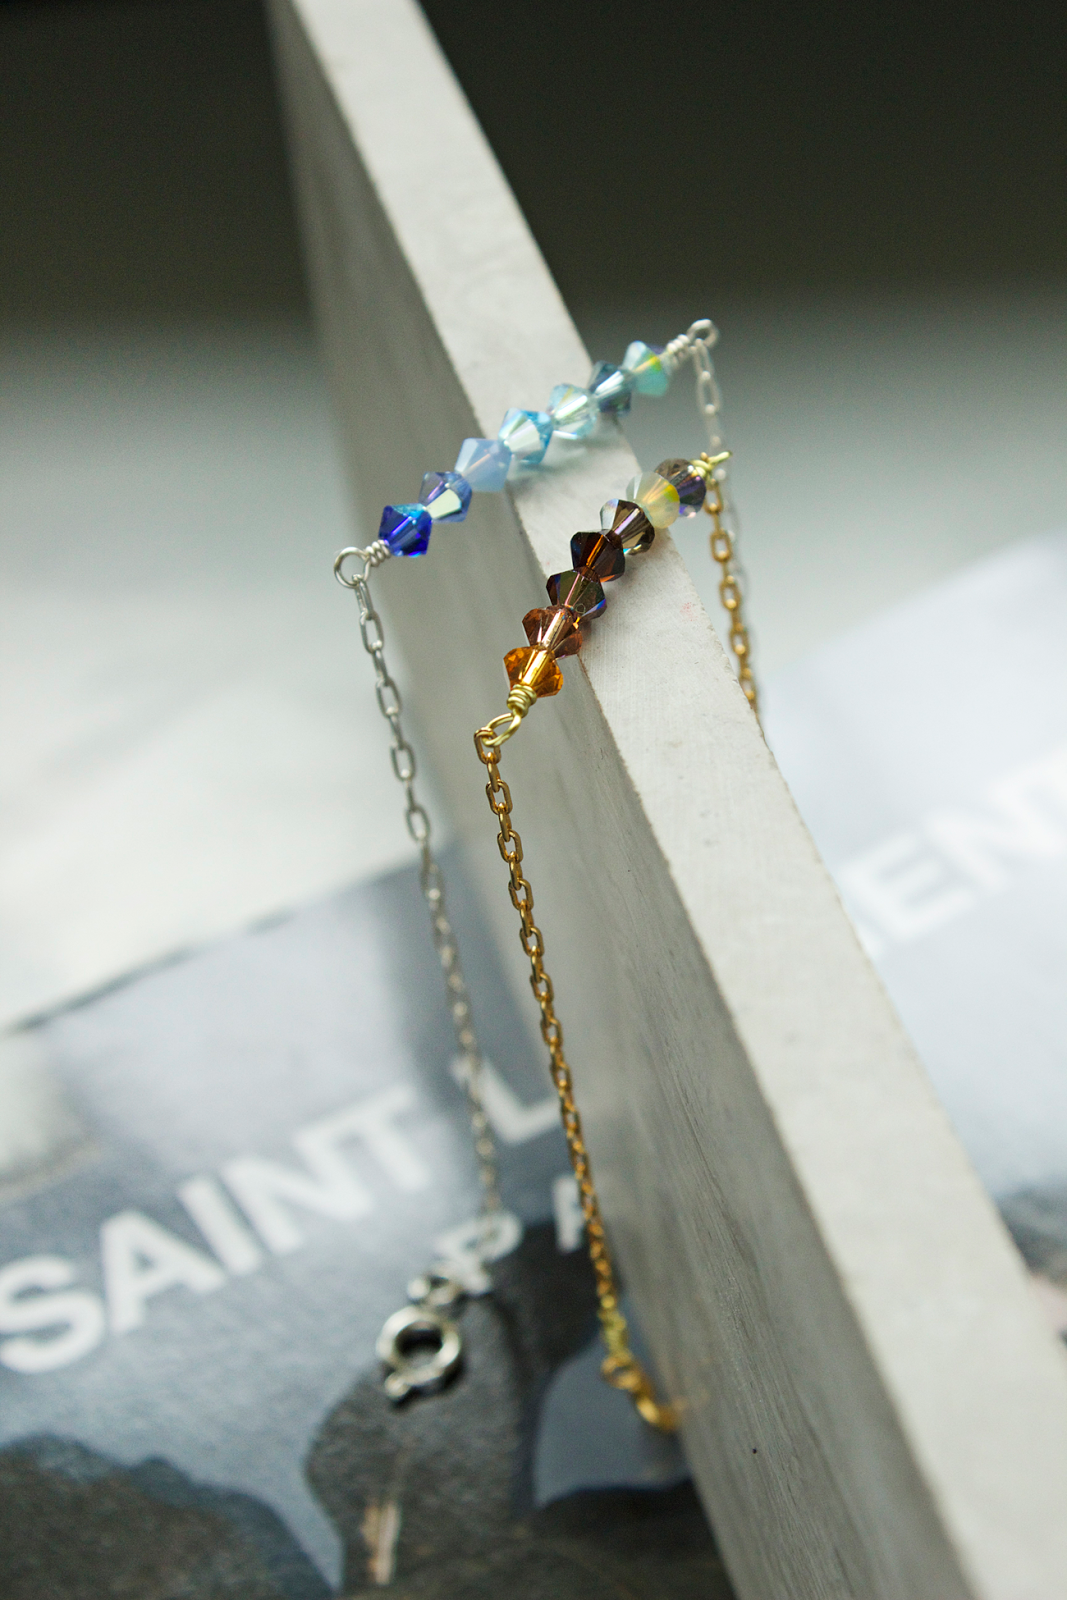
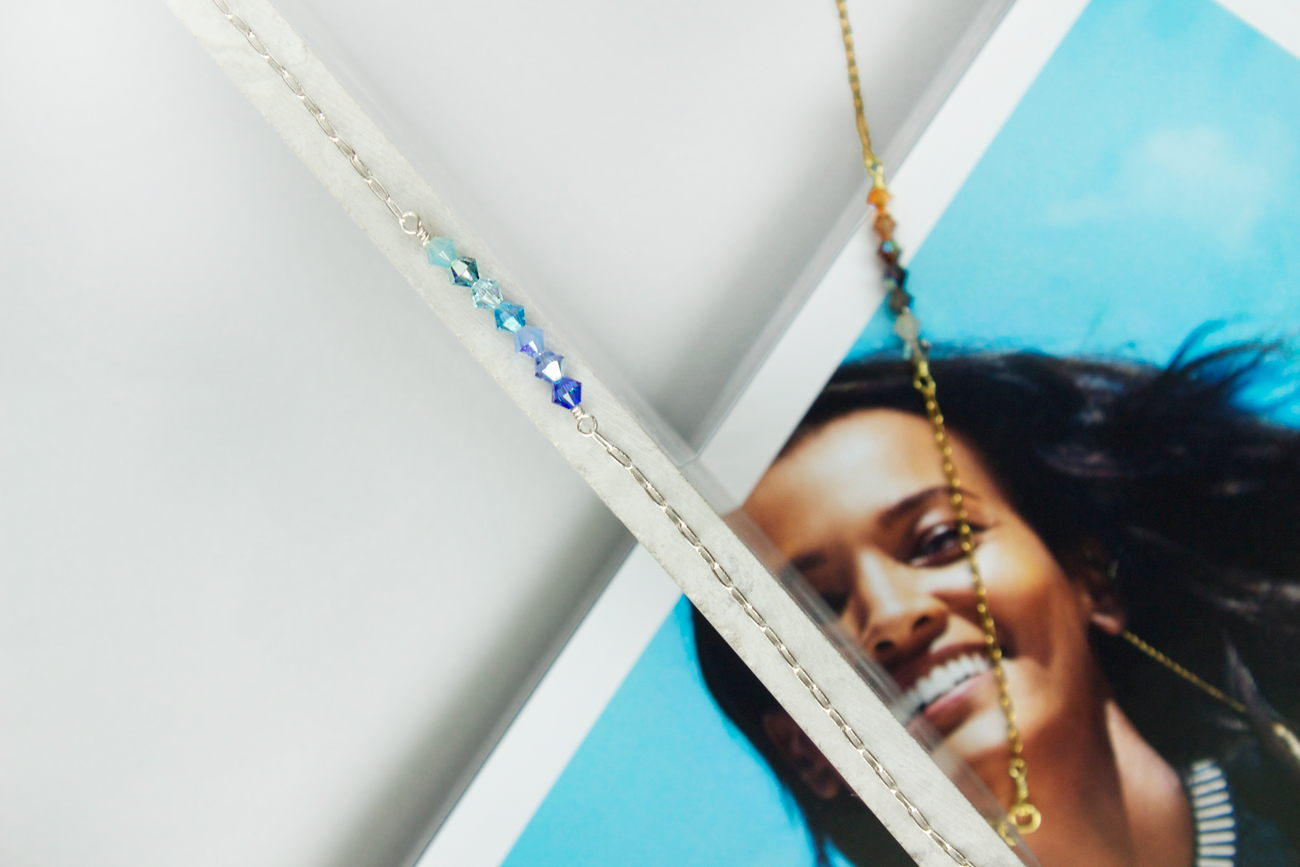
angelique ombre bracelet tutorial copyright Quiet Lion Creations

Simple elegance.

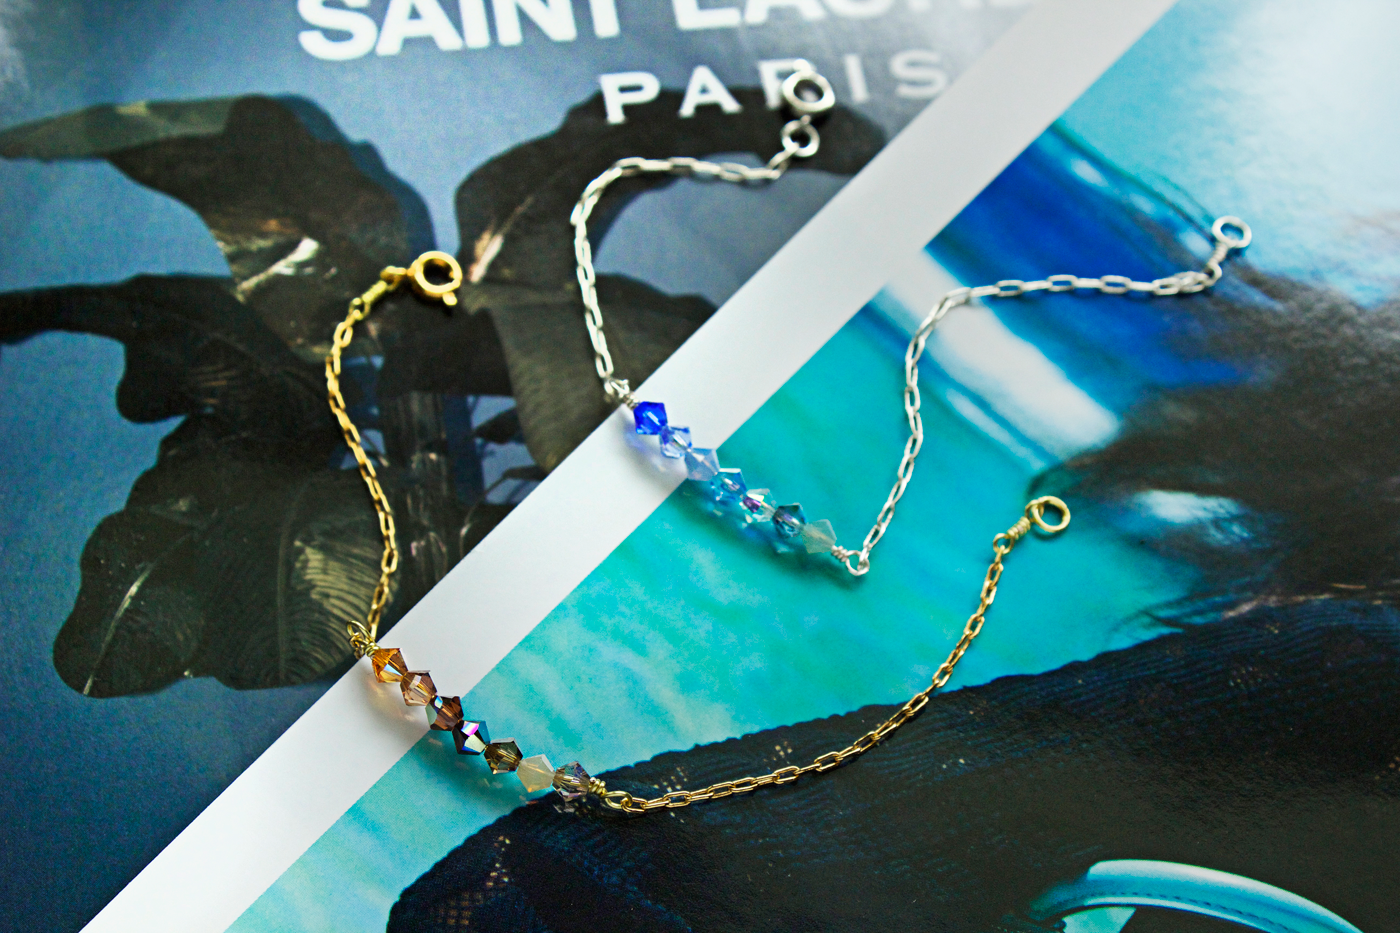
These dainty, lightweight stacking bracelets feature ombre Swarovski bicones and luxe metal cable chain. And the best part? I’m gonna tell you exactly how to make your own. Perfect for beginners, this easy tutorial is gonna have you hooked on making these. Trust me.

angelique ombre bracelet tutorial copyright Quiet Lion Creations

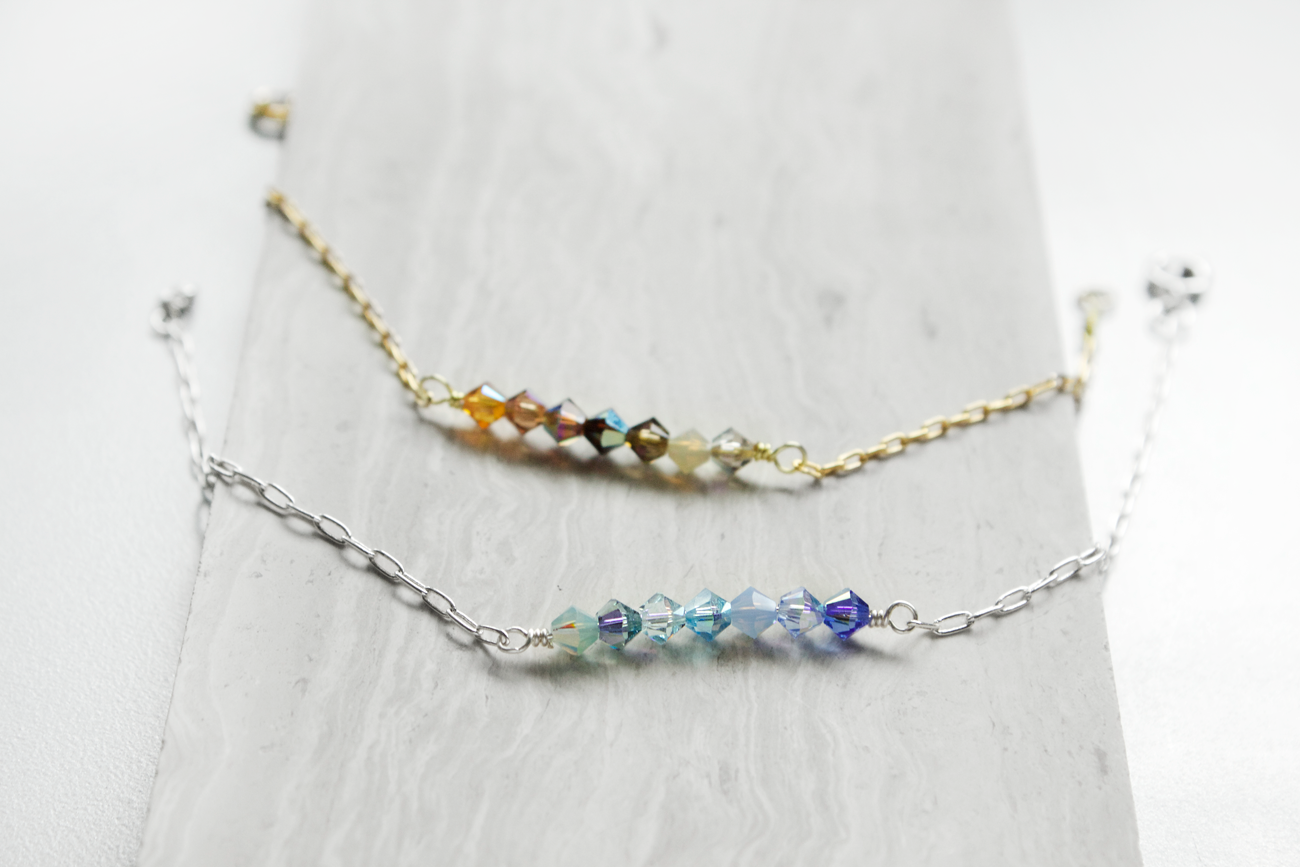
The Swarovski crystals I used can be found at any craft store. To achieve the ombre effect, you’ll need 7 different shades of the same color, so keep this in mind when buying. I’m using Cousin brand Elegance metals chain (14k gold plated and sterling silver) which can also be found at Michaels or any major craft store.

angelique ombre bracelet tutorial copyright Quiet Lion Creationsombre swarovski bracelets diy copyright Quiet Lion Creations

You can make multiple bracelets out of one packet of this chain (about two per pack). Make sure to grab the Elegance Metals clasps and jump rings as well, to match the metal quality.

ombre swarovski bracelets diy copyright Quiet Lion Creations

These would be great grown-up friendship bracelets. You could even do birthstone color schemes for your friends, to totally customize them.

They can totally be worn everyday too - the metal won’t tarnish, and they are delicate enough too.

ombre swarovski bracelets diy copyright Quiet Lion Creations

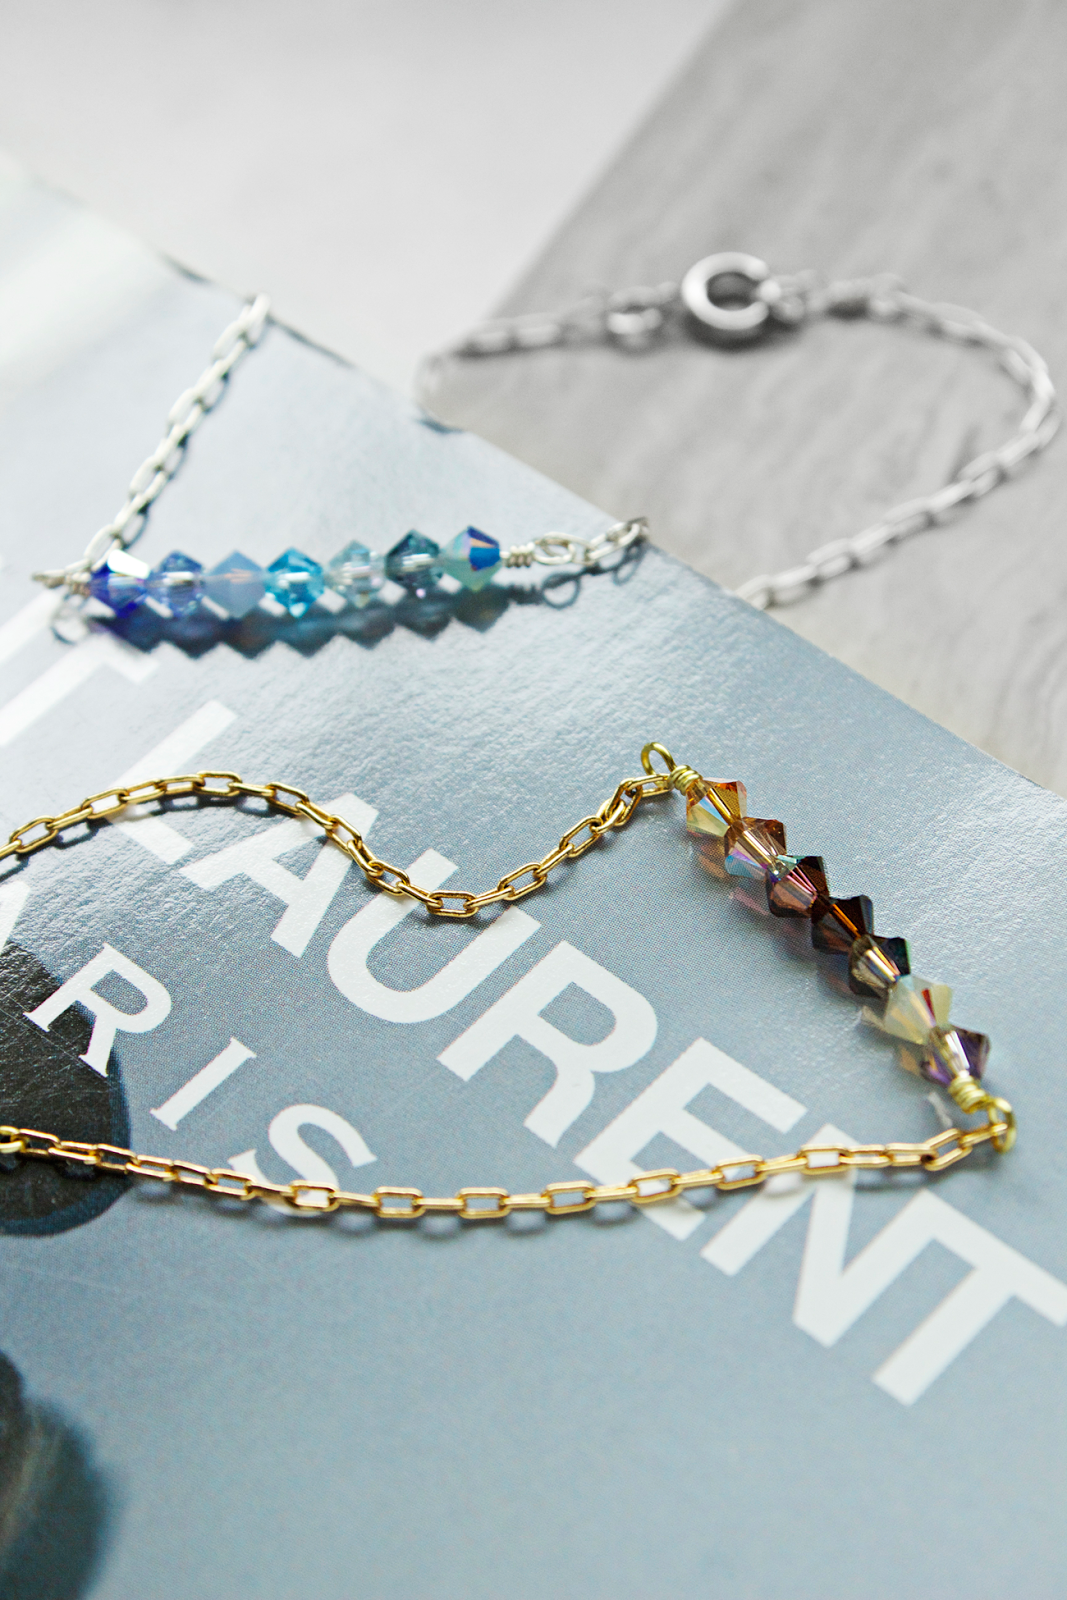
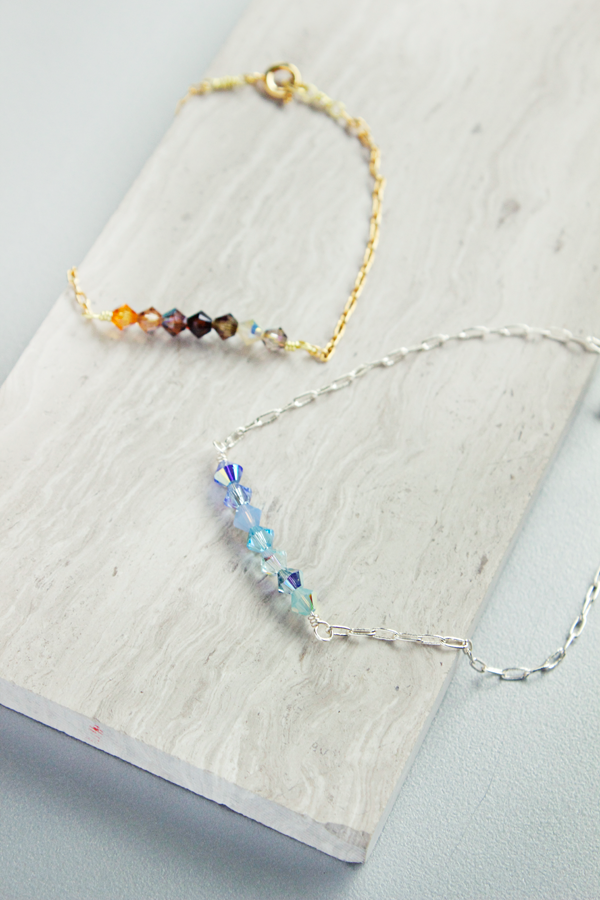
I’ve chosen to go with a silver/blue and gold/brown combo here. I love neutrals (the brown scheme) and think the cool blues and silver look ultra-modern. I wouldn’t necessarily wear these both together, but made them to go with separate outfits.

ombre swarovski bracelets diy copyright Quiet Lion Creations

The total crafting time is about 10 minutes per bracelet. Less if you’re more experienced. I think they are totally worth it, don’t you agree? Let’s begin!

ombre swarovski bracelets diy copyright Quiet Lion Creations

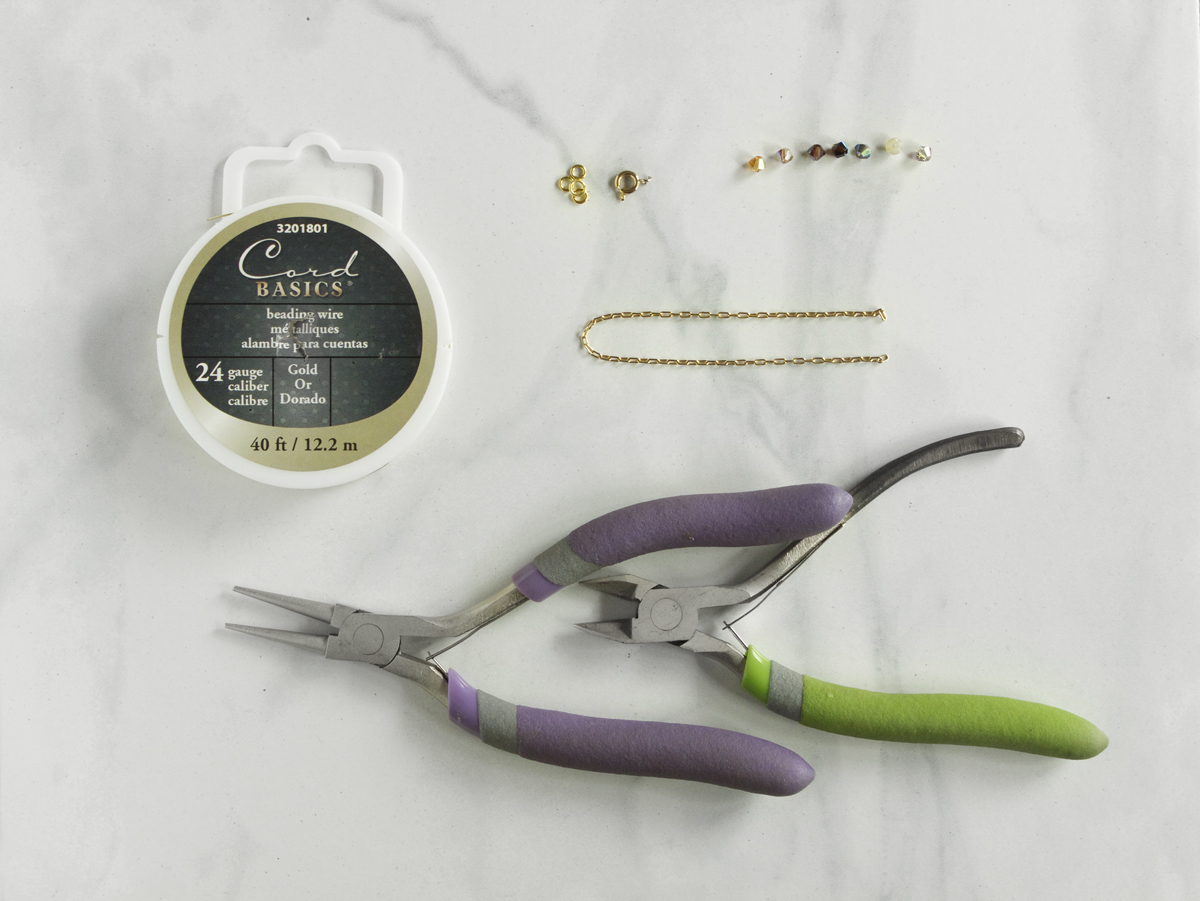
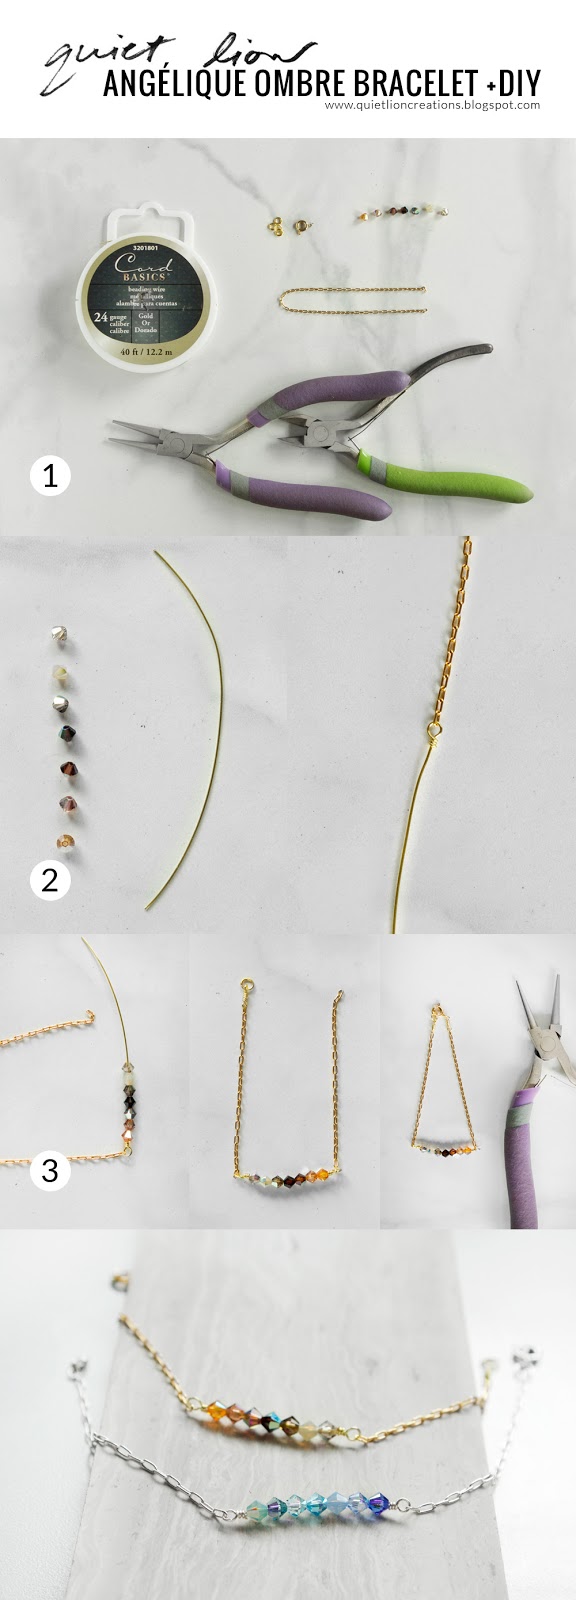
Step 1: Gather materials. Needed are pliers (roundnose and wire cutters), Cousin brand 24 gauge gold wire, Cousin brand Elegance Metals 14k gold plated cable chain, Cousin Elegance Metals 4mm gold jump rings, a gold spring clasp, Swarovski 4mm bicones (you can find these at any craft stores - pick 7 colors of the same hue. These come in packets sometimes with like colors).

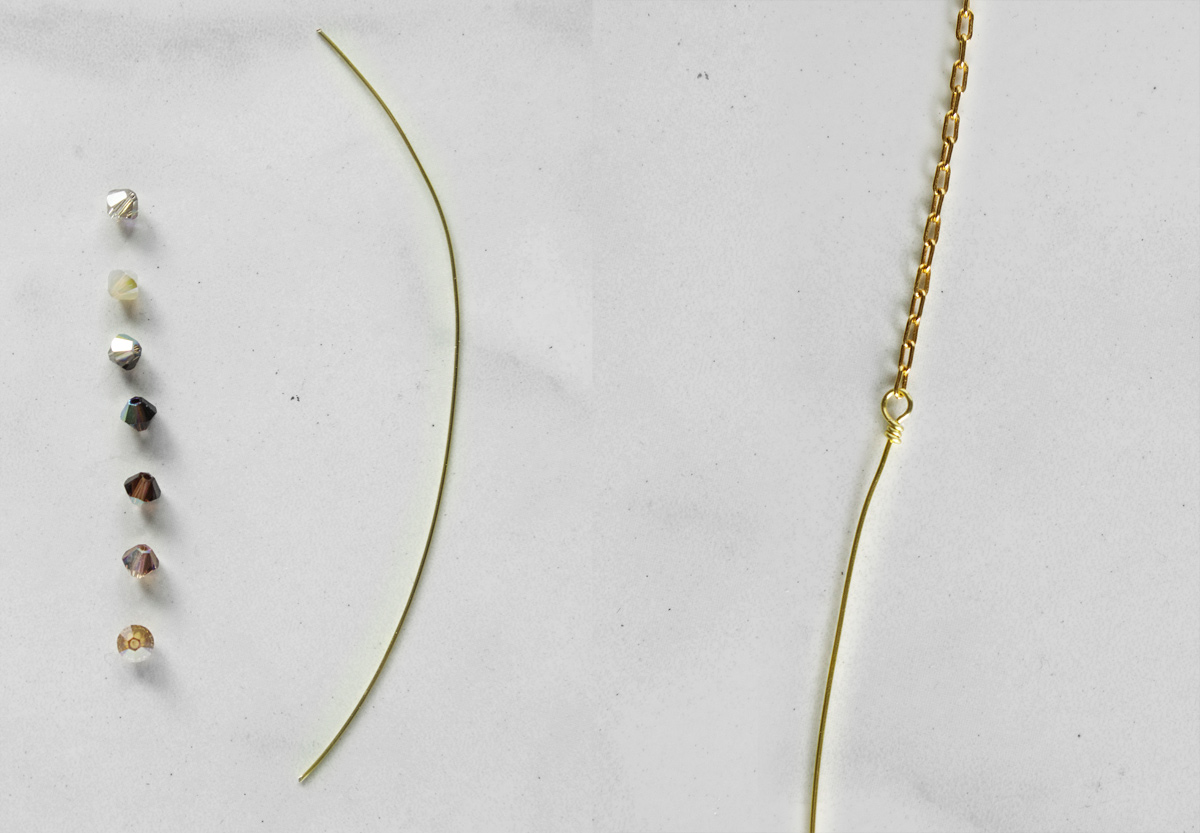
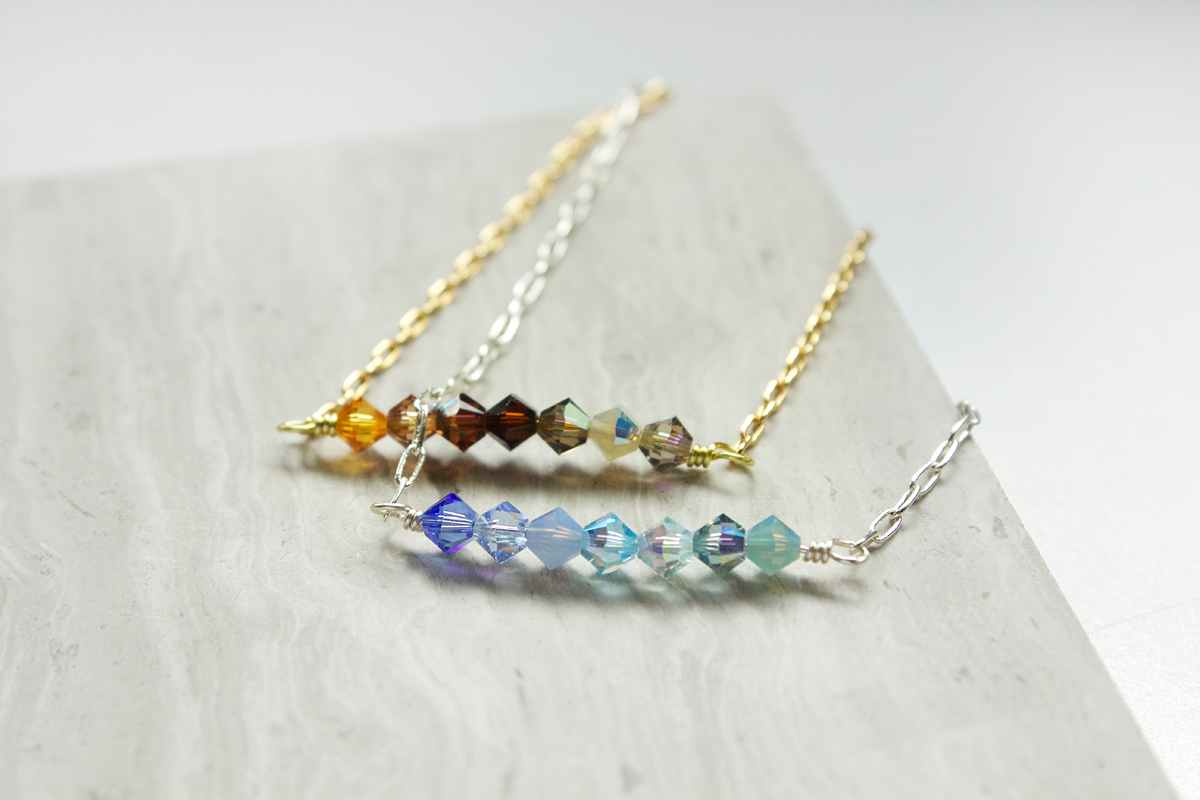
Step 2: Lay out your ombre arrangement of your seven colors. I chose a brown scheme here to go with the gold metal. They are specifically: Topaz, Light Smoked Topaz, Smoked Topaz, Mocca, Smoky Quartz, Sand Opal, Greige.

(To make a 7″ bracelet) - Cut about a 3″ piece of your cable chain. Repeat. Cut a 4″ piece or so of your wire. Create a wrapped loop at one end, catching in your cable chain.

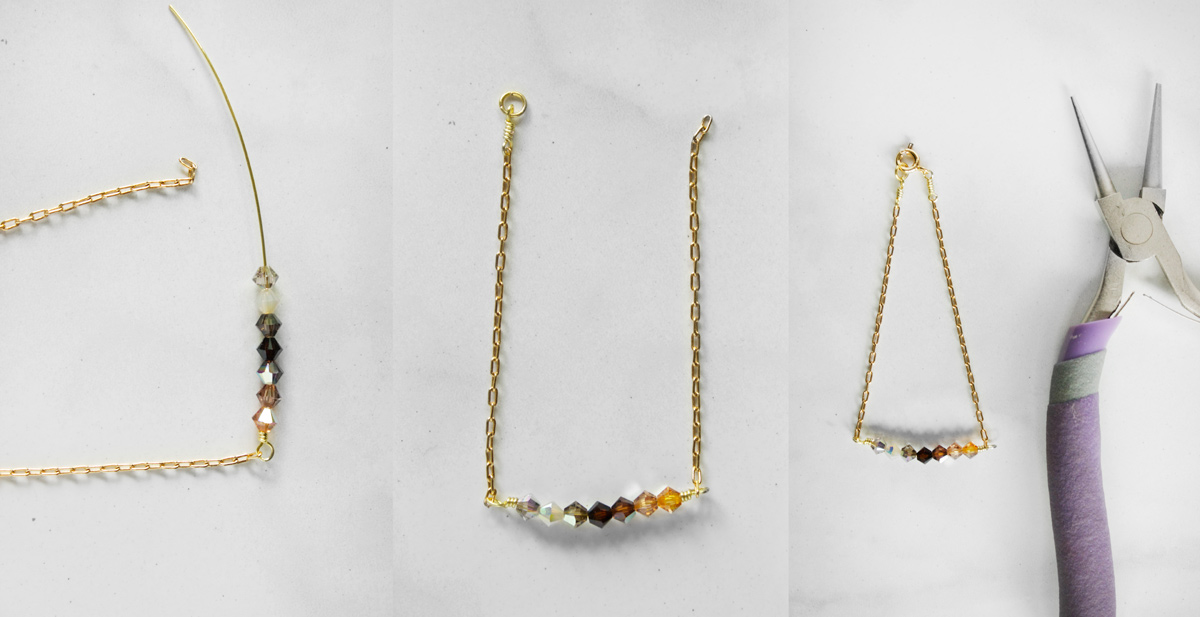
Step 3: String on all your crystals in order. Create a wrapped loop at your other end, catching the end of the other 3″ piece of chain in that loop. Attach a jump ring and clasp to the open ends of the chain. To make a larger bracelet, use longer amounts of chain.

Simple enough, right? If you guys follow this tutorial to make some bracelets of your own, post a picture of the finished product on Instagram and tag me @quietlioncreations. I’ll repost your creations!

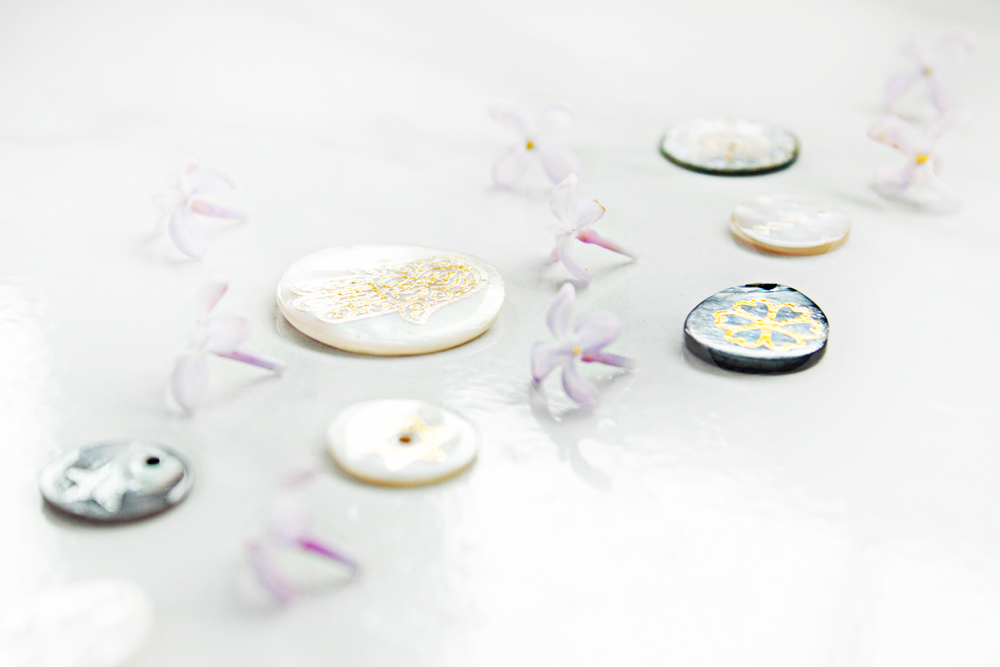
I’ll leave you with some more inspo photos to finish. Craft on!

ombre swarovski bracelets diy copyright Quiet Lion Creations ombre swarovski bracelets diy copyright Quiet Lion Creations ombre swarovski bracelets diy copyright Quiet Lion Creations ombre swarovski bracelets diy copyright Quiet Lion Creations

All photos copyright Allison Beth Cooling. Do not repost or reuse without crediting me and linking back to my blog!

These trinket necklaces remind me of something you’d find in Alice in Wonderland - little curiosities filled with sparkly whatnots, dangling from silvery chains and delightfully whimsical-looking. Crystal chatons, silver and gold flake, pearls, marquise gems and more complete my Jewel Globe necklaces, creating a multidimensional yet still dainty piece.

I like the “fragile” look of these globes (I mean, they are glass, so be careful!) and the fact that they can be totally customized- fill with your fav color materials and combinations of supplies.

I’ll show you below exactly where to find all the materials I used in this tutorial, including those glass globe pendants of course. The majority of the beads and jewelry making supplies I used were from supply company Pandahall.
     

They are great for beginners, as no complex beading skills are required - simply fill your pendant, glue the topper on, and add to chain!

I would totally layer these necklaces with others (even mixing metal colors) for a totally luxe look. That pretty gold teddy bear (Tous look-alike) is a new favorite. Find a similar piece here: Gold Teddy Bear Tous Bracelet

Are we ready to get started?!

Step 1: Gather materials. I used imitation metallic craft flake, Pandahall Rhinestone Brass Chain (specifically their 3mm Silver Tone Rhinestone cup chain), Pandahall Glass chatons (specifically their 4mm Glass Chaton Rhinestones), Pandahall colored chatons (specifically their 4X2mm Cubic Zirconia Pointed Back Cabochons), silver chain, and Round Glass Globe Pendants (similar globes here on Amazon).  You will also need jump rings, a clasp, E6000 glue and pliers.

Step 2: Fill your glass globe with rhinestones. I used a mix of both shapes and added just enough to cover the bottom of the globe.

Step 3: With your pendant filled, gently add in some silver flake (using pliers - this flake is surprisingly “sticky” in a way, meaning it will stick to fingers! It’s a little hard to work with). I added maybe 4 flakes or so. I wanted to keep the look dainty. Glue the globe stopper to the top with E6000 glue.

Step 4: To create the rhinestone trim, measure around your globe first and cut the right amount of chain - in my example, 6 rhinestones. Again, use a bead of E6000 glue around the globe top to adhere the chain. To finish the necklace, thread the globe topper through a thin chain and attach a clasp at the ends. I kept my chain long to balance out the larger pendant.

That’s all there is to it! The look of luxe but in super simple steps. Create a bunch, all in different color schemes. Experiment with color palettes and mixes of crystals. That’s what it’s all about!

If you follow this tutorial and create a necklace of your own, post it to Instagram and tag me @quietlioncreations. I’ll repost your project!

All photography copyright Allison Beth Cooling. Do not post or reuse without crediting me and linking to me!

My Summer 2015 jewelry collection is all about Hawaii vibes. I’m using shell, mother of pearl and freshwater pearls and adhering metallics to them for a modern update. Neutral tones keep the look elegant. Stay tuned!

Photos copyright Allison Beth Cooling.