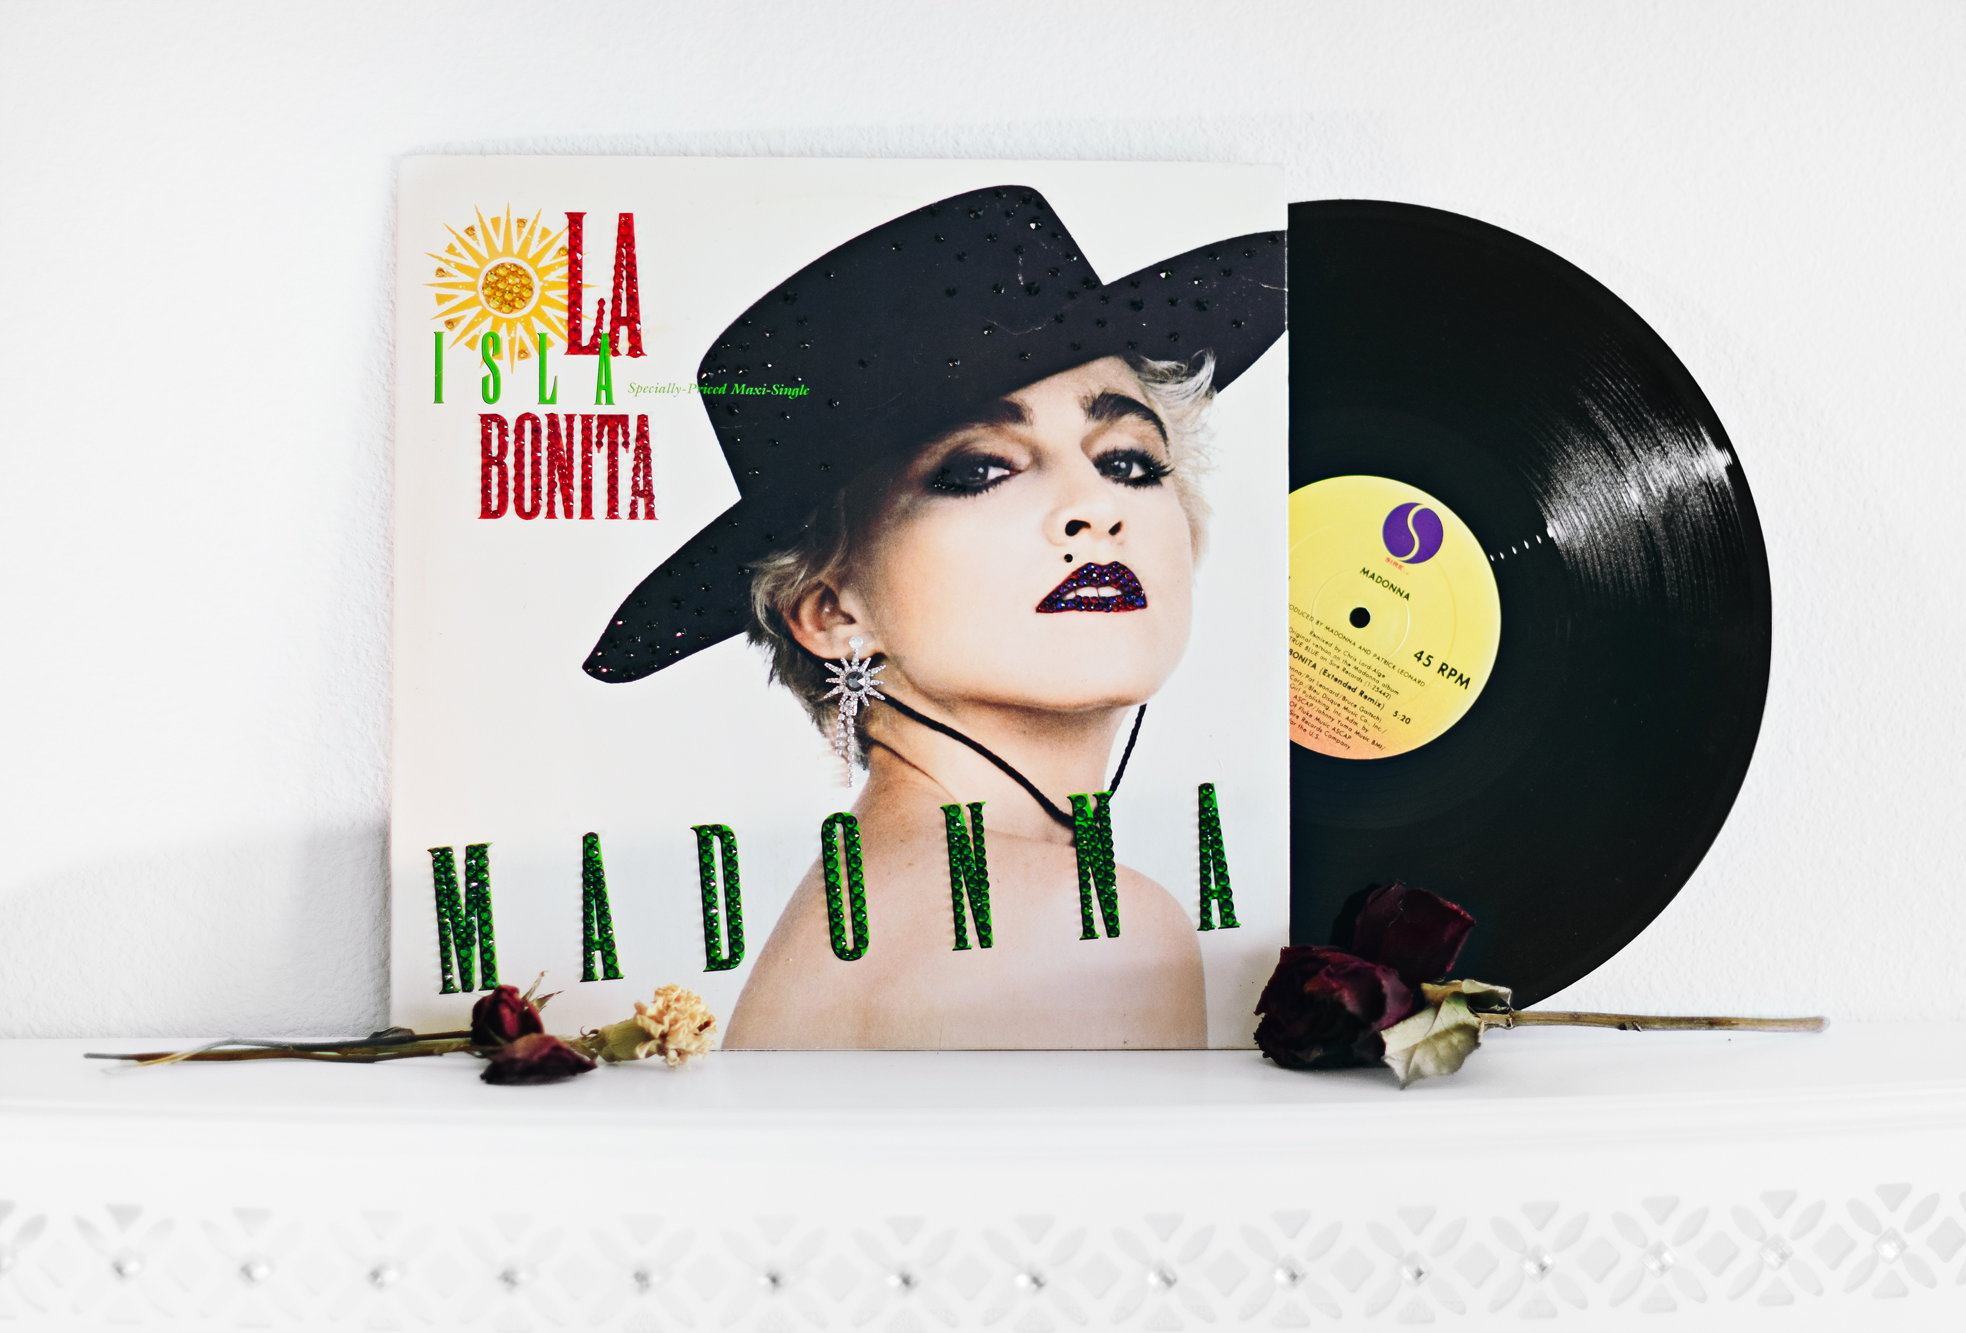
These DIY Wired Stones Necklaces are equal parts boho and glam! Mixing shiny faceted crystals with opaque, earthy gemstones really makes for a sophisticated contrast in texture and color. Organic wire wraps play up the hippie-chic mood, and are super easy to create! You don’t have to have mad wire wrapping skills to make these necklaces…..

If you’ve got random gemstone or crystal beads lying around, this is the perfect time to use them. I like using complimentary, but not matching, stones for these necklaces. It gives them an eclectic feel! These are meant to be long, rosary-style pieces, but feel free to change the length depending on the look you are going for.

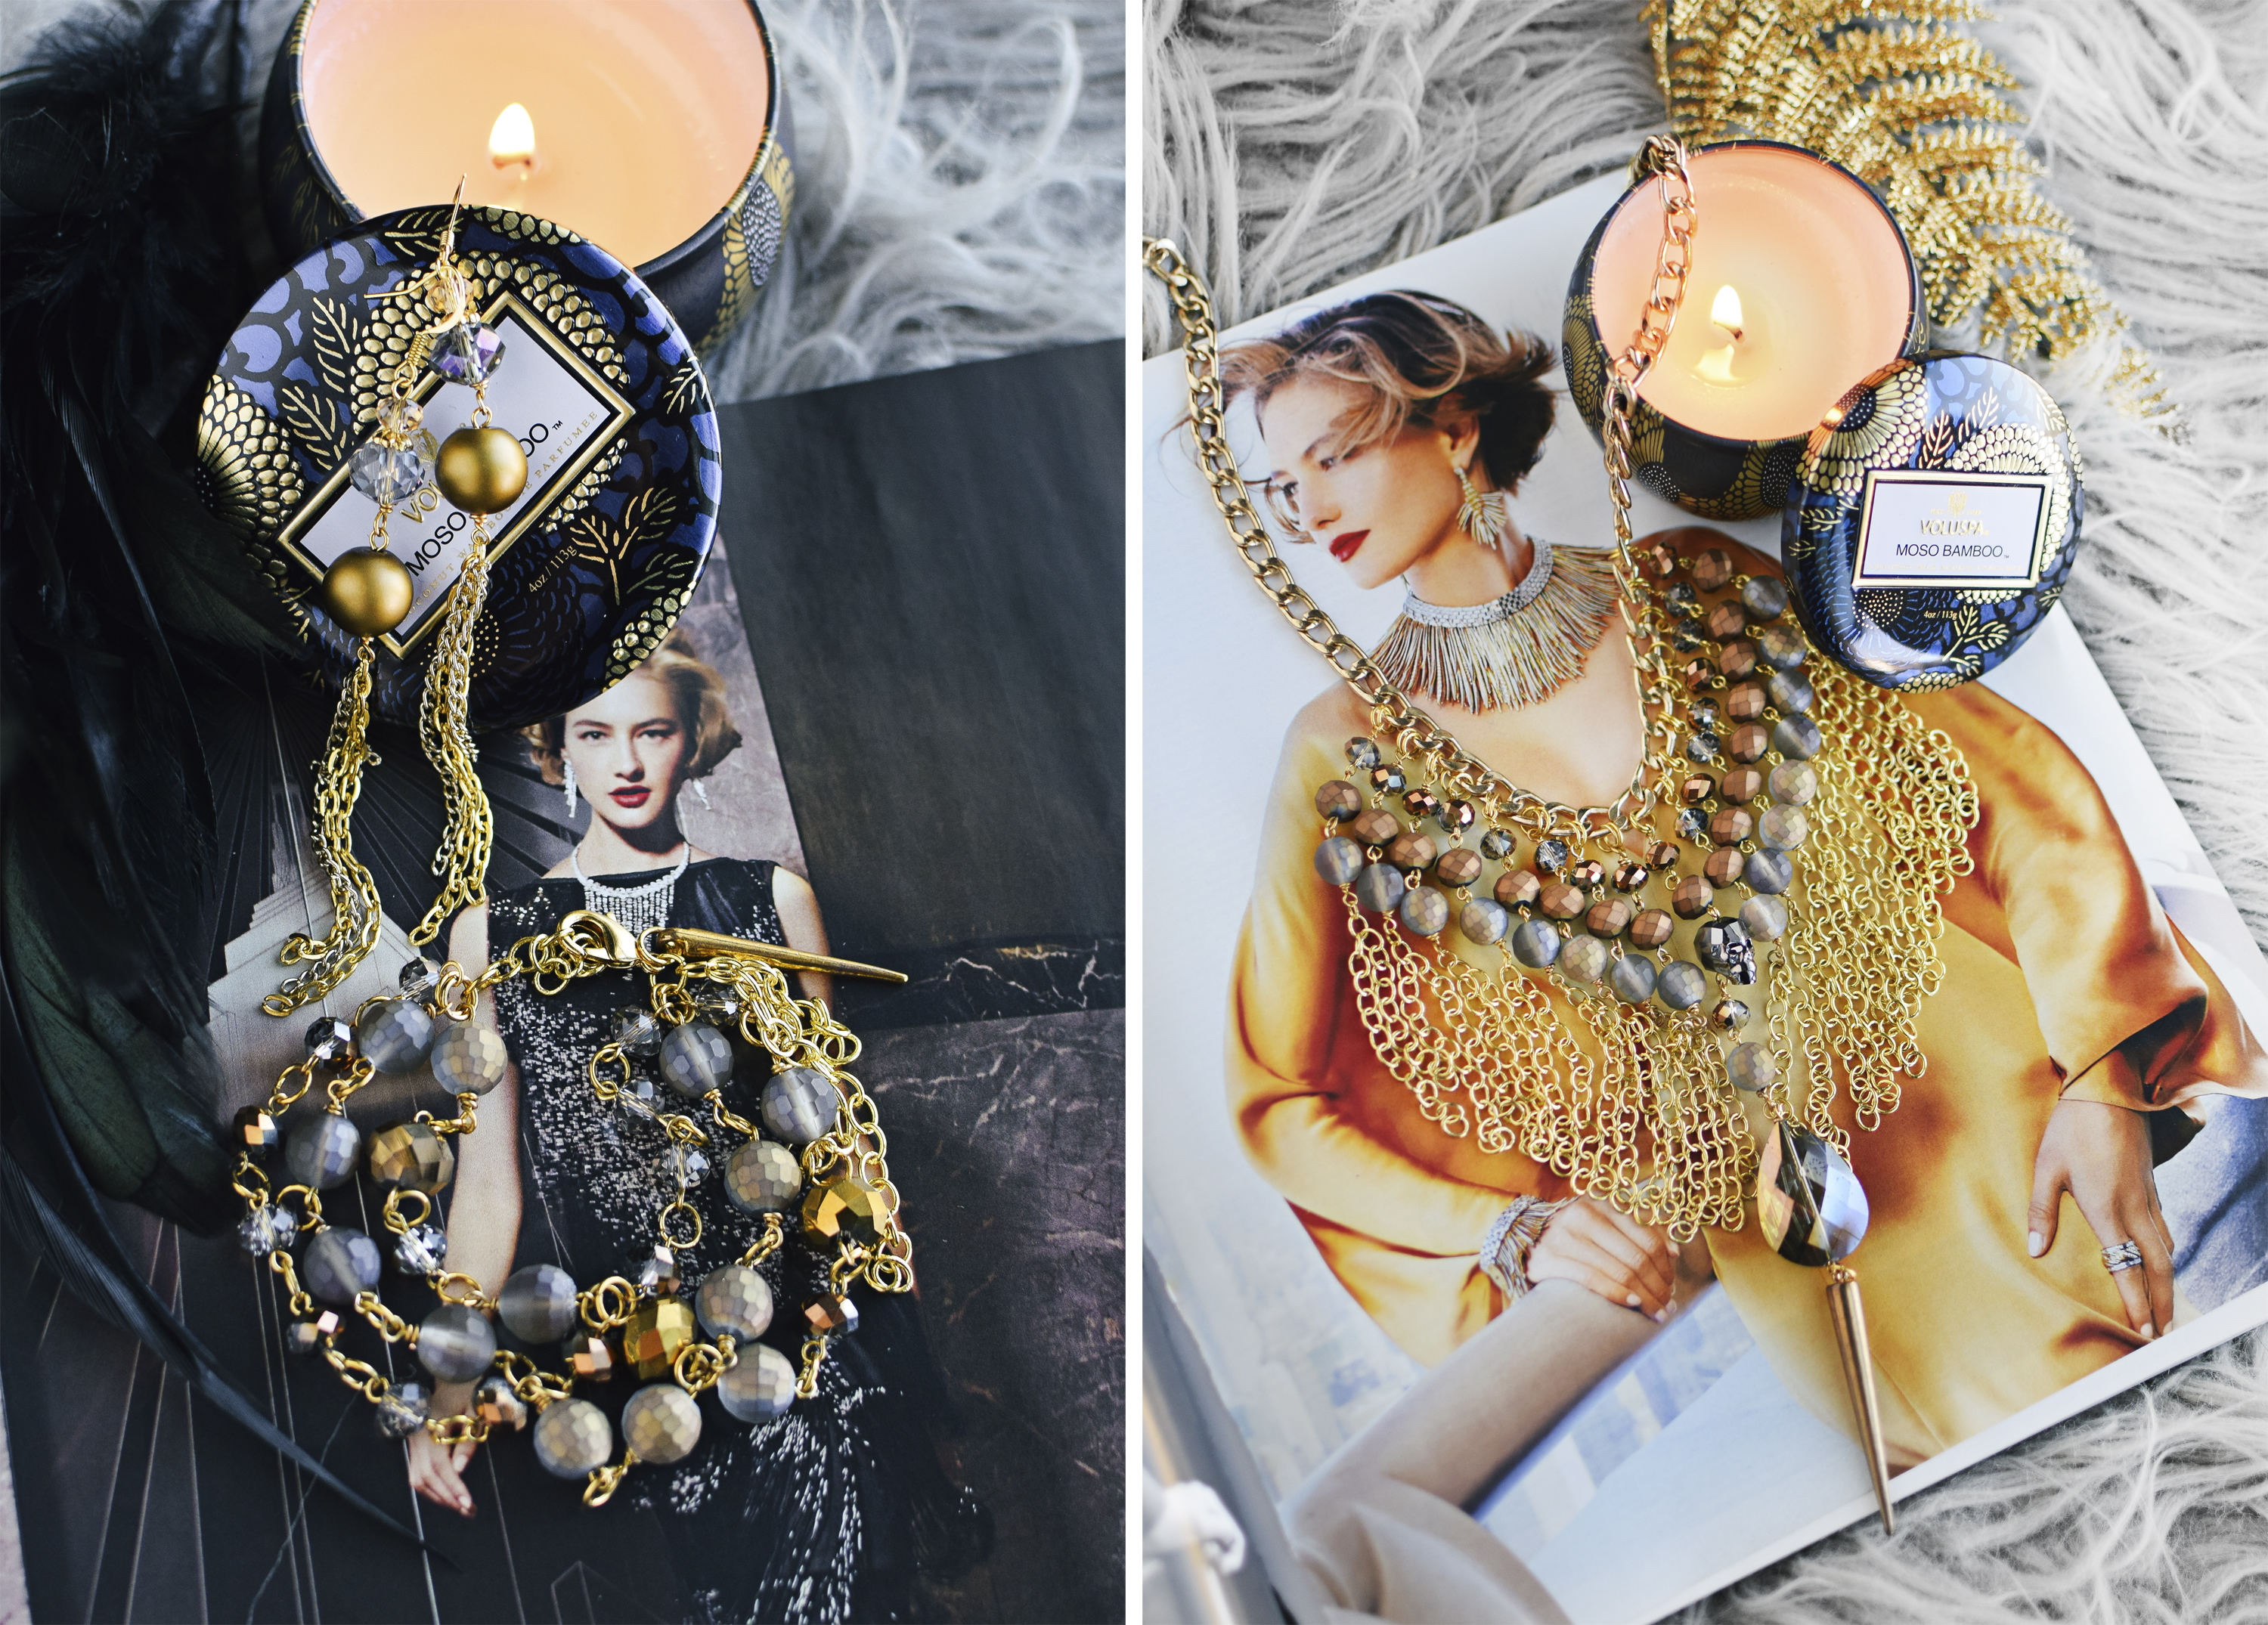
When beading (or really basically ALL the time), I like to light a candle for some good ‘ol aromatherapy - this Ginger + Chai scent from Slow North has become a favorite- you can’t really go wrong with anything ginger, and chai is an added bonus. I like spicy, earthy scents! If you’re into other combos, their choices don’t disappoint. Grapefruit + Spearmint, Lemongrass + Tangerine, Coffee + Spice and Eucalyptus + Lavender are just a few more they’ve got to offer….. All candles are 100% American soy wax, use pure essential oils, and made in small batches, by hand. The company is also powered by renewable energy, and their packing materials/boxes are recycled, recyclable and biodegradable.

Use my coupon code QuietLion for 10% off all candle purchases on Slownorth.com!! You can thank me later, when your house smells of deliciousness……

Aside from candles, they also offer natural organic bath and body products - try the Rose Water mist - I use it as a toner! Also, it doubles as a chic photo prop. Multitasking!

Since your house is now smelling of amazing essential oils, hopefully, we are ready to start on the necklaces!

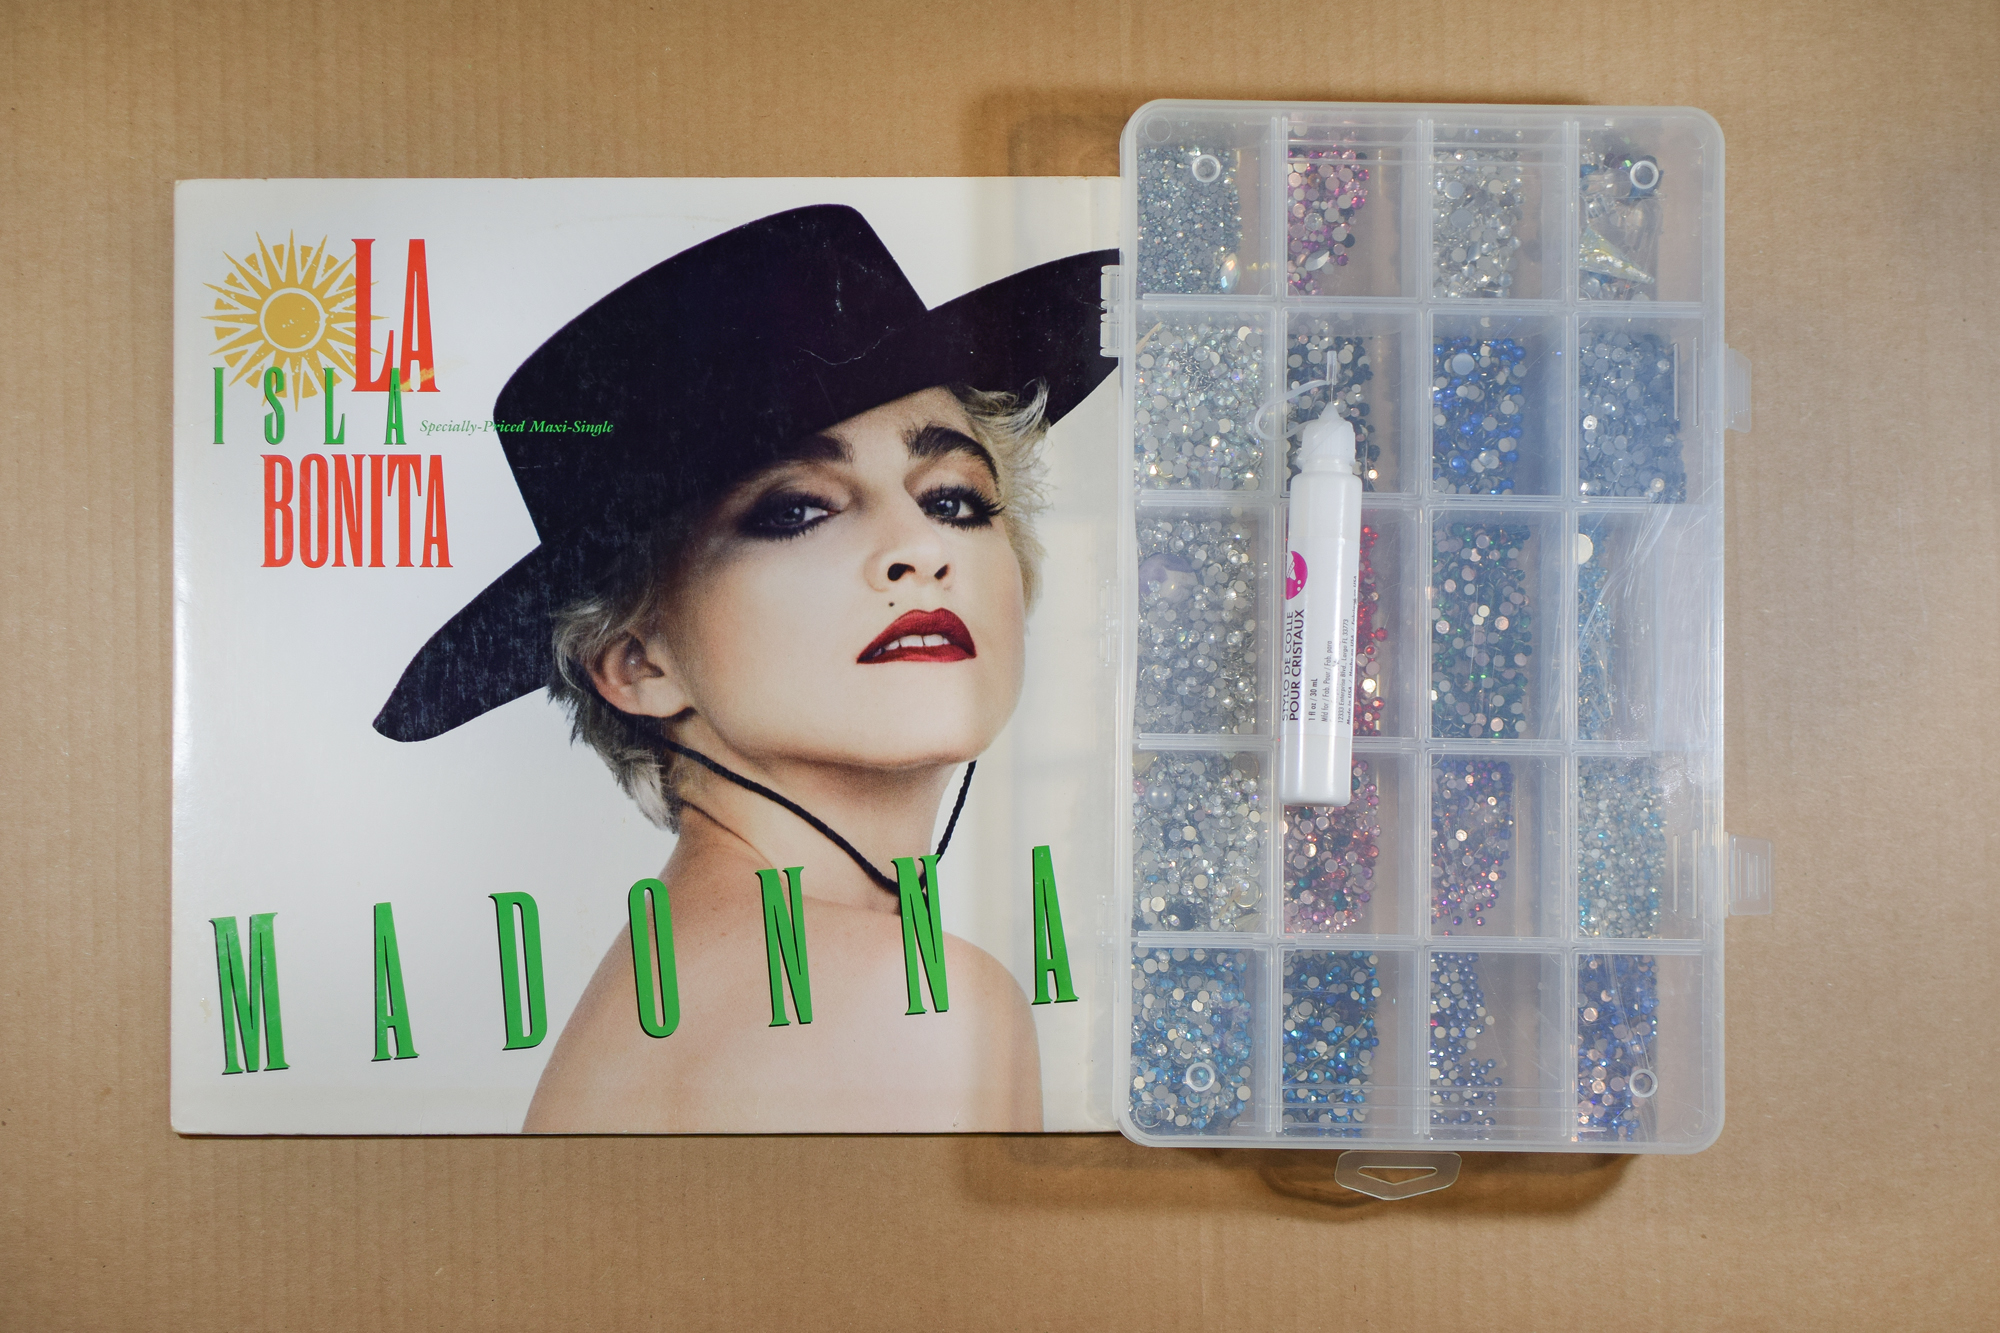
Step 1: Gather materials. You’ll need 24g beading wire, chain, eye pins, lobster clasps, jump rings, assorted small crystal/gemstone beads (about 6mm-10mm), and large crystal/gemstone beads (about 1″-1.5″). I like to mix crystal and gemstone for a boho-chic look. You’ll also need wire cutters, roundnose pliers and flatnose pliers.

Step 2: Cut 1′ of beading wire, and form a wrapped loop at the end. String on one large gemstone bead. Create a wrapped loop at the other end, but don’t cut the excess. Instead, wrap around the top and bottom loops, caging the bead within wire wraps.

Step 3: Turn the stone to the other side and wrap that side as well! When you run out of wire, simply cut flush. Repeat with two more large beads. I used another white gemstone and a faceted topaz crystal bead.

Step 4: Use 4mm jump rings to connect the loops on your gemstone beads. I like to alternate crystal and gemstone.

For the beaded strand, simply use eye pins to create beaded links from small crystals or gemstone beads. Connect these together, alternating bead type. You can choose to create an entirely beaded strand, or split beading/chain for a quicker DIY. What do you think I chose for this tutorial?! (Hint…I’m impatient!) 🙂

Connect the top of the large beaded drop to the beaded strands with a larger 5mm jumpring.

Step 5: If using chain, cut two lengths of 12″ chain (measure your strand - you can make your necklace shorter or longer depending on the look you’re going for!) and attach to the top of your beaded strands with 4mm jump rings. Add a clasp and jumpring to the empty chain ends to complete your necklace.

To complete the large beaded drop, you can either make a chain tassel or add a drop pendant…..I tend to lean towards tassels because they compliment mostly every design! I used a crystal tusk on the gold option to push add to the bohemian look even more.

These pieces are great to dress either up or down. Wear with a tee and jeans for casual style, or pair with a boho maxi dress and strappy heels for statement outfit!

You could go the extra mile and make matching earrings - if you have more stones or crystals, simply wire wrap and add to a fishhook for a quick and easy set. This is just an easy piece to throw on, and is especially good for those who don’t like heavy statement necklaces or chokers. The longer look is easy, breezy, bohemian!

Create these in all color schemes to match every outfit. Trust me, you’ll want to!

Special thanks again to Slow North for the collaboration!


All photos copyright Quiet Lion Creations. Email me at [email protected] for permission to use or re-post.
Don’t steal them, it’s bad karma ☺.

DIY Wired Stones Necklaces

empire state diy necklace by Quiet Lion Creations

With the flair and glam factor of a 20’s-era gala, my Empire necklace is a great statement piece for all crafters to make! Inspired by anything and everything Gatsby 💯, I took creative license here to create a bit of an edgy spin with the skull and spike - if your style’s not as dark, feel free to change up the components to match your mood.

Its all about frosted crystals right now - they’ve become one of my favorite textures to use. The slightly opaque finish contrasts against the usual metallic-coated or high-shine beads and just adds a total sophistication to your piece. You can find most of these crystals on Etsy, I don’t really see much at the major craft stores, as this finish is more unusual.

To make the necklace:

  1. Start by cutting chain - you’ll need about 4.5″ pieces, approx. 16 of them. I used gold larger link cable chain…..Cut an 18″ of large link flattened curb chain for the base of the necklace.
  2. You’ll need 17 8mm round faceted crystals, 17 faceted rondelles, and 18 6mm faceted rondelles. If you’re into the edgy look, you’ll also need one Swarovski crystal skull, one large spike pendant and one large teardrop faceted crystal bead. Change up those three components based on the style of necklace you’re creating.
  3. Create bead links from the rondelles and faceted rounds and eye pins - connect a 6mm rondelle link to an 8mm rondelle link, then the faceted round. Repeat 15 more times until you have 16 total beaded links.
  4. At the bottom of each faceted round, loop in the middle link of the 4.5″ chain to create a fringy look - repeat to finish off each beaded link.
  5. For the central, focal drop, connect a 6mm rondelle to an 8mm rondelle. Then, create a bead link from the skull and add. Create a link from the last 6mm rondelle, and add it to the last faceted round link. Now, add your large teardrop and spike.
  6. Use 6mm jump rings to connect that largest focal drop to the very center link of the 18″ piece of curb chain.
  7. Connect 8 beaded drops on either side of the focal, connecting each to the next link of the 18″ curb chain.
  8. To finish, simply add a lobster and extender chain to the ends of the curb chain.

If you’ve got a few more supplies left and straggler beads, make matching earrings and a bracelet! I created mine from more beaded links and chain drops……mix it up, depending on what types of extras you’ve got!


empire state diy necklace by Quiet Lion Creations
empire state diy necklace by Quiet Lion Creationsempire state diy necklace by Quiet Lion Creations
empire state diy necklace by Quiet Lion Creations
empire state diy necklace


All photos copyright Quiet Lion Creations. Email me at [email protected] for permission to use or re-post.
Don’t steal them, it’s bad karma ☺.

diy crystallized album cover by Quiet Lion Creations

For all my record enthusiasts out there, or really anyone who loves stylish home decor, this DIY crystallized album cover is THE statement piece you need in your apartment, your dorm or house - NOW. I simply took the cover and accented it with crystal flatbacks for serious sparkle - I chose Madonna for obvious reasons, but feel free to choose any album or band you like!

diy crystallized album cover by Quiet Lion Creations

Display as is on a shelf or tabletop, or you can also frame it for hanging on the wall itself. If you do frame, make sure whatever you glue onto the cover doesn’t have too much depth - I used a crystal star accent for her earring, and I don’t think this would fit flat in a frame.

diy crystallized album cover by Quiet Lion Creations

Let’s get started!

diy crystallized album cover by Quiet Lion Creations

Step 1

Gather materials. You’ll need an album cover (I got mine from St. Pete Records) choose one with a great design, or one with your favorite band! You’ll also need a variety of crystal flatbacks (find some packs on Amazon here), a crystal glue pen (you can get this at Michaels craft stores, by the Swarovski stones), and a wax stick or Crystal Katana tool for picking up the stones (find it on Amazon here). I also used a larger crystal accent and rhinestone cup chain for her earring.

diy crystallized album cover by Quiet Lion Creations

Step 2

Start adding small glue dots to select areas in the album cover. I definitely wanted to add shine to her lips, hat, and text. Depending on your cover, you might want to add a little or a lot of sparkle - take in to account how many flatbacks you have BEFORE you start gluing, so you don’t run out at the end! The crystal glue pen makes it super easy to add little dots of glue. Especially for the small crystals, you don’t want large areas of glue - it pools up too much.

diy crystallized album cover by Quiet Lion Creations

Use the wax stick to place crystals on the glue dots. Use a mix of crystal sizes to fill in small gaps. It always helps to use crystals that match the background color of where you are applying them - the look is more seamless and realistic.

diy crystallized album cover by Quiet Lion Creations

Step 3

Continue filling in areas with crystal flatbacks….. There will be some areas where it’s just too small to add crystals (I couldn’t really add them to the “Isla” font), which is ok. Pick a few accent spots to highlight!

diy crystallized album cover by Quiet Lion Creations

diy crystallized album cover by Quiet Lion Creations

Again, this is where color matching is key - it helps hide small gaps where crystals won’t really fit (top of the “A”), so the look is definitely more seamless.

diy crystallized album cover by Quiet Lion Creations

Step 4

Finish off by adding any larger accents at the end. I used a small charm and crystal flatback for her earring. I then cut two small lengths of rhinestone cup chain and glued them below the charm. Depending on how large your accents are, you might want to use E6000 glue for a stronger hold.

Let everything FULLY dry before displaying!

diy crystallized album cover by Quiet Lion Creations

Don’t worry, the record is still fully playable. I was really tempted to add black crystals to the plastic, but stopped short - that probably would have been somewhat sacrilegious!

diy crystallized album cover by Quiet Lion Creations

My next DIY piece will hopefully be Journey’s Captured album (seriously dope graphic), or Pink Floyd’s Dark Side of the Moon. What album will you DIY?! Let me know in the comments!

diy crystallized album cover by Quiet Lion Creations


All photos copyright Quiet Lion Creations. Email me at [email protected] for permission to use or re-post.
Don’t steal them, it’s bad karma ☺.